---
title: "Integrate React Native and Spring Boot Securely"
description: "Use JHipster to build a photo-sharing app for web and mobile that has a React front-end with OIDC authentication and a Spring Boot back-end with OAuth2 authorization."
authors:
  - name: "Matt Raible"
    url: "https://auth0.com/blog/authors/matt-raible/"
date: "Sep 28, 2022"
category: "Developers,Tutorial,React Native"
tags: ["react", "spring", "jhipster"]
url: "https://auth0.com/blog/integrate-react-native-and-spring-boot-securely/"
---

# Integrate React Native and Spring Boot Securely

React Native is a mobile app framework from Facebook. It allows you to quickly develop apps using React's API and deploy them to iOS and Android. It allows you to quickly refresh the apps when you make changes and generally offers a pleasant experience for web developers.

[React Native for Web](https://necolas.github.io/react-native-web/) is a recent addition to the React Native family. It allows you to run your app in a browser and enjoy the browser's built-in dev tools. It's optimized for mobile and uses the same components as React Native, so it looks good too!

In this tutorial, I'll show you how to create a React Native application that deploys to the web, iOS, and Android. You'll configure it to use OpenID Connect (OIDC) for authentication and use OAuth 2.0 access tokens to talk securely to a Spring Boot API.

Below is a diagram of the app you'll create in this tutorial and its authentication flow.

![react native jhipster diagram](https://images.ctfassets.net/23aumh6u8s0i/6NGWGOZndTPbyRVC41OXOl/b08b8fec098a27e724c7831ffcdabf9a/01-react-native-jhipster-diagram.png)

**Prerequisites:**

* [Java 11+](https://adoptopenjdk.net/)
* [Node 16+](https://nodejs.org)

If you're on Windows, you may need to install the [Windows Subsystem for Linux](https://docs.microsoft.com/en-us/windows/wsl/about) for some commands to work.

I recommend using SDKMAN to manage your OpenJDK installations. Just run `sdk install java 11.0.2-open` to install Java 11 and `sdk install java 17-open` for Java 17.

## Quick Apps with JHipster

JHipster is a full-stack application generator that uses Spring Boot on the backend and Angular, React, or Vue on the front end. It started as an open-source project in 2013 before any of these frameworks existed. It then used Spring MVC for the backend and AngularJS for the front end.

Its popularity grew quickly along with its adoption and rise of the frameworks above. Today, it averages over 100K downloads per month. It even has a healthy budget, thanks to its sponsors and backers via [Open Collective](https://opencollective.com/generator-jhipster).

Why am I telling you this? Because JHipster will help you build your React Native app _and_ it was used to create the backend in a previous tutorial.

## JHipster Blueprints for More Power!

JHipster added a **blueprints** feature several years ago. It allows you, as a developer, to create a project that overrides the default behavior of JHipster. This feature has led to a [thriving ecosystem of blueprints](https://www.jhipster.tech/modules/official-blueprints/), from Kotlin to Micronaut to .NET Core to NestJS to Svelte to Ionic and even React Native.

Today, I'll show you how to use [JHipster's React Native blueprint](https://github.com/jhipster/generator-jhipster-react-native) to build a Flickr clone. The backend will be powered by the Spring Boot app created in [Full Stack Java with React, Spring Boot, and JHipster](https://auth0.com/blog/full-stack-java-with-react-spring-boot-and-jhipster/) tutorial. The React Native app's screens will be generated from the same JDL (JHipster Domain Language) file that created the backend entities.

I'm excited to show you how to use JHipster React Native because its [4.3.0 release](https://github.com/jhipster/generator-jhipster-react-native/releases/tag/v4.3.0) upgrades it Expo 46, React Native 0.69.5, and React 18. Let's giddyup! 🤠

## Build a Photo Gallery with React and Spring Boot

Start by creating a new directory to hold your frontend and backend projects:

```shell
take react-native-spring-boot
```

> NOTE: `take` is a command that makes a directory and moves into it.

Clone an existing JHipster app into a `backend` directory:

```shell
git clone https://github.com/oktadev/auth0-full-stack-java-example.git backend
```

This app is configured to use OIDC for authentication and needs a provider configured to start correctly. To make things quick, a pre-configured Keycloak instance is configured with a Docker Compose file. You can start it:

```shell
cd backend
docker-compose -f src/main/docker/keycloak.yml up -d
```

**Apple Silicon and Keycloak**<br>
If you're using Apple Silicon (aka M1 or M2), Keycloak will fail to start because its Docker image wasn't available for an M1 when the backend project was created. To fix it, run the script below.

```shell
VERSION=15.0.2 # Keycloak version specified in keycloak.yml
cd /tmp
git clone git@github.com:keycloak/keycloak-containers.git
cd keycloak-containers/server
git checkout $VERSION
docker build -t "jboss/keycloak:${VERSION}".
docker build -t "quay.io/keycloak/keycloak:${VERSION}".
```
****

Then, start the backend using `./mvnw` and open your favorite browser to `http://localhost:8080`. You should be able to log in with `admin/admin` and upload photos. They'll be displayed in a nice grid, and you can click each photo to zoom in.

![Photo Gallery](https://images.ctfassets.net/23aumh6u8s0i/7yuhaS0iV4LzTUFfR5pSwE/65eca12e83755e3206c6f46b2af8690c/photo-gallery-flickr.jpeg)

Now let's create a React Native app that talks to the same API.

## Generate a React Native App

Install React Native JHipster and the Expo CLI:

```shell
npm install -g generator-jhipster-react-native expo-cli
```

Create a directory for your React Native app:

```shell
take mobile
```

Run the following command to use the React Native blueprint to create an app.

```shell
jhipster --blueprints react-native # you can also use `rnhipster`
```

When prompted, use the following values:

<table style="width: 100%;" border="1">
<tbody>
<tr style="background-color: LightSteelBlue">
<th><b> Prompt </b></th>
<th><b> Answer </b></th>
</tr>
<tr>
<td> What do you want to name your React Native application? </td>
<td> `Flickr2` </td>
</tr>
<tr>
<td> Enter the directory where your JHipster app is located: </td>
<td> `../backend` </td>
</tr>
<tr>
<td> Do you want to enable end-to-end tests with Detox? </td>
<td> `No` </td>
</tr>
</tbody>
</table>

<br>
Next, generate screens based on the entities in the backend project. Press **a** (for **all**) when prompted to overwrite files.

```shell
rnhipster jdl ../backend/flickr2.jdl
```

In the backend project, change its `src/main/resources/config/application-dev.yml` to allow `http://localhost:19006` for CORS (cross-origin resource sharing):

```yaml
cors:
  allowed-origins: 'http://localhost:19006,...'
```

[Sign up for an Expo account](https://expo.dev/signup) and take note of your username.

Log in to [Keycloak](http://localhost:9080/auth/admin/) (with `admin/admin` as credentials). Navigate to **Clients** > **web_app** and add `https://auth.expo.io/@<your-expo-username>/Flickr2` as a Valid Redirect URI. **Save** your changes.

![Keycloak Expo Redirect](https://images.ctfassets.net/23aumh6u8s0i/6mOSG47Kk2O576FbgMAbuV/4749d71b81a693bd229b3566eb32d69f/03-keycloak-expo-redirect.png)

Hide the metadata (height, width, date taken, and date uploaded) for photos in the add photo screen (`mobile/app/modules/entities/photo/photo-edit-screen.js`) when uploading a new photo. This isn't necessary, but the backend calculates these values for you, so they won't be saved. Below are the changes you need to make.

```jsx
const metadata = (
  <View>
  // move the form fields for height, width, taken, and uploaded here
  </View>
)
const metadataRows = isNewEntity ? '' : metadata;

// Replace the form fields you moved with the following
{metadataRows}
```

<details>
<summary>Click here to see what it looks like from a diff perspective.</summary>

```diff
diff --git a/mobile/app/modules/entities/photo/photo-edit-screen.js b/mobile/app/modules/entities/photo/photo-edit-screen.js
index 7a74a97..8aba557 100644
--- a/mobile/app/modules/entities/photo/photo-edit-screen.js
+++ b/mobile/app/modules/entities/photo/photo-edit-screen.js
@@ -97,6 +97,48 @@ function PhotoEditScreen(props) {
   const albumRef = createRef();
   const tagsRef = createRef();

+  const metadata = (
+    <View>
+      <FormField
+        name="height"
+        ref={heightRef}
+        label="Height"
+        placeholder="Enter Height"
+        testID="heightInput"
+        inputType="number"
+        onSubmitEditing={() => widthRef.current?.focus()}
+      />
+      <FormField
+        name="width"
+        ref={widthRef}
+        label="Width"
+        placeholder="Enter Width"
+        testID="widthInput"
+        inputType="number"
+        onSubmitEditing={() => takenRef.current?.focus()}
+      />
+      <FormField
+        name="taken"
+        ref={takenRef}
+        label="Taken"
+        placeholder="Enter Taken"
+        testID="takenInput"
+        inputType="datetime"
+        onSubmitEditing={() => uploadedRef.current?.focus()}
+      />
+      <FormField
+        name="uploaded"
+        ref={uploadedRef}
+        label="Uploaded"
+        placeholder="Enter Uploaded"
+        testID="uploadedInput"
+        inputType="datetime"
+      />
+    </View>
+  );
+
+  const metadataRows = isNewEntity ? '' : metadata;
+
   return (
     <View style={styles.container}>
       <KeyboardAwareScrollView
@@ -145,41 +187,7 @@ function PhotoEditScreen(props) {
               autoCapitalize="none"
               onSubmitEditing={() => heightRef.current?.focus()}
             />
-            <FormField
-              name="height"
-              ref={heightRef}
-              label="Height"
-              placeholder="Enter Height"
-              testID="heightInput"
-              inputType="number"
-              onSubmitEditing={() => widthRef.current?.focus()}
-            />
-            <FormField
-              name="width"
-              ref={widthRef}
-              label="Width"
-              placeholder="Enter Width"
-              testID="widthInput"
-              inputType="number"
-              onSubmitEditing={() => takenRef.current?.focus()}
-            />
-            <FormField
-              name="taken"
-              ref={takenRef}
-              label="Taken"
-              placeholder="Enter Taken"
-              testID="takenInput"
-              inputType="datetime"
-              onSubmitEditing={() => uploadedRef.current?.focus()}
-            />
-            <FormField
-              name="uploaded"
-              ref={uploadedRef}
-              label="Uploaded"
-              placeholder="Enter Uploaded"
-              testID="uploadedInput"
-              inputType="datetime"
-            />
+            {metadataRows}
             <FormField
               name="album"
               inputType="select-one"
```
</details>

## Run Your React Native App

If the backend app isn't running, open a terminal and navigate to the `backend` directory. Then, run `./mvnw` (or `mvnw` on Windows). Of course, if you have Maven installed, you can simply run `mvn`.

Open a new terminal window and navigate into the `mobile` directory. Run `npm start` and type **w** to open in a web browser. You should be able to log in and view any photos you added to the backend. You can even edit and replace them.

<table style="width: 100%;" border="1">
<tbody>
<tr>
<td> <img src="https://images.ctfassets.net/23aumh6u8s0i/a22WqLtfSp8Ic8auO6SMU/c23e79575608d681a5aec5bb9635e398/04t1-react-native-web.jpeg" alt="" width="" height=""> </td>
<td> <img src="https://images.ctfassets.net/23aumh6u8s0i/7cJO4AyGj9TUfkPt2r6j4i/39c61a6014b5c6d1523c220d8c36ee3d/05t1-react-native-web-photos.jpeg" alt="" width="" height=""> </td>
</tr>
<tr>
<td> <img src="https://images.ctfassets.net/23aumh6u8s0i/5y4nZpaOut6Yfs0m5jG87P/a9477dddd7ea3af36a5b19f9d77d8f24/06t1-react-native-web-photo.jpeg" alt="" width="" height=""> </td>
<td> <img src="https://images.ctfassets.net/23aumh6u8s0i/5f91FLaMJafldWC80gW9hm/9a5170bafdda5a8d10f5d08c5dc3bf89/07t1-react-native-edit-photo.jpeg" alt="" width="" height=""> </td>
</tr>
</tbody>
</table>

### Test on iOS

To see your React Native app running on iOS, press **i** in the window you ran `npm start` from. You will need to be on a Mac with Xcode installed for this to work.

<table style="width: 100%;" border="1">
<tbody>
<tr>
<td> <img src="https://images.ctfassets.net/23aumh6u8s0i/4Sz7nuF0z578DytCySSq7X/645c441ca1940904bc919e25184612c1/08t2-react-native-ios.png" alt="" width="" height=""> </td>
<td> <img src="https://images.ctfassets.net/23aumh6u8s0i/41UJxBOexdCEA8ufILaRQf/6b16c146456b5306984de344989c6a08/09t2-react-native-ios-photo.jpeg" alt="" width="" height=""> </td>
</tr>
</tbody>
</table>

> 💡 TIP: You can reload your app in Simulator using **commandKey ⌘** + **R**. 

### Test on Android

To see your React Native app running on Android, press **a** in the window you ran `npm start` from. You will need Android Studio and an AVD (Android Virtual Device) running. I tested on a Pixel 5 with API 31 (Android 12.0).

For the Android emulator to communicate with your API and Keycloak, you'll need to add some port mappings. You'll know the command worked if `8080` and `9080` are printed to your terminal.

```shell
adb reverse tcp:8080 tcp:8080 && adb reverse tcp:9080 tcp:9080
```

> ⚠️ CAUTION: If you get a `command not found` error, see [this Stack Overflow Q & A](https://stackoverflow.com/questions/10303639/adb-command-not-found) to solve it. I used `echo export "PATH=~/Library/Android/sdk/platform-tools:$PATH" >> ~/.zshrc` on my Mac.

To reload your app, hit `r` twice with a focus on the Android emulator.

<table style="width: 100%;" border="1">
<tbody>
<tr>
<td> <img src="https://images.ctfassets.net/23aumh6u8s0i/3NBGt4cCpa4noo2aTYoIqF/91756a65cd30c8507e91a4c8d174bf9f/10t3-android-expo-prompt.png" alt="" width="" height=""> </td>
<td> <img src="https://images.ctfassets.net/23aumh6u8s0i/1YKlXzaZNwsCNR00Q2f5kL/fe0044a95b00d4a0b53689748de08014/11t3-android-keycloak-login.png" alt="" width="" height=""> </td>
<td> <img src="https://images.ctfassets.net/23aumh6u8s0i/5eu9DPzxpsBpSM2Z15YzWk/44710be3e7cbf80319abe3ab34729d63/12t3-android-keycloak-signed-in.png" alt="" width="" height=""> </td>
</tr>
</tbody>
</table>

## Use Auth0 for Identity

JHipster ships with Keycloak when you choose OAuth 2.0 / OIDC as the authentication type. However, you can easily change it to another identity provider, like Auth0!

First, you'll need to configure the backend to use Auth0 by registering a regular web application. Log in to your Auth0 account (or [sign up](https://auth0.com/signup) if you don't have an account). You should have a unique domain like `dev-xxx.us.auth0.com`.

Select **Create Application** in the [Applications section](https://manage.auth0.com/#/applications). Use a name like `JHipster Baby!`, select `Regular Web Applications`, and click **Create**.

Switch to the **Settings** tab and configure your application settings:

- Allowed Callback URLs: `http://localhost:8080/login/oauth2/code/oidc`
- Allowed Logout URLs: `http://localhost:8080/`

Scroll to the bottom and click **Save Changes**.

In the [roles](https://manage.auth0.com/#/roles) section, create new roles named `ROLE_ADMIN` and `ROLE_USER`.

Create a new user account in the [users](https://manage.auth0.com/#/users) section. Click the **Role** tab to assign the roles you just created to the new account.

_Make sure your new user's email is verified before attempting to log in!_

Next, head to **Actions** > **Flows** and select **Login**. Create a new action named `Add Roles` and use the default trigger and runtime. Change the `onExecutePostLogin` handler to be as follows:

```js
exports.onExecutePostLogin = async (event, api) => {
  const namespace = 'https://www.jhipster.tech';
  if (event.authorization) {
    api.idToken.setCustomClaim('preferred_username', event.user.email);
    api.idToken.setCustomClaim(`${namespace}/roles`, event.authorization.roles);
    api.accessToken.setCustomClaim(`${namespace}/roles`, event.authorization.roles);
  }
}
```

This code adds the user's roles to a custom claim (prefixed with `https://www.jhipster.tech/roles`). This claim is mapped to Spring Security authorities in `SecurityUtils.java` on the backend.

Select **Deploy** and drag the `Add Roles` action to your Login flow. Create a `backend/.auth0.env` file and populate it with your Auth0 settings.

```shell
export SPRING_SECURITY_OAUTH2_CLIENT_PROVIDER_OIDC_ISSUER_URI=https://<your-auth0-domain>/
export SPRING_SECURITY_OAUTH2_CLIENT_REGISTRATION_OIDC_CLIENT_ID=<your-client-id>
export SPRING_SECURITY_OAUTH2_CLIENT_REGISTRATION_OIDC_CLIENT_SECRET=<your-client-secret>
export JHIPSTER_SECURITY_OAUTH2_AUDIENCE=https://<your-auth0-domain>/api/v2/
```

> ℹ️ NOTE: Want to have all these steps automated for you? Watch [issue #351](https://github.com/auth0/auth0-cli/issues/351) in the Auth0 CLI project.

Stop your backend app with **Ctrl** + **C** and run the following commands to configure Spring Security to use Auth0.

```shell
source .auth0.env
./mvnw
```

### Create a native OIDC app for React Native

For the React Native app to use Auth0, you'll need to create a **Native** app and add the following Allowed Callback URLs:

```
http://localhost:19006/,https://auth.expo.io/@<your-expo-username>/Flickr2
```

Configure Allowed Logout URLs:

```
http://localhost:19006,https://auth.expo.io/@<your-expo-username>/Flickr2
```

And, set the Allowed Origins (CORS):

```
http://localhost:19006,http://localhost
```

The second value is the origin header that Android sends. Copy the client ID to `app/config/app-config.js` and update the `audience` in `app/modules/login/login.utils.ts`:

```js
audience: 'https://<your-auth0-domain>/api/v2/',
```

Restart your React Native app and log in with Auth0!

<table style="width: 100%;" border="1">
<tbody>
<tr>
<td> <img src="https://images.ctfassets.net/23aumh6u8s0i/59FNBgP4TRKLJFHl9MPemC/8133c48796828de43f26a051679ace8a/13t4-auth0-login.png" alt="" width="" height=""> </td>
<td> <img src="https://images.ctfassets.net/23aumh6u8s0i/7iYvAoyDMaOJKsc532kMN9/beaca7255b62441b476a8fa152351022/14t4-auth0-login-success.png" alt="" width="" height=""> </td>
</tr>
</tbody>
</table>

<br>
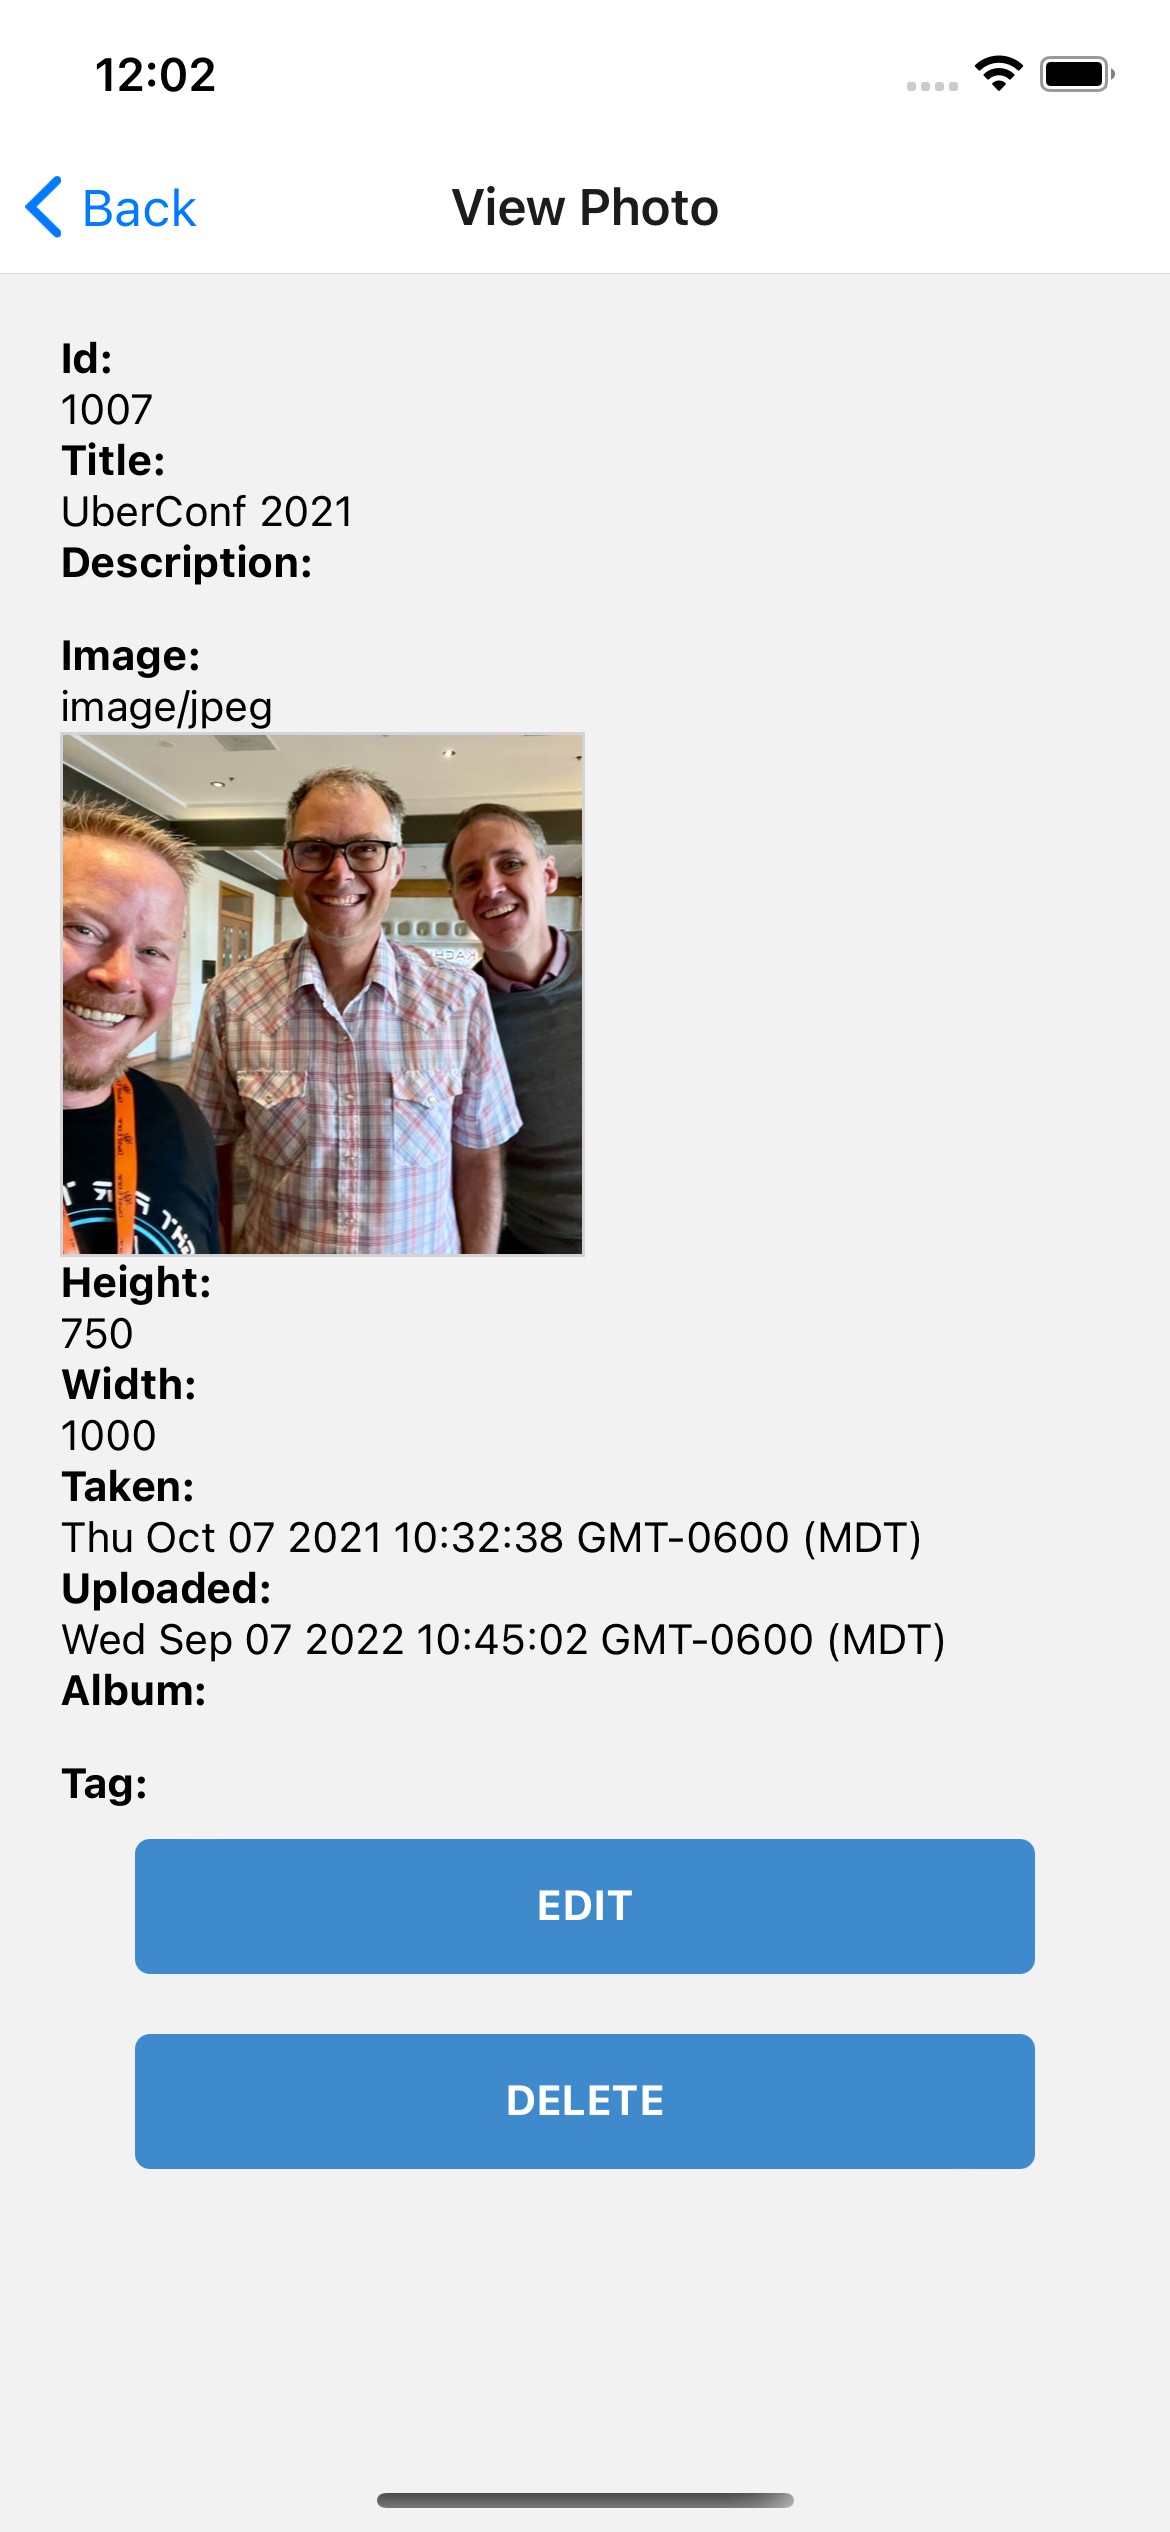
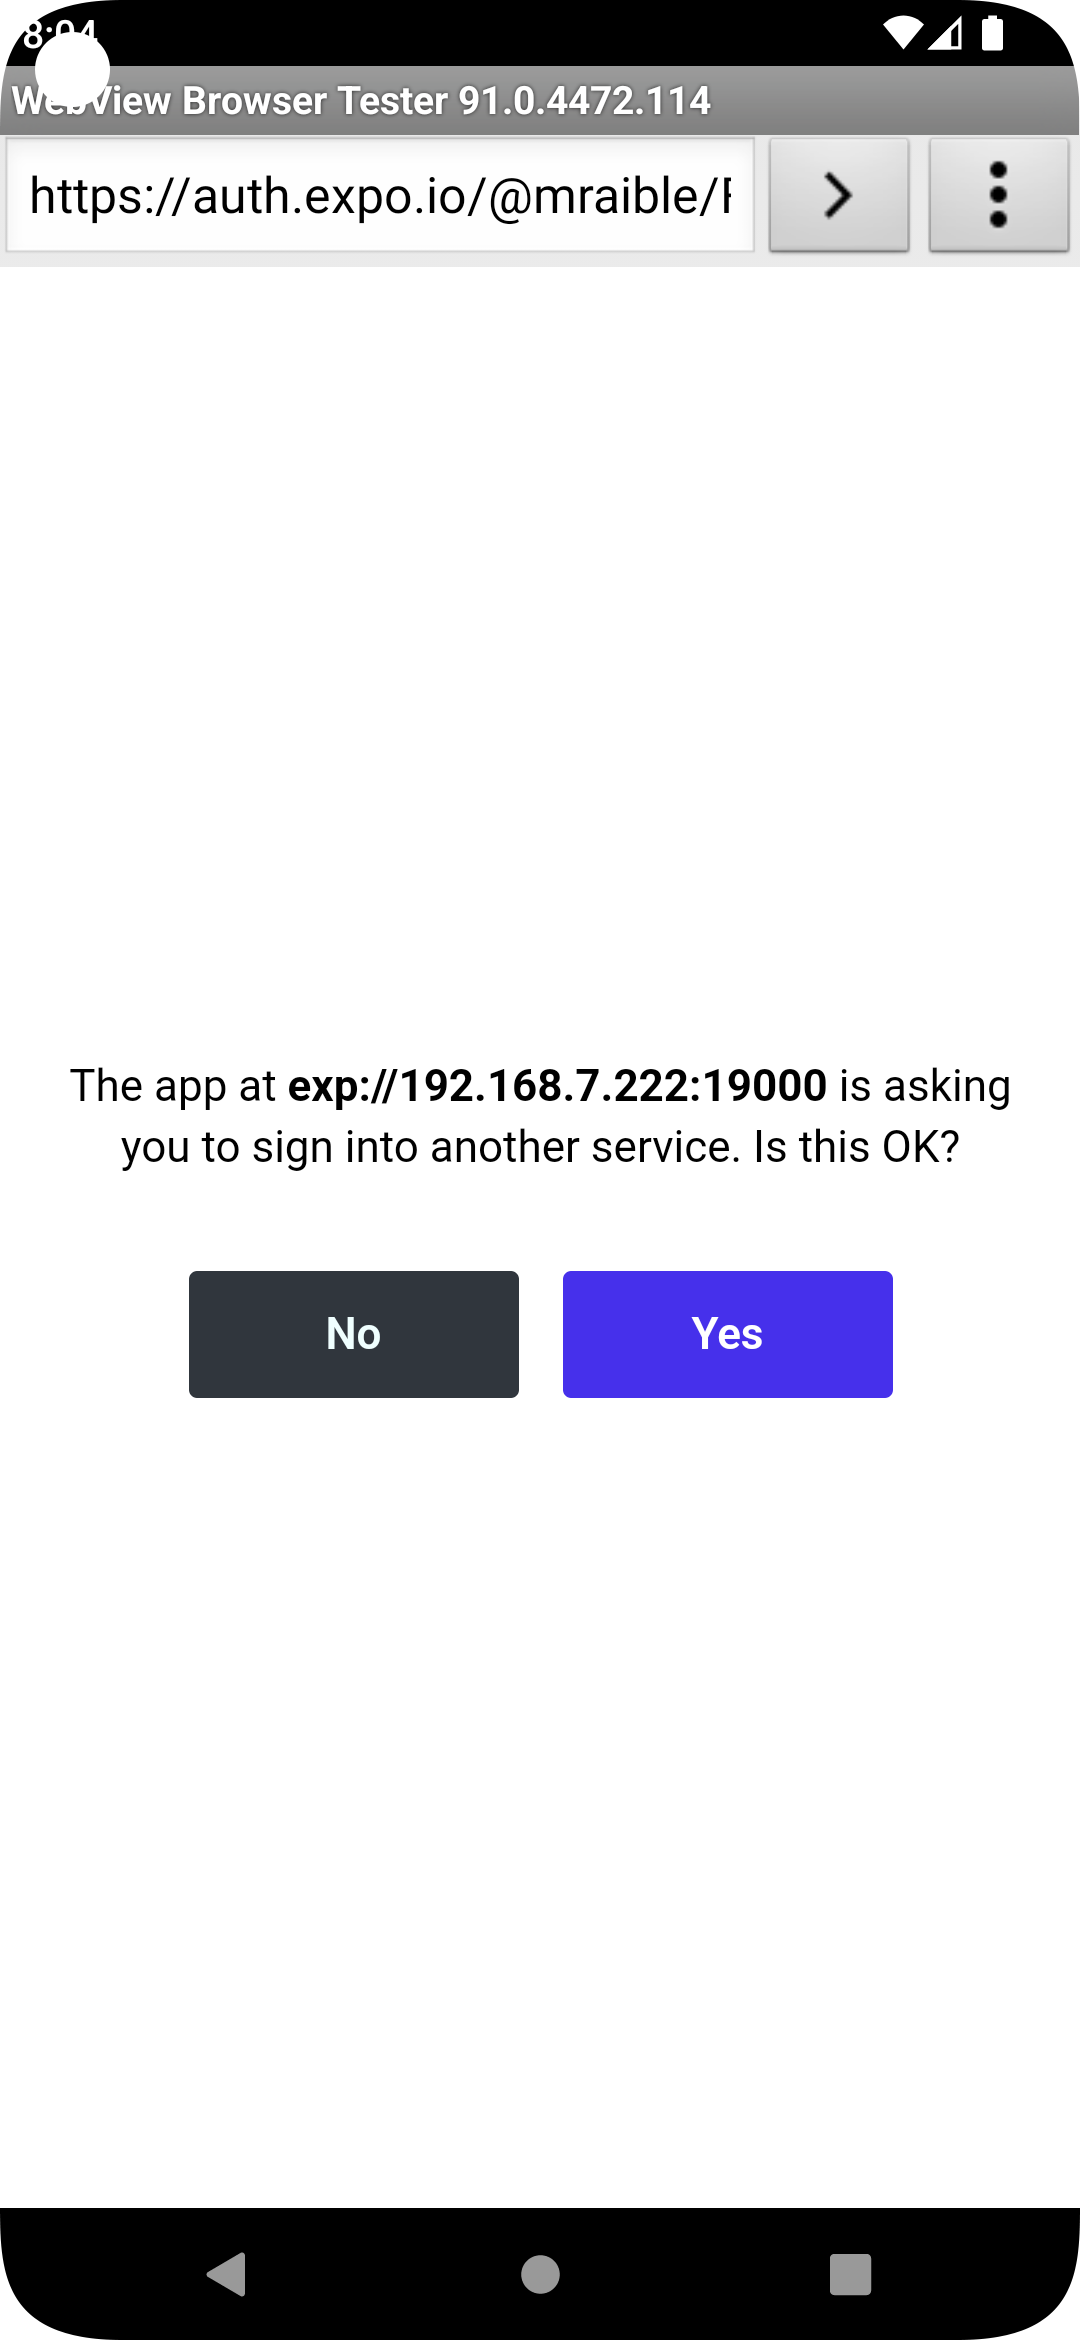
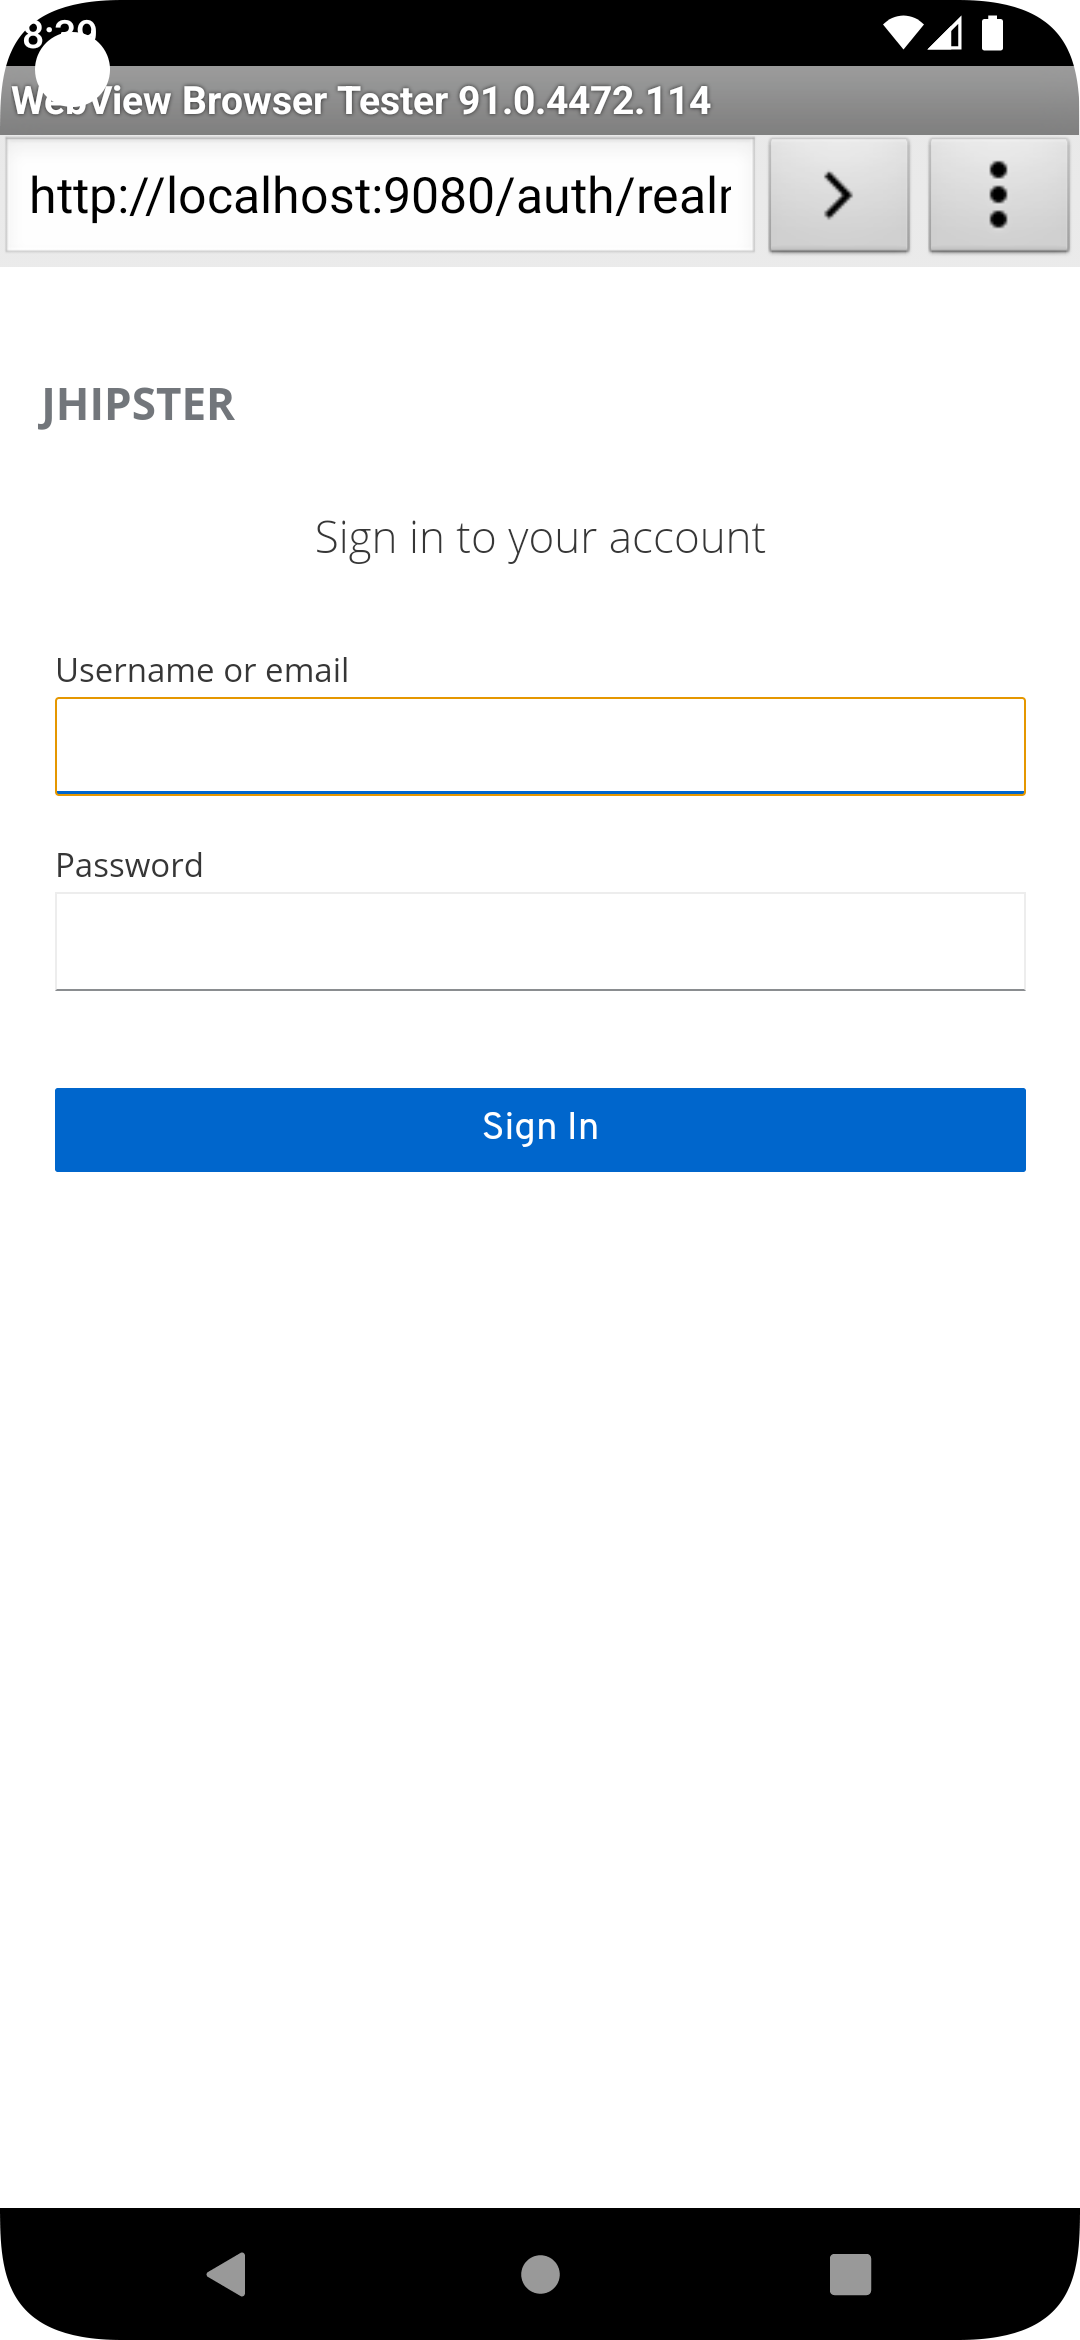
It works on Android too. 🥳

<table style="width: 100%;" border="1">
<tbody>
<tr>
<td> <img src="https://images.ctfassets.net/23aumh6u8s0i/inhsWXLmCsmZLMdmdWK9j/5a6e7b0eac1ac444e453911223c502da/15t5-android-auth0-login.png" alt="" width="" height=""> </td>
<td> <img src="https://images.ctfassets.net/23aumh6u8s0i/4RXN8Zu0tQH8IrRgWh1ajT/15550143be04d2e51de77e7d3366124d/16t5-android-signed-in.png" alt="" width="" height=""> </td>
</tr>
</tbody>
</table>

### Use Okta for identity

If you'd like to use Okta as your identity provider, see [JHipster's documentation](https://www.jhipster.tech/security/#okta) for configuring the backend app.

> 💡 TIP: You can configure JHipster quickly with the [Okta CLI](https://cli.okta.com): `okta apps create jhipster`

You'll need to [create a native app on Okta](https://www.jhipster.tech/security/#create-a-native-app-for-mobile-on-okta) for React Native too.

## Log out from Your Identity Provider

You probably didn't notice, but if you log in to your app when it's running on iOS or Android, then log out, when you try to log in again, you aren't prompted for credentials. This is because the React Native blueprint configures the best developer experience. It's kind of a pain to enter your credentials each time on a mobile device. Also, Expo's auth proxy does not currently work with logging out from the identity provider. If you look at `app/config/app-config.js`, you'll see that only `web` disables the auth proxy.

```js
useExpoAuthProxy: Platform.select({ web: false, default: true }),
```

If you want to sign out on native apps completely, change the value to `false`.

```js
useExpoAuthProxy: false,
```

Disabling the auth proxy will cause your app's redirect URIs to change. You'll need to update your identity provider to add the following to your login and logout URLs:

```shell
exp://<your-ip-address>:19000 # e.g., exp://172.20.10.4:19000
```

> 💡 TIP: You can open your Auth0 app quickly with the [Auth0 CLI](https://github.com/auth0/auth0-cli): `auth0 apps open`

After making these changes, reload your app. On iOS, it'll show a permission dialog when you try to log out.

![Auth0 Logout Prompt](https://images.ctfassets.net/23aumh6u8s0i/4awczTdxR0QSKcCHdUNxcO/d9451023c5a970396830917eaebf9bd6/17-auth0-logout-prompt.jpeg)

Unfortunately, this is part of iOS and not something that can be suppressed. On the upside, your users probably don't want to log out fully. You haven't logged out of Gmail recently, have you?

## Deploy to Production

The React Native project is configured to work with Expo Application Services (EAS) Build. To use it, you'll need to install the EAS CLI:

```shell
npm install -g eas-cli
```

Then, log in to your Expo account:

```shell
eas login
```

And configure your project:

```shell
eas build:configure
```

For more information, see [Creating your first build docs](https://docs.expo.dev/build/setup/). To learn how to deploy to production and make your app available in app stores, explore [EAS Deployment patterns](https://docs.expo.dev/eas-update/deployment-patterns/).

## Learn More about React Native, Spring Boot, and JHipster

I hope you enjoyed this quick tour of securely integrating a Spring Boot backend with a React Native frontend. JHipster generated most of the code, leaving you more time to implement your custom business logic. It's nice that OIDC authentication is supported out-of-the-box. It works so smoothly with Keycloak, Auth0, and Okta!

You can find the source code for this example on GitHub in the [@oktadev/auth0-react-native-jhipster-example](https://github.com/oktadev/auth0-react-native-jhipster-example) repository.

If you liked this post, you might find these resources helpful:

- [Auth0's React Native QuickStart](https://auth0.com/docs/quickstart/native/react-native)
- [Get Started with Auth0 Authentication in React Native Android Apps](https://auth0.com/blog/get-started-auth0-authentication-react-native-android/)
- [Get Started with Auth0 Authentication in React Native iOS Apps](https://auth0.com/blog/get-started-auth0-authentication-react-native-ios/)
- [Build Secure Ionic Apps with Angular and JHipster](https://auth0.com/blog/ionic-angular-jhipster/)
- [JHipster React Native Demo](https://dev.to/ruddell/jhipster-react-native-demo-1c54)
- [Create a React Native App with Login in 10 Minutes](https://developer.okta.com/blog/2019/11/14/react-native-login)

Please follow me at [@mraible](https://twitter.com/mraible) on Twitter. Follow my team at [@oktadev](https://twitter.com/oktadev) and subscribe to our [YouTube channel](https://www.youtube.com/c/oktadev). Please comment below if you have any questions or suggestions for future tutorials.