---
title: "How to Handle JWTs in Python"
description: "Learn how to create, parse and verify your JWTs in Python using PyJWT"
authors:
- name: "Jessica Temporal"
url: "https://auth0.com/blog/authors/jessica-temporal/"
date: "Oct 28, 2021"
category: "Developers,Tutorial,Python"
tags: ["jwt", "pyjwt", "jwt tutorial"]
url: "https://auth0.com/blog/how-to-handle-jwt-in-python/"
---
# How to Handle JWTs in Python
JSON Web Tokens, or JWTs for short, are all over the web. They can be used to track bits of information about a user in a very compact way and can be used in APIs for authorization purposes. This post will cover what JSON Web Tokens are and how to create JWTs in Python using the most popular JWT library: [PyJWT](http://pyjwt.readthedocs.io/). We are also going to see how you can sign and verify JWTs in Python using asymmetric algorithms.
Before we get started, there's a collection of scripts with all the code I'm going to cover in this blog post [available in this GitHub repository](https://github.com/auth0-blog/jwts-in-python).
If you prefer, you can also watch the videos below with me explaining all about JWTs! 👇
## Introduction to JWTs
JSON Web Tokens are a very compact way to carry information. They are defined as a 3 part structure consisting of a header, a payload, and a signature.
The header and payload both have what we call claims, they are _statements_ about an entity and all additional data that needs to be passed in the request:
- In the header, we find claims about the token itself, like what algorithm was used for signing that token;
- While the payload (or the body) carries information about a given asset. In a login scenario, this would be information about the user.
The final part is the signature, and it helps you ensure that a given token wasn't tampered with because signing JWTs requires either a secret or a public/private key pair agreed on previously. The signature itself is based on the header and payload, in combination with a secret, or private/public key pair, depending on the algorithm.
Claims follow the standard key-value pairing that you see in dictionaries and JSON objects, and most of the claims commonly used in JWTs have a standardized naming defined in [the JWT specification (RFC7519)](https://datatracker.ietf.org/doc/html/rfc7519). In the RFC7519, you'll also [find the description of what each claim means](https://datatracker.ietf.org/doc/html/rfc7519#section-4.1.4).
If you want to know more about JWTs, you should [check this page that talks about JSON web tokens](https://auth0.com/learn/json-web-tokens/) in a very practical way, or if you want a more in-depth resource, I recommend the **"JWT Handbook"** available for _free_ in the link below.
While it's nice to read definitions and explanations, it's sometimes more beneficial to actually see how something works. In the rest of this article, you'll learn the ins and outs of JSON Web Tokens by creating, signing, verifying, and decoding your very own JWT.
## Requirements
To follow along with the steps I'm going to cover, you'll need:
- Python `3.6` or higher, I'm using Python `3.8.2`;
- A Python environment activated, if you already know how to create your own environment, you can skip ahead to the [_"Installing Requirements"_ section](#Installing-requirements);
- PyJWT with the `cryptography` dependency installed. Check out how to install it in the [_"Installing Requirements"_ section](#Installing-requirements);
- I'm also going to use [iPython](https://ipython.org/), an interactive alternative Python console, to run my examples, but feel free to choose whichever interface or Python console you prefer. 😉
### Creating your Python environment
To create an environment, you must create and navigate to your working folder. The way I like to do this is using the following commands:
```console
mkdir jwts-in-python
cd jwts-in-python
```
After that, I usually create an environment named `.env`:
```python
python3 -m venv .env
```
And after the environment gets created, I can activate it and install the latest version of `pip`:
```console
source .env/bin/activate
pip install -U pip
```
Note that the command for activating your environment will vary according to your operating system (OS). On this [documentation page, you can find a list of all the ways you can activate an environment](https://docs.python.org/3/library/venv.html#creating-virtual-environments) to see a way for activating the environment that works best for your OS in there.
### Generating an RSA key pair
To sign your tokens with an [asymmetric algorithm](https://auth0.com/docs/tokens/signing-algorithms) like RS256, you'll need a public/private key pair. I'll explain more about what this is in the next section, but for now, if you'd like to follow the tutorial, you'll need to have an RSA key pair. It is possible you already got a pair you want to use but, in case you need to generate a new one, here's what I did for generating a key pair I used in this example:
```console
mkdir ~/jwts-in-python/.ssh
ssh-keygen -t rsa
```
Note that if you are using Windows as an operating system, depending on the OS version, you'll need to install OpenSSH to have access to the `ssh-keygen`. In [this tutorial](https://ubuntu.com/tutorials/ssh-keygen-on-windows#1-overview) you'll find all the ways you can generate a key pair on Windows.
And if you want to have the key pair inside the working directory, remember to pass the path to your directory when prompted for a path. The path must contain the name of the private key as well. In my case, I used the following path in case you want to copy it. Remember to update accordingly:
```console
~/jwts-in-python/.ssh/id_rsa
```
Also, you'll be prompted for a passphrase. For simplicity's sake, the key pair I generated for the examples on this blog post do not have a passphrase. Keep in mind that you should always **use passphrases when generating RSA keys** to provide an extra level of security.
### Installing requirements
Now for doing all that I'll cover in this post, you'll need to install PyJWT with the `cryptography` package as a dependency. This dependency will give you the ability to sign and verify JWTs signed with asymmetric algorithms.
```console
pip install pyjwt[crypto]
```
If you also want to install iPython, you can do it like this:
```console
pip install ipython
```
Now you've got everything you'll need. 🎉
## Create a JWT in Python
I'm going to teach you how to create a JWT because by understanding how a token is created, you'll better understand how to use JWTs, so bear that in mind.
> Remember that if you are using a service like [Auth0](http://auth0.com), you **shouldn't** create your tokens; the service will provide them to you. Because JWTs can be read by anyone as long as they have the secret or public key, it is really important to follow industry standards to avoid complications like data and security breaches.
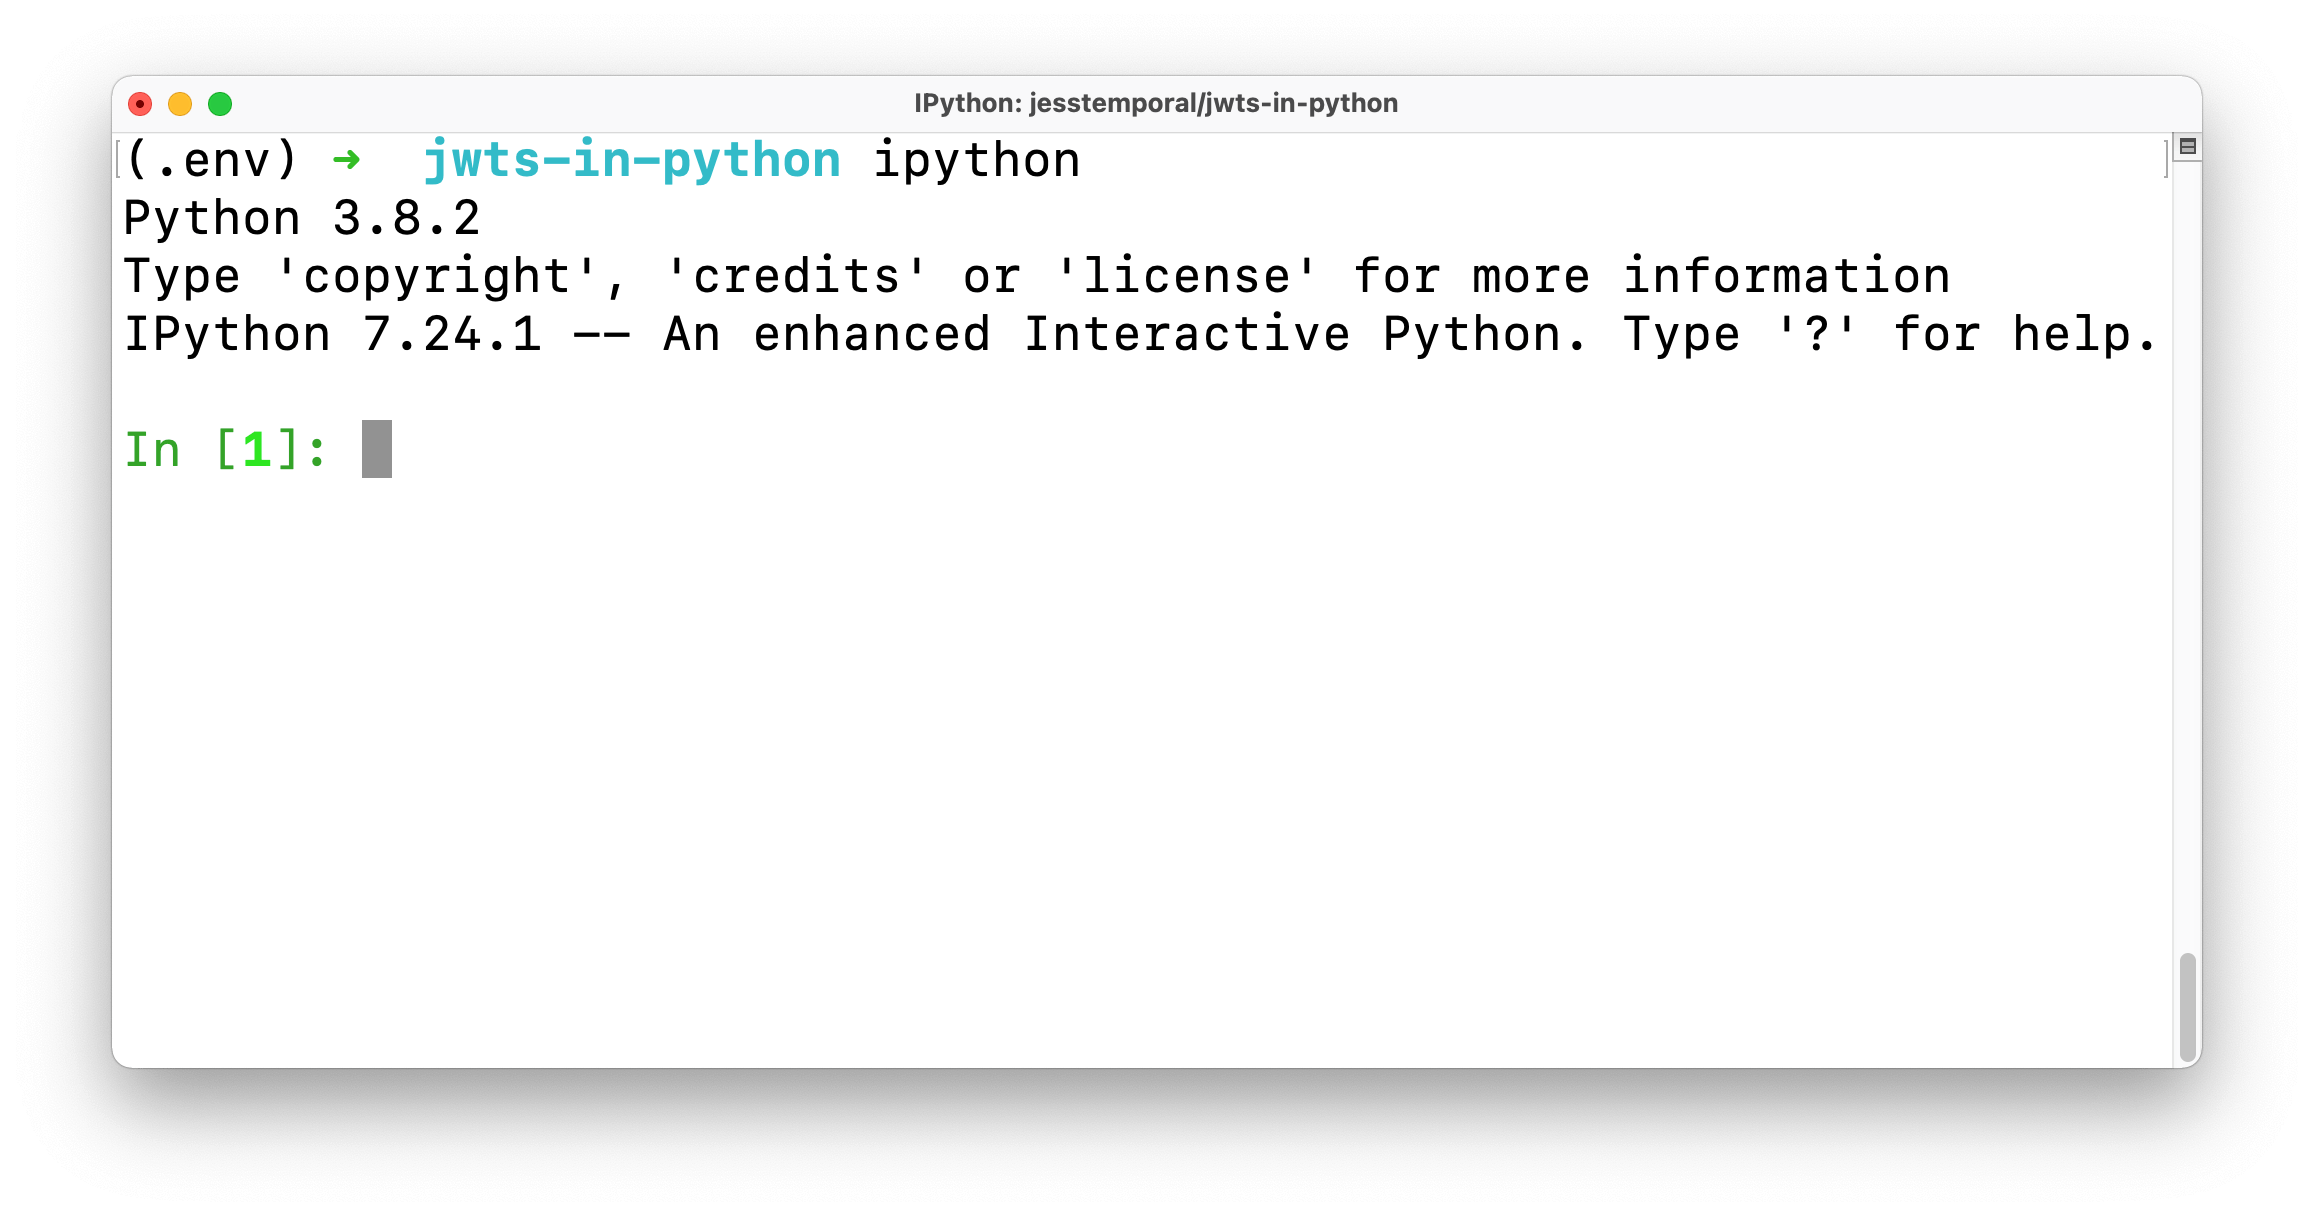
Open your console. If you are using iPython, you have to type `ipython` on the terminal and press `Enter`, and then you can start coding:
The first thing you'll need to do is to import the `jwt` object. This comes from the PyJWT package:
```python
import jwt
```
Before we generate a token, you'll want to create some data to pass in the JWT payload and a secret to sign the token using the `HS256` algorithm. So let's create a dictionary to hold some user data, and the secret:
```python
payload_data = {
"sub": "4242",
"name": "Jessica Temporal",
"nickname": "Jess"
}
my_secret = 'my_super_secret'
```
My payload data have three claims:
- `sub`: which is the user identifier or subject of this token;
- `name`: which is the user's full name;
- `nickname`: also my user's nickname.
Keep in mind that I'm using some sample data which tells you who my user is in my example, and now the work is pretty much done!
### Sign a token with a hashing algorithm
Next, we're going to sign the token that we just created. By signing the token, we can make sure that the integrity of the claims in the token is verifiable. We're going to use an [HMAC algorithm](https://en.wikipedia.org/wiki/HMAC) (or a symmetric algorithm) first. A symmetric algorithm uses a hashing function and a secret key that both parties will use to generate and validate the signature. We generally [recommend using RS256](https://auth0.com/docs/tokens/signing-algorithms), which is an asymmetric algorithm, so in the next section, you'll see how to sign a token with an asymmetric algorithm.
We can call the `encode` method from the `jwt` object, pass the dictionary I just created, and let that method do its magic for us. And by this, I mean that the `encode` method takes care of creating the standard header, encoding everything, and signing the token with my secret:
```python
token = jwt.encode(
payload=payload_data,
key=my_secret
)
```
Now before I print this token, I'd like to point out three things:
- The first is that the `key` parameter actually works for either a key or a secret. In this case, I'm using a secret because the algorithm used by default on the `encode` method is the `HS256` which only requires a secret for signing;
- This brings me to my second point, which is that in real life, you'll have an actual secret being used instead of this sample string;
- And third is if you were using an asymmetric algorithm for signing like `RS256`, you would need to use the private key for signing, and [there's an example of that further ahead](#Sign-a-token-with-RS256-an-asymmetric-algorithm).
If I print out the token by calling it, you'll see this huge string over here:
```python
token
# eyJ0eXAiOiJKV1QiLCJhbGciOiJIUzI1NiJ9.eyJzdWIiOiI0MjQyIiwibmFtZSI6Ikplc3NpY2EgVGVtcG9yYWwiLCJuaWNrbmFtZSI6Ikplc3MifQ.EDkUUxaM439gWLsQ8a8mJWIvQtgZe0et3O3z4Fd_J8o
```
And you can copy that string and use it wherever you want. For instance, you could pass it on [jwt.io](https://jwt.io).
[jwt.io](https://jwt.io) is a pretty useful tool because you can use it anywhere as long as you have an internet connection, so you can verify the signature and check the contents of a given token right on your web browser. You can even use [jwt.io](https://jwt.io) to create tokens right on your browser!

If you never used [jwt.io](https://jwt.io) before, and it's the first time you paste your token in the token area, it shows that your token signature is invalid, like in the picture above. That's because you need to provide the correct secret in the secret field. Once you fix that, the token gets verified, as you can see in the picture below!
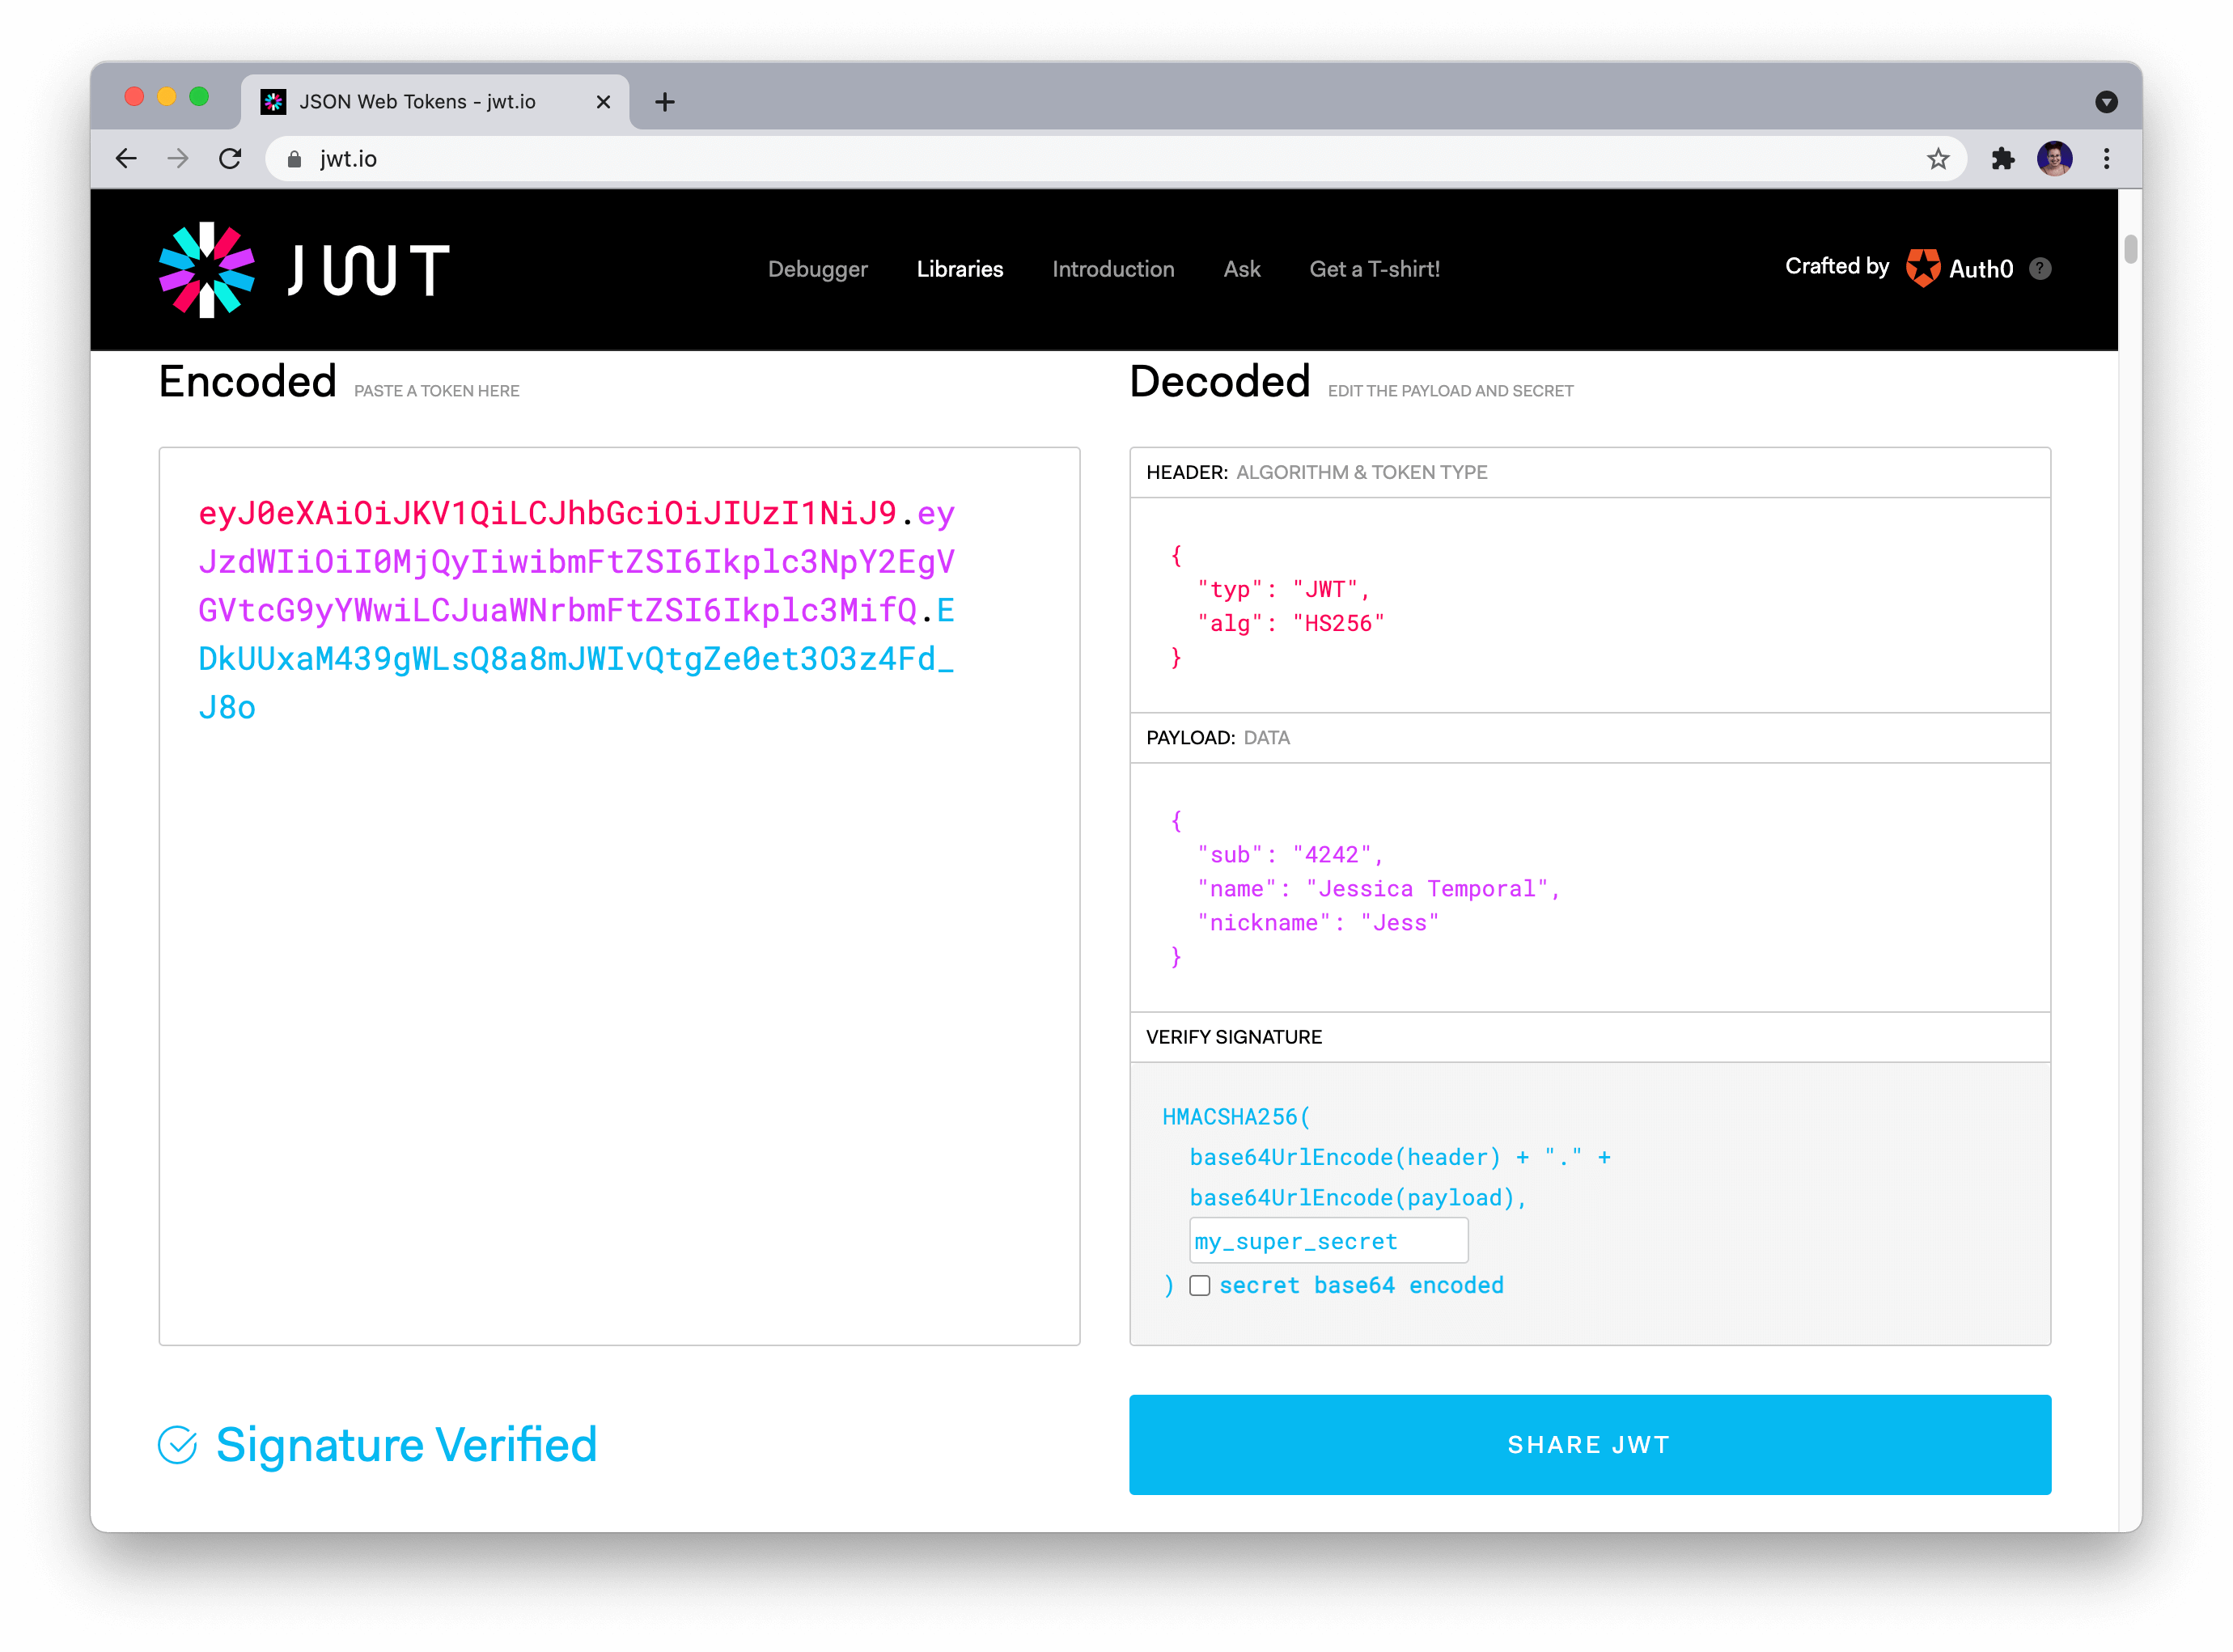
You can see in the picture above that I've got a header with two claims PyJWT added for us:
- `typ`: which is used to say which type of token this is;
- `alg`: which we use for the saying which algorithm we are using for signing the JWT.
And you can also check the data we passed along in the payload. That's it! You generated and verified the token in a few easy steps! 🎉
### Sign a token with RS256 an asymmetric algorithm
So far, we have used `HS256`, a hashing algorithm, to sign a token. But if you want to take your token signing a step further, you can use _asymmetric algorithms_ for signing your tokens. This is a good way to sign tokens because if you have a public key hosted somewhere, let's say your website, anyone could check to see whether or not you signed that token. Just refreshing, asymmetric algorithms like `RS256` are those algorithms that use a [**private key for signing**, and a **public key for verifying the signature**](https://en.wikipedia.org/wiki/Public-key_cryptography).
Now, this is where the `cryptography` package comes into play. You'll need to import the `serialization` module from the package for loading an RSA key. For simplicity's sake, I generated a public/private key pair using the `ssh-keygen` without a password on the `.ssh` folder inside my working directory. Now all you have to do is load said keys:
```python
# first import the module
from cryptography.hazmat.primitives import serialization
# read and load the key
private_key = open('.ssh/id_rsa', 'r').read()
key = serialization.load_ssh_private_key(private_key.encode(), password=b'')
```
Let's break down what is happening in the example above:
- I first use the `open` function in combination with the `read` method to get the key as a string value, and then I store it in the `private_key` variable;
- Then I use the `serialization.load_ssh_private_key` and pass the encoded string of the private key because the `load_ssh_private_key` needs to receive a bytes object. Also, you may note that the `password` parameter received an empty byte string here, because my key doesn't require a password, if yours does, remember to update that value accordingly.
And the heavy lifting part for you to start using asymmetric algorithms for signing is mostly done! All you have to do is pass the `key` variable to the _key_ parameter while encoding the token and adjusting the _algorithm_ parameter value. Let's see what that looks like by recreating the token we did before:
```python
new_token = jwt.encode(
payload=payload_data,
key=key,
algorithm='RS256'
)
```
And if you print out the token, you'll see something like this:
```python
new_token
# 'eyJ0eXAiOiJKV1QiLCJhbGciOiJSUzI1NiJ9.eyJzdWIiOiI0M...81gVns6I_j4kSuyuRxlAJBe3pHi-yS2'
```
## How to Verify a JWT
By this point, you may be wondering, _"Cool! I know how to verify a token using jwt.io and sign my own token using different algorithms. But how do I verify a token using Python??"_
And to answer your question, here it is: with PyJWT, verifying a token signed with a hashing algorithm would take one simple line of code! We only need to use the `decode` method and pass along the token and the secret like this:
```python
jwt.decode(token, key='my_super_secret', algorithms=['HS256', ])
# {'sub': '4242', 'name': 'Jessica Temporal', 'nickname': 'Jess'}
```
Note that the only thing printed out here is the payload which means that you successfully verified the token. If the verification had failed, you'd see an `InvalidSignatureError` instead, saying that the `Signature verification failed`.
Also, this step was simple because I already know my token was generated using the `HS256` algorithm, and I know the secret I need to decode it. But let's say you don't know what algorithm was used to generate this token, right? So you could go to [jwt.io](https://jwt.io) again and check the contents of the header to find the `alg` claim, or you could use PyJWT to do it.
### Find out the algorithm used in a JWT
You could check out the contents of the header by hand if you wanted to, like separating the string by each dot, then decoding the header portion, and so on but, guess what? PyJWT is such a nice tool that there's a method for doing all of that! 🎉
Instead of doing it by hand you can use the `get_unverified_header` method, and it is pretty simple, check this out:
```python
jwt.get_unverified_header(token)
# {'typ': 'JWT', 'alg': 'RS256'}
```
As you can see in the example above, you have to call the `get_unverified_header` from the `jwt` object and pass the token to the method. As a result, you'll get a dict with the header data. Now you can store it into a variable to use this data to make your scripts a bit smarter. Let's see how this would work in the example below:
```python
# saving the header claims into a variable
header_data = jwt.get_unverified_header(token)
# using that variable in the decode method
jwt.decode(
token,
key='my_super_secret',
algorithms=[header_data['alg'], ]
)
```
With that update, your code finds the algorithm used for signing a token almost like magic!
### Decode a token with an asymmetric algorithm
Let's combine everything we've done so far as and verify the signature of a token that the algorithm used for signing was an asymmetric one. So let's use this other token you see below that was created using `RS256` and an SSH private key.
```python
token = 'eyJ0eXAiOiJKV1QiLCJhbGciOiJSUzI1NiJ9.eyJzdWIiOiI0MjQyIiwibmFtZSI6Ikplc3NpY2EgVGVtcG9yYWwiLCJuaWNrbmFtZSI6Ikplc3MifQ.HgHJPl6b5W0CiDz4cNuyRcs5B3KgaoRbMvZBgCkcXOSOCAc0m7R10tSm6d86u8oW8NgzGoIAlKxBw0CIPhdx5N7MWTE2gshzQqhuq5MB9tNX1pYrLsiOMbibeMasvcf97Kd3JiLAzPPJe6XXB4PNL4h_4RcW6aCgUlRhGMPx1eRkGxAu6ndp5zzWiHQH2KVcpdVVdAwbTznLv3OLvcZqSZj_zemj__IAZPMkBBnhdjYPn-44p9-xrNmFZ9qBth4Ps1ZC1_A6lH77Mi1zb48Ou60SUT1-dhKLU09yY3IX8Pas6xtH6NbZ-e3FxjofO_OL47p25CvdqMYW50JVit2tjU6yzaoXde8JV3J40xuQqwZeP6gsClPJTdA-71PBoAYbjz58O-Aae8OlxfWZyPsyeCPQhog5KjwqsgHUQZp2zIE0Y50CEfoEzsSLRUbIklWNSP9_Vy3-pQAKlEpft0F-xP-fkSf9_AC4-81gVns6I_j4kSuyuRxlAJBe3pHi-yS2'
```
To do that, you'll need to load the public key (I [provided said key in the GitHub repo here](https://github.com/auth0-blog/jwts-in-python/tree/main/.ssh)), and loading the public key takes the same 3 steps we did for loading the private key, only varying the method used to actually load the key and the key path, let's check below:
```python
# first import the module
from cryptography.hazmat.primitives import serialization
# read and load the key
public_key = open('.ssh/id_rsa.pub', 'r').read()
key = serialization.load_ssh_public_key(public_key.encode())
```
Now I got my token and the public key, I can decode it. You just have to do the same thing we done before, call the `jwt.decode` method, passing the token, the key, and the algorithm used:
```python
jwt.decode(jwt=token, key=key, algorithms=['RS256', ])
# {'sub': '4242', 'name': 'Jessica Temporal', 'nickname': 'Jess'}
```
That's it! You verified the JWT signed with an asymmetric algorithm! 🎉
## Check the Expiration Date on a JWT
Another thing that you should do while parsing/validating a JWT is to check whether or not it is expired because you, or better yet, the service you are building, **must not** accept expired tokens. The token in the example below has an expiration date set in the "past" for you that are reading this article today. Let's prepare to decode the token:
```python
token = 'eyJhbGciOiJIUzI1NiIsInR5cCI6IkpXVCJ9.eyJzdWIiOiI0MiIsIm5hbWUiOiJKZXNzIFRlbXBvcmFsIiwiZXhwIjoxNTE2MjM5MDIyfQ.uqeQ60enLaCQEZ-7C0d_cgQSrWfgXRQuoB1LZD0j06E'
header_data = jwt.get_unverified_header(token)
```
And if you try to decode it today, you'll see an `ExpiredSignatureError`, go ahead try it:
```python
payload = jwt.decode(
token,
key='my_super_secret',
algorithms=[header_data['alg'], ]
)
```
Because PyJWT is such a great tool, it already took care of handling the verification for you, so if you try to decode an expired token, you should see an error like this:
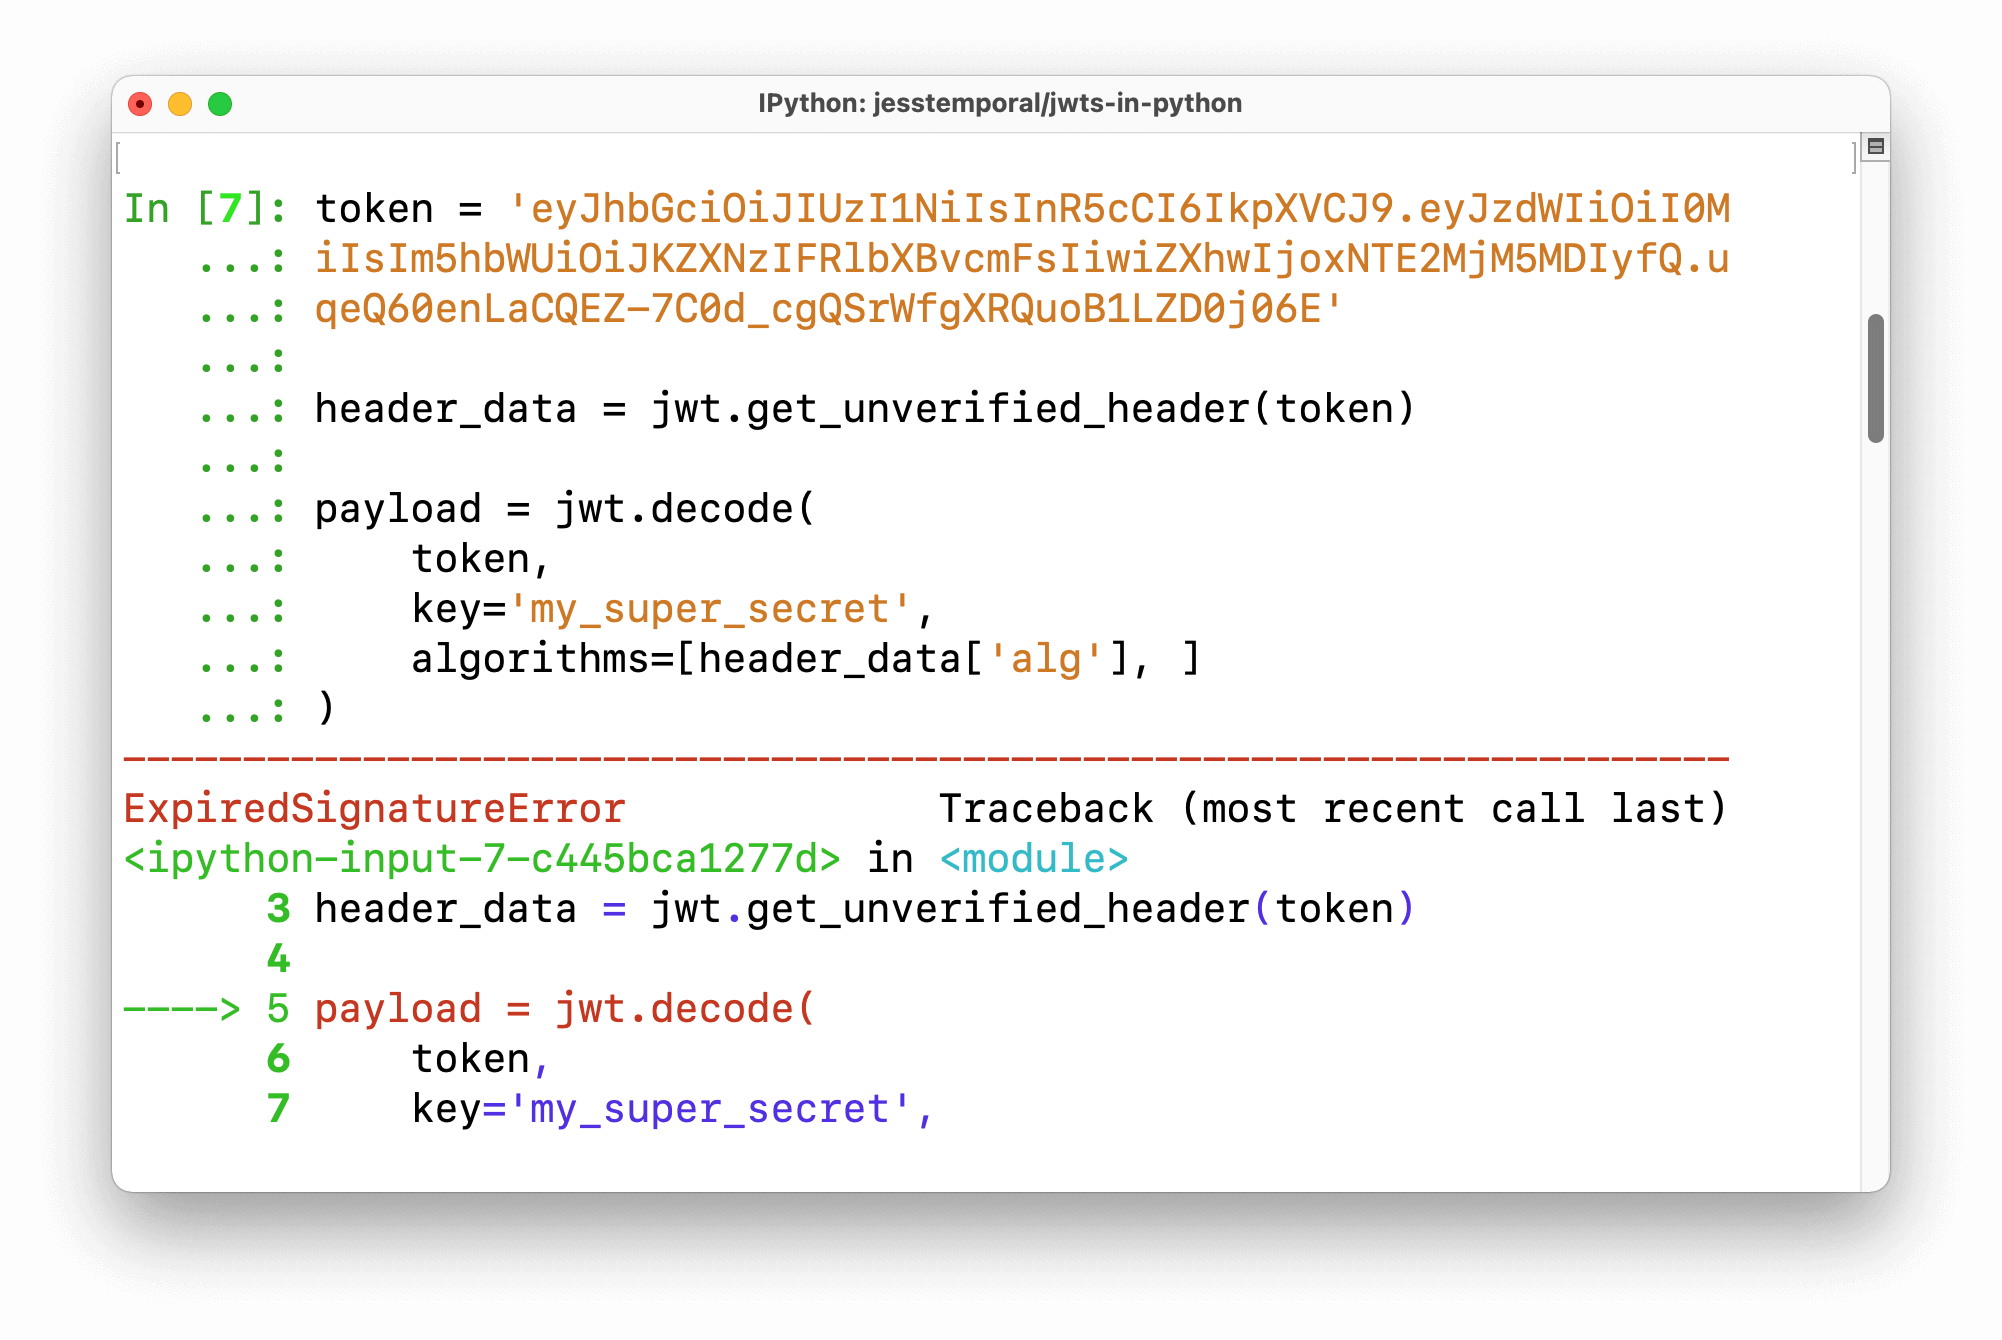
So to avoid the `ExpiredSignatureError` your code should have a `try/except` clause to handle it, something like this:
```python
from jwt.exceptions import ExpiredSignatureError
try:
payload = jwt.decode(
token,
key='my_super_secret',
algorithms=[header_data['alg'], ]
)
except ExpiredSignatureError as error:
print(f'Unable to decode the token, error: {error}')
```
Most of the errors you might face when verifying tokens are already implemented in the `jwt.exceptions` module. You just have to remember to use them and make sure your code is well prepared to deal with them as they appear.
If you need more details [on the steps necessary to validate tokens, I recommend reading this Auth0's documentation](https://auth0.com/docs/tokens/json-web-tokens/validate-json-web-tokens#manually-implement-checks) on the subject.
## Wrapping Up
JWTs are awesome and can be used in many scenarios. Learning how to handle them is something every web developer might need to know someday, and even though I just showed you how simple it is to create, verify, and decode JWTs in Python, it's worth mentioning that there's **a lot of room for error** when using JWTs for authorization.
Broken access control is consistently part of the [OWASP Top Ten Web Application Security Risks](https://owasp.org/www-project-top-ten/2017/A5_2017-Broken_Access_Control), so it's important to follow industry standards and know [what can go wrong](https://auth0.com/blog/what-your-identity-solution-is-missing/) if you're designing your own authorization solution.
If you'd like to offload the burden of managing this on your own, you can [sign up for a free Auth0 account](https://a0.to/blog_signup) and start working with JWTs in just minutes.
Do you use JWTs? What package/library do you like the most for dealing with them?
Leave your comments and questions on the [community forum](https://community.auth0.com/t/how-to-handle-jwts-in-python/65508). 😉