---
title: "Developing Games with React, Redux, and SVG - Part 2"
description: "Learn how to make React and Redux control a bunch of SVG elements to create a game."
authors:
- name: "Bruno Krebs"
url: "https://auth0.com/blog/authors/bruno-krebs/"
date: "Feb 8, 2018"
category: "Developers,Tutorial,React"
tags: ["react", "redux", "svg", "game", "auth0", "animation", "state"]
url: "https://auth0.com/blog/developing-games-with-react-redux-and-svg-part-2/"
---
# Developing Games with React, Redux, and SVG - Part 2
**TL;DR:** In this series, you will learn how to make React and Redux control a bunch of SVG elements to create a game. The knowledge acquired throughout this series will also allow you to create other types of animations that are orchestrated by React and Redux, not only games. You can find the final code developed in this article in the following GitHub repository: [Aliens Go Home - Part 2](https://github.com/auth0-blog/aliens-go-home-part-2)
---
## The React Game: Aliens, Go Home!
The game that you will develop in this series is called *Aliens, Go Home!* The idea of this game is simple, you will have a cannon and will have to kill flying objects that are trying to invade the Earth. To kill these flying objects you will have to point and click on an SVG canvas to make your cannon shoot.
If you are curious, you can find [the final game up and running here](http://bang-bang.digituz.com.br/). But don't play too much, you have work to do!
## Previously, on Part 1
In [the first part of this series](https://auth0.com/blog/developing-games-with-react-redux-and-svg-part-1/), you have used [`create-react-app`](https://github.com/facebookincubator/create-react-app) to bootstrap your React application and you have installed and configured Redux to manage the game state. After that, you have learned how to use SVG with React components while creating game elements like `Sky`, `Ground`, the `CannonBase`, and the `CannonPipe`. Finally, you added the aiming capability to your cannon by using an event listener and a [JavaScript interval](https://www.w3schools.com/jsref/met_win_setinterval.asp) to trigger a Redux *action* that updates the `CannonPipe` angle.
These actions paved the way to understand how you can create your game (and other animations) with React, Redux, and SVG.
> **Note:** If, for whatever reason, you don't have the code created in [the first part of the series](https://auth0.com/blog/developing-games-with-react-redux-and-svg-part-1/), you can simply clone it from [this GitHub repository](https://github.com/auth0-blog/aliens-go-home-part-1). After cloning it, you will be able to follow the instructions in the sections that follow.
## Creating More SVG React Components
The subsections that follow will show you how to create the rest of your game elements. Although they might look lengthy, they are quite simple and similar. You may even be able to follow the instructions in a matter of minutes.
After this section, you will find the most interesting topics of this part of the series. These topics are entitled *Making Flying Objects Appear Randomly* and *Using CSS Animation to Move Flying Objects*.
### Creating the Cannonball React Component
The next element that you will create is the `CannonBall`. Note that, for now, you will keep this element inanimate. But don't worry! Soon (after creating all other elements), you will make your cannon shoot multiple cannonballs and kill some aliens.
To create this component, add a new file called `CannonBall.jsx` inside the `./src/components` directory with the following code:
```js
import React from 'react';
import PropTypes from 'prop-types';
const CannonBall = (props) => {
const ballStyle = {
fill: '#777',
stroke: '#444',
strokeWidth: '2px',
};
return (
);
};
CannonBall.propTypes = {
position: PropTypes.shape({
x: PropTypes.number.isRequired,
y: PropTypes.number.isRequired
}).isRequired,
};
export default CannonBall;
```
As you can see, to make a cannonball appear in your canvas, you will have to pass to it an object that contains the `x` and `y` properties. If you don't have that much experience with `prop-types`, this might have been the first time that you have used `PropTypes.shape`. Luckily, this feature is self-explanatory.
After creating this component, you might want to see it on your canvas. To do that, simply add the following tag inside the `svg` element of the `Canvas` component (you will also need to add `import CannonBall from './CannonBall';`):
```html
```
Just keep in mind that, if you add it before an element that occupies the same position, you will not see it. So, to play safe, just add it as the last element (right after ``). Then, you can open your game in a web browser to see your new component.
> If you don't remember how to do that, you just have to run `npm start` in the project root and then open [http://localhost:3000](http://localhost:3000) in your preferred browser. Also, **don't** forget to commit this code to your repository before moving on.
### Creating the Current Score React Component
Another React component that you will have to create is the `CurrentScore`. As the name states, you will use this component to show users what their current scores are. That is, whenever they kill a flying object, your game will increase the value in this component by one and show to them.
Before creating this component, you might want to add some neat font to use on it. Actually, you might want to configure and use a font on the whole game, so it won't look like a monotonous game. You can browse and choose a font from whatever place you want, but if you are not interested in investing time on this, you can simply add the following line at the top of the `./src/index.css` file:
```css
@import url('https://fonts.googleapis.com/css?family=Joti+One');
/* other rules ... */
```
This will make your game load [the Joti One font from Google](https://fonts.google.com/specimen/Joti+One).
After that, you can create the `CurrentScore.jsx` file inside the `./src/components` directory with the following code:
```js
import React from 'react';
import PropTypes from 'prop-types';
const CurrentScore = (props) => {
const scoreStyle = {
fontFamily: '"Joti One", cursive',
fontSize: 80,
fill: '#d6d33e',
};
return (
{props.score}
);
};
CurrentScore.propTypes = {
score: PropTypes.number.isRequired,
};
export default CurrentScore;
```
> **Note:** If you haven't configured Joti One (or if you configured some other font), you will have to change this code accordingly. Besides that, this font is used by other components that you will create, so keep in mind that you might have to update these components as well.
As you can see, the `CurrentScore` component requires a single property: `score`. As your game is not currently counting the score, to see this component right now, you will have to add a hard-coded value. So, inside the `Canvas` component, add `` as the last element inside the `svg` element. Also, add the `import` statement to fetch this component (`import CurrentScore from './CurrentScore';`).
If you try to see your new component now, you **won't** be able to. This is because your component is using a `filter` called `shadow`. Although this shadow filter is not necessary, it will make your game looks nicer. Besides that, [adding a shadow to SVG elements is easy](https://www.w3schools.com/graphics/svg_feoffset.asp). To do that, simply add the following element at the top of your `svg`:
```xml
```
In the end, your `Canvas` component will look like this:
```html
import React from 'react';
import PropTypes from 'prop-types';
import Sky from './Sky';
import Ground from './Ground';
import CannonBase from './CannonBase';
import CannonPipe from './CannonPipe';
import CannonBall from './CannonBall';
import CurrentScore from './CurrentScore';
const Canvas = (props) => {
const viewBox = [window.innerWidth / -2, 100 - window.innerHeight, window.innerWidth, window.innerHeight];
return (
);
};
Canvas.propTypes = {
angle: PropTypes.number.isRequired,
trackMouse: PropTypes.func.isRequired,
};
export default Canvas;
```
And your game will look like this:
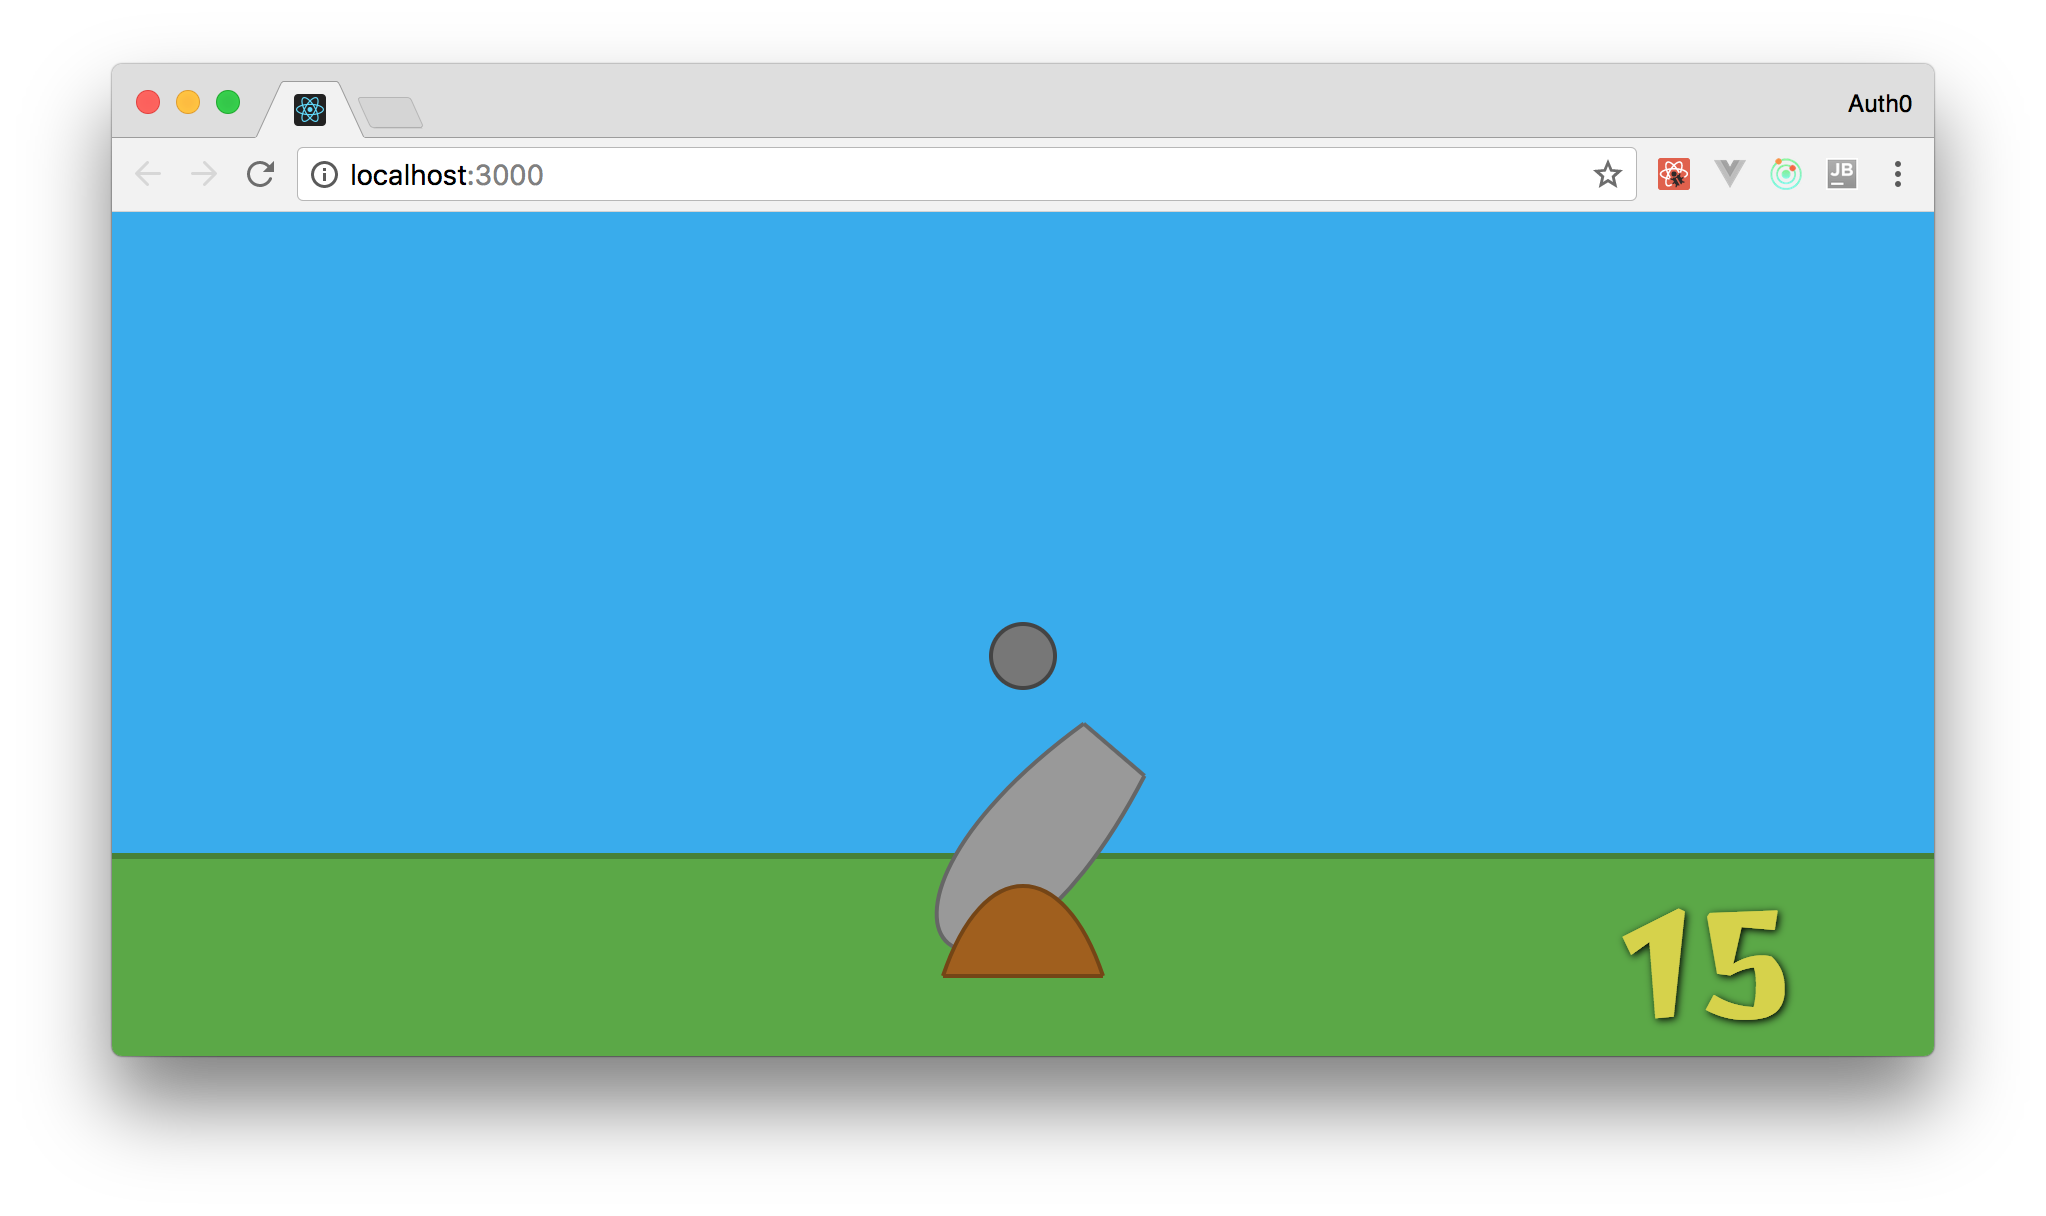
Not bad, huh?!
### Creating the Flying Object React Component
What about creating React components to represent your flying objects now? Flying objects are not circles, nor rectangles. They usually have two parts (the top and the base) and these parts are usually rounded. That's why you are going to use two React components to create your flying objects: the `FlyingObjectBase` and the `FlyingObjectTop`.
One of these components is going to use a Bezier Cubic curve to define its shapes. The other one is going to be an ellipse.
You can start by creating the first one, the `FlyingObjectBase`, in a new file called `FlyingObjectBase.jsx` inside the `./src/components` directory. This is the code to define this component:
```js
import React from 'react';
import PropTypes from 'prop-types';
const FlyingObjectBase = (props) => {
const style = {
fill: '#979797',
stroke: '#5c5c5c',
};
return (
);
};
FlyingObjectBase.propTypes = {
position: PropTypes.shape({
x: PropTypes.number.isRequired,
y: PropTypes.number.isRequired
}).isRequired,
};
export default FlyingObjectBase;
```
After that, you can define the top part of the flying object. To do that, create a file called `FlyingObjectTop.jsx` inside the `./src/components` directory and add the following code to it:
```js
import React from 'react';
import PropTypes from 'prop-types';
import { pathFromBezierCurve } from '../utils/formulas';
const FlyingObjectTop = (props) => {
const style = {
fill: '#b6b6b6',
stroke: '#7d7d7d',
};
const baseWith = 40;
const halfBase = 20;
const height = 25;
const cubicBezierCurve = {
initialAxis: {
x: props.position.x - halfBase,
y: props.position.y,
},
initialControlPoint: {
x: 10,
y: -height,
},
endingControlPoint: {
x: 30,
y: -height,
},
endingAxis: {
x: baseWith,
y: 0,
},
};
return (
);
};
FlyingObjectTop.propTypes = {
position: PropTypes.shape({
x: PropTypes.number.isRequired,
y: PropTypes.number.isRequired
}).isRequired,
};
export default FlyingObjectTop;
```
If you don't know how the Bezier Cubic curve works, [take a look at the previous article](https://auth0.com/blog/developing-games-with-react-redux-and-svg-part-1/).
This is enough to show some flying objects but, as you are going to make them randomly appear in your game, it will be easier to treat these components as a single element. To do that, simply create a new file called `FlyingObject.jsx` beside the other two and add the following code to it:
```js
import React from 'react';
import PropTypes from 'prop-types';
import FlyingObjectBase from './FlyingObjectBase';
import FlyingObjectTop from './FlyingObjectTop';
const FlyingObject = props => (
);
FlyingObject.propTypes = {
position: PropTypes.shape({
x: PropTypes.number.isRequired,
y: PropTypes.number.isRequired
}).isRequired,
};
export default FlyingObject;
```
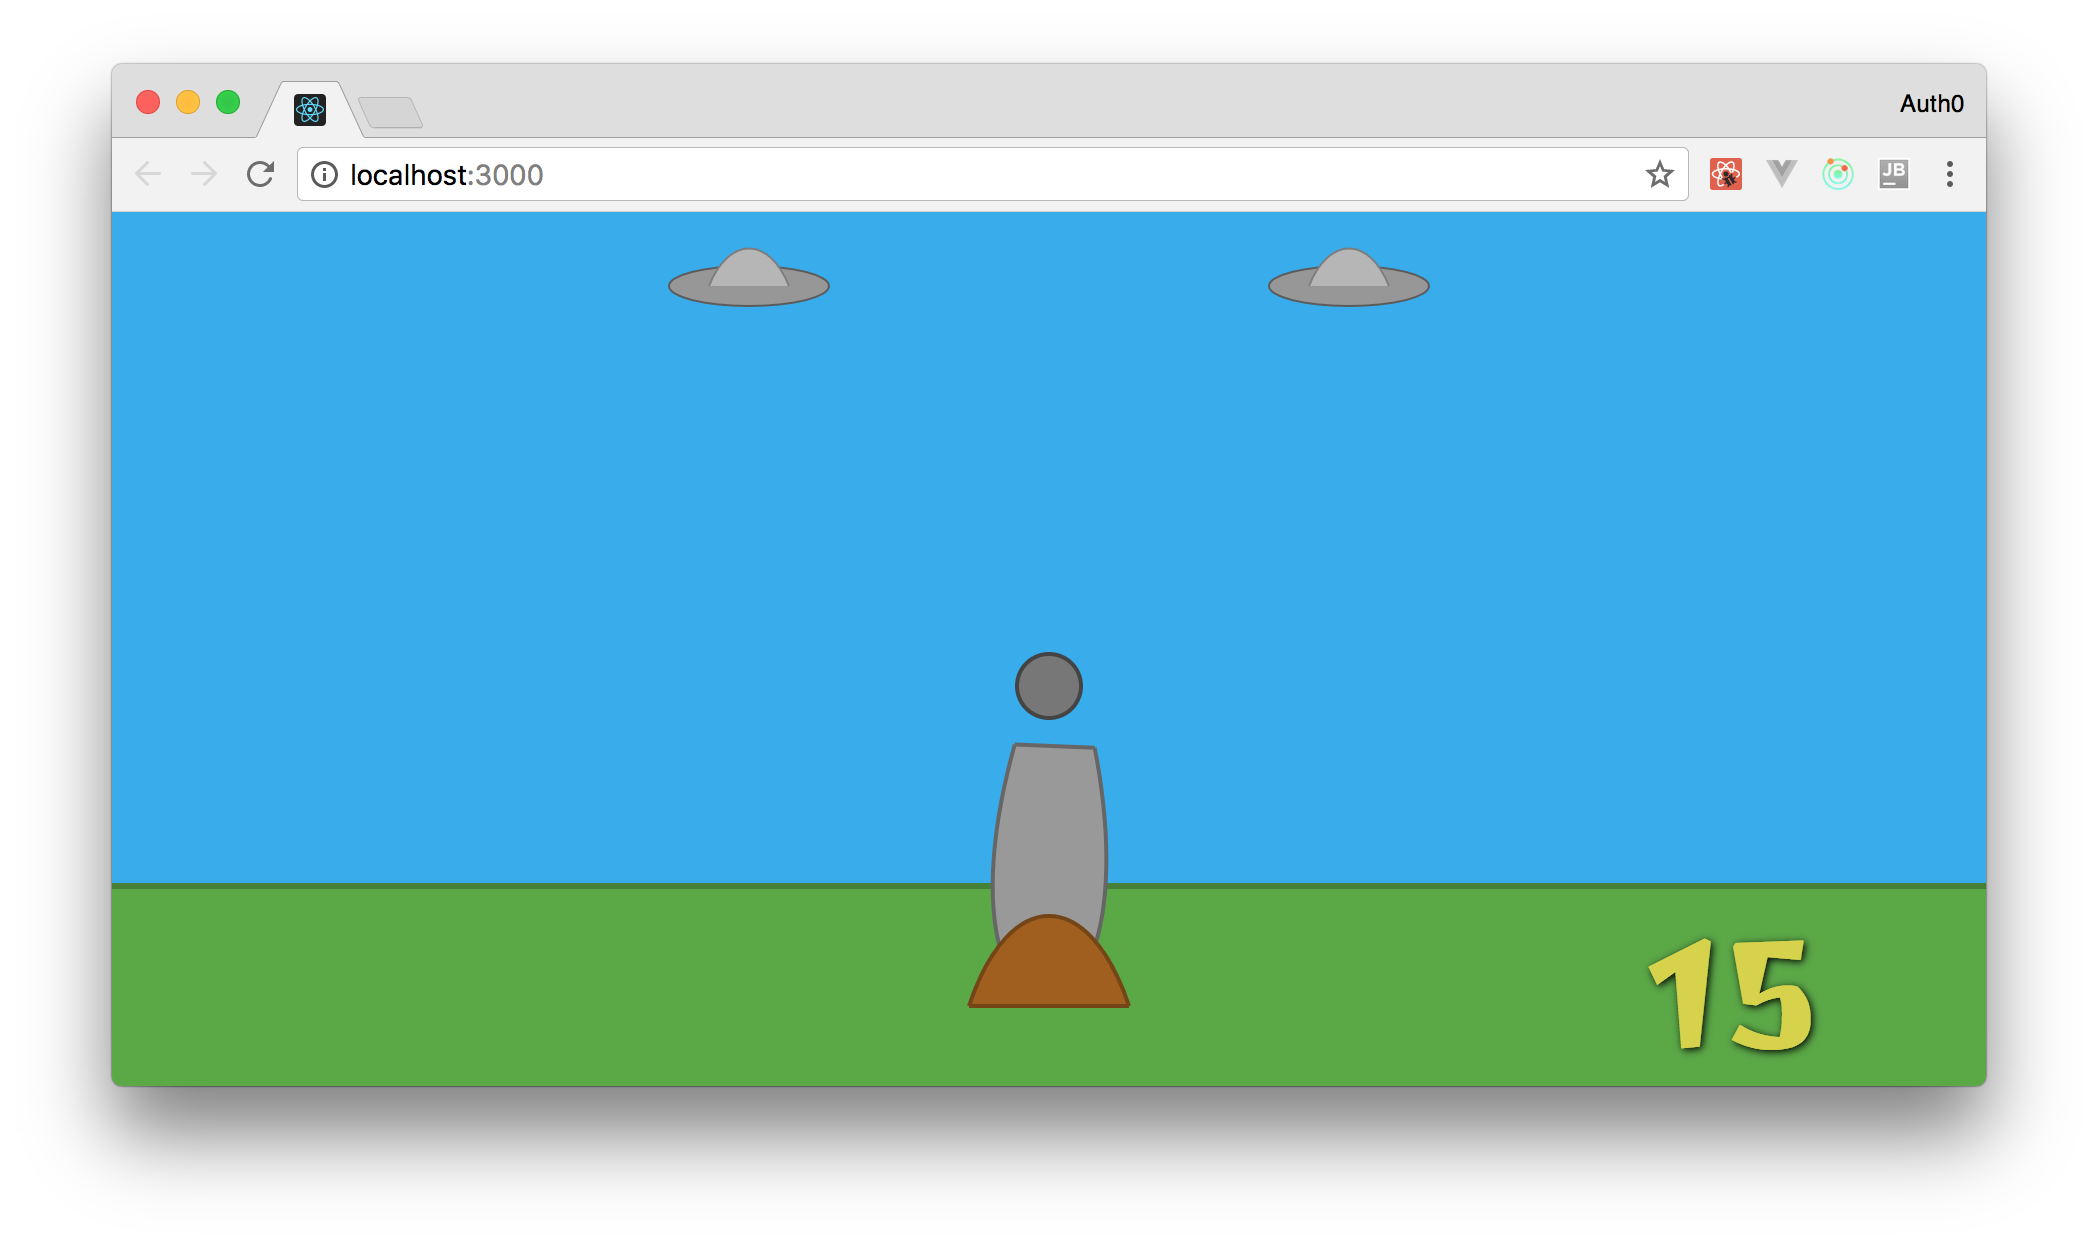
Now, to add flying objects in your game, you can simply use one React component. To see this in action, update your `Canvas` component as follows:
```html
// ... other imports
import FlyingObject from './FlyingObject';
const Canvas = (props) => {
// ...
return (
);
};
// ... propTypes and export
```
### Creating the Heart React Component
The next component that you will need to create is the component that represents gamers' lives. There is nothing better to represent a life than a `Heart`. So, create a new file called `Heart.jsx` inside the `./src/components` directory and add the following code to it:
```js
import React from 'react';
import PropTypes from 'prop-types';
import { pathFromBezierCurve } from '../utils/formulas';
const Heart = (props) => {
const heartStyle = {
fill: '#da0d15',
stroke: '#a51708',
strokeWidth: '2px',
};
const leftSide = {
initialAxis: {
x: props.position.x,
y: props.position.y,
},
initialControlPoint: {
x: -20,
y: -20,
},
endingControlPoint: {
x: -40,
y: 10,
},
endingAxis: {
x: 0,
y: 40,
},
};
const rightSide = {
initialAxis: {
x: props.position.x,
y: props.position.y,
},
initialControlPoint: {
x: 20,
y: -20,
},
endingControlPoint: {
x: 40,
y: 10,
},
endingAxis: {
x: 0,
y: 40,
},
};
return (
);
};
Heart.propTypes = {
position: PropTypes.shape({
x: PropTypes.number.isRequired,
y: PropTypes.number.isRequired
}).isRequired,
};
export default Heart;
```
As you can see, to create the shape of a heart with SVG, you need two Cubic Bezier curves: one for each side of the heart. You also had to add a `position` property to this component. You needed this because your game will provide users more than one life, so you will need to show each one of these hearts in a different position.
For now, you can simply add one heart to your canvas so you can confirm that everything is working properly. To do this, open the `Canvas` component and add:
```html
```
This must be the last element inside the `svg` element. Also, don't forget to add the import statement (`import Heart from './Heart';`).
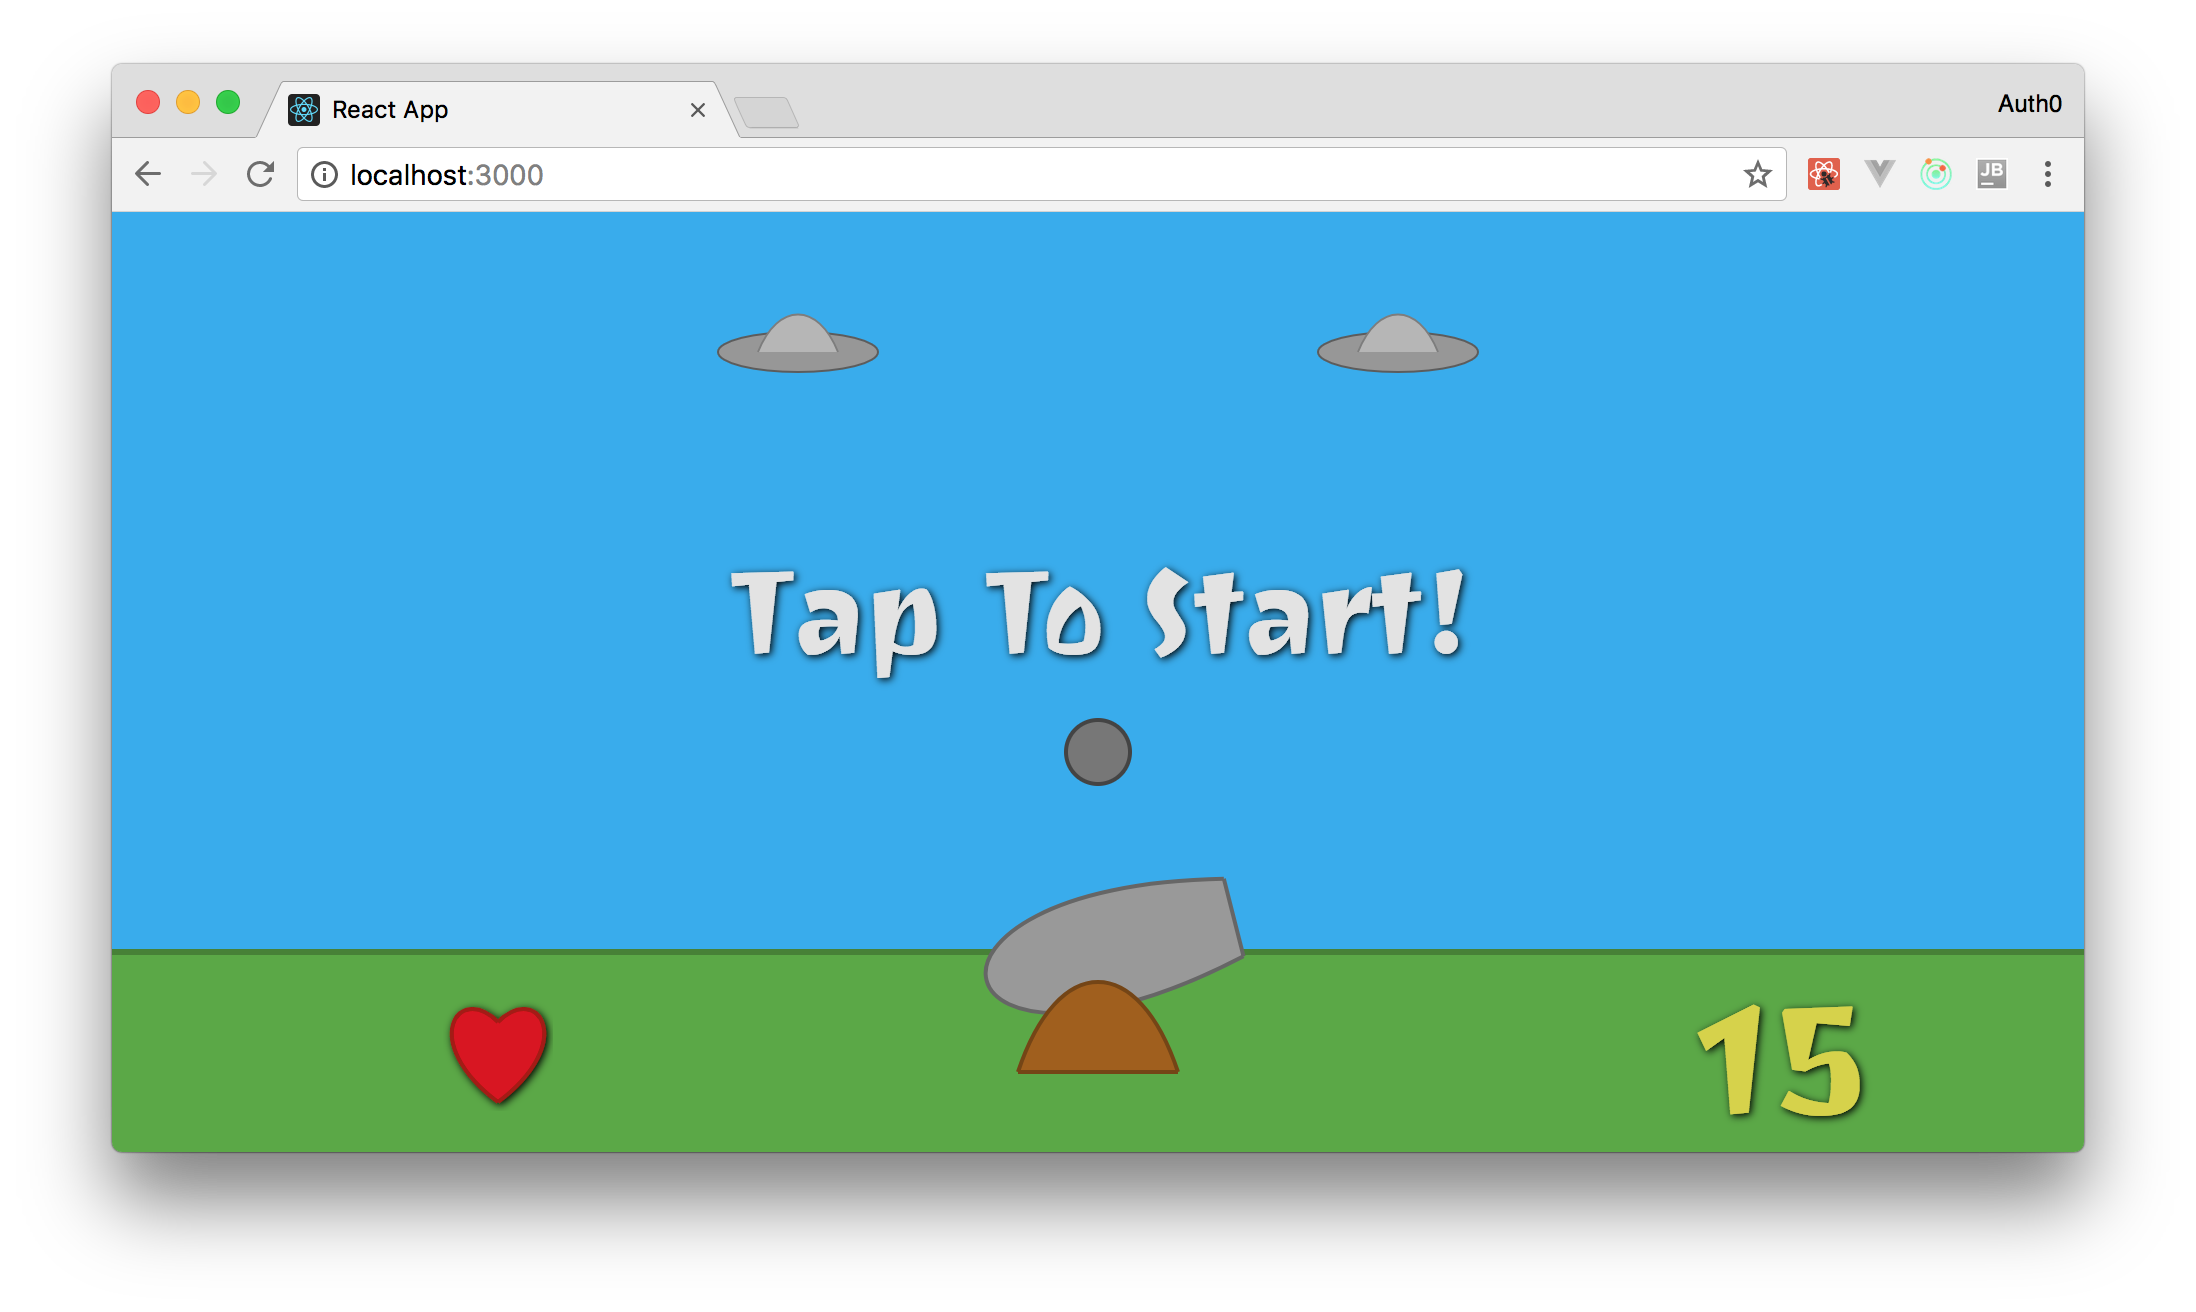
### Creating the Start Game Button React Component
Every game needs a start button. So, to create one for your game, add a file called `StartGame.jsx` beside the other components and add the following code to it:
```js
import React from 'react';
import PropTypes from 'prop-types';
import { gameWidth } from '../utils/constants';
const StartGame = (props) => {
const button = {
x: gameWidth / -2, // half width
y: -280, // minus means up (above 0)
width: gameWidth,
height: 200,
rx: 10, // border radius
ry: 10, // border radius
style: {
fill: 'transparent',
cursor: 'pointer',
},
onClick: props.onClick,
};
const text = {
textAnchor: 'middle', // center
x: 0, // center relative to X axis
y: -150, // 150 up
style: {
fontFamily: '"Joti One", cursive',
fontSize: 60,
fill: '#e3e3e3',
cursor: 'pointer',
},
onClick: props.onClick,
};
return (
Tap To Start!
);
};
StartGame.propTypes = {
onClick: PropTypes.func.isRequired,
};
export default StartGame;
```
As you don't need to show more than one `StartGame` button at a time, you have defined that this component is statically positioned in your game (`x: 0` and `y: -150`). There are other two differences between this component and the others that you have defined before:
- First, this component is expecting a function called `onClick`. This function is used to listen for clicks in this button and will trigger a Redux action to inform your app that it must start a new game.
- Second, this component is using a constant called `gameWidth` that you haven't defined yet. This constant will represent the area that is usable. Any area beyond that will have no purpose besides making your app fill the whole screen.
To define the `gameWidth` constant, open the `./src/utils/constants.js` file and add the following line to it:
```js
export const gameWidth = 800;
```
After that, you can add the `StartGame` component to your `Canvas` by appending ` console.log('Aliens, Go Home!')} />` as the last element inside the `svg` element. As always, don't forget to add the import statement (`import StartGame from './StartGame';`).
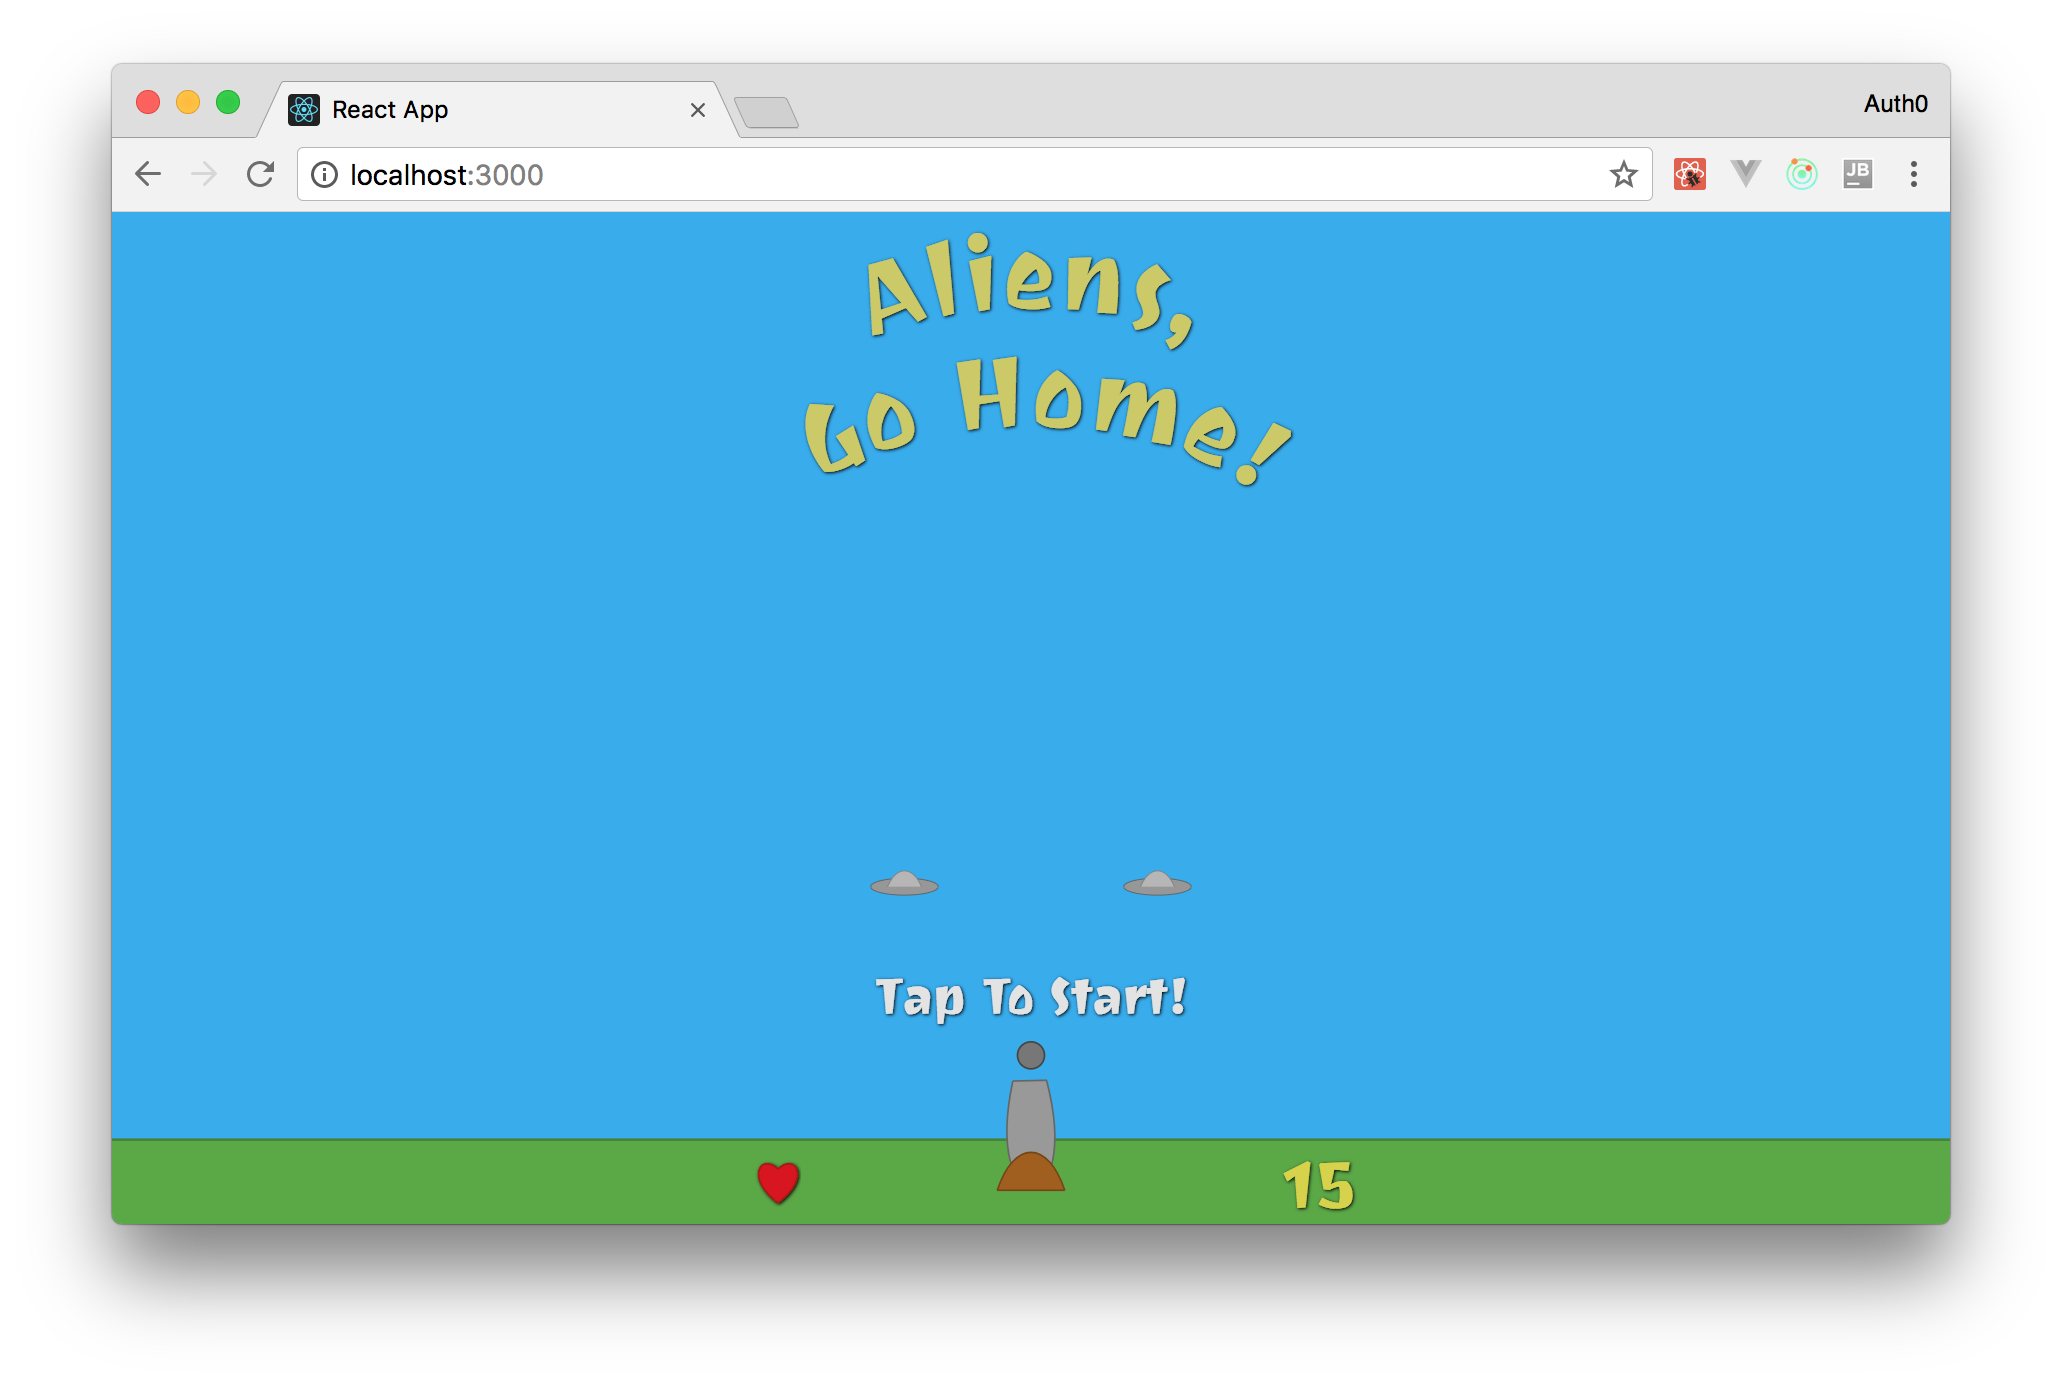
### Creating the Title React Component
The last component that you will create in this part of the series is the `Title` component. You already have a name for your game: *Aliens, Go Home!*. So, adding the title to it is as easy as creating a new file called `Title.jsx` (inside the `./src/components` directory) with the following code:
```js
import React from 'react';
import { pathFromBezierCurve } from '../utils/formulas';
const Title = () => {
const textStyle = {
fontFamily: '"Joti One", cursive',
fontSize: 120,
fill: '#cbca62',
};
const aliensLineCurve = {
initialAxis: {
x: -190,
y: -950,
},
initialControlPoint: {
x: 95,
y: -50,
},
endingControlPoint: {
x: 285,
y: -50,
},
endingAxis: {
x: 380,
y: 0,
},
};
const goHomeLineCurve = {
...aliensLineCurve,
initialAxis: {
x: -250,
y: -780,
},
initialControlPoint: {
x: 125,
y: -90,
},
endingControlPoint: {
x: 375,
y: -90,
},
endingAxis: {
x: 500,
y: 0,
},
};
return (
Aliens,
Go Home!
);
};
export default Title;
```
To make your title curved, you have used a combination of `path` and `textPath` elements with Cubic Bezier curve. Besides that, you have made your title statically positioned, just like the `StartGame` button.
Now, to add this component to your canvas, you can simply add `` to your `svg` element and add the import statement (`import Title from './Title';`) at the top of the `Canvas.jsx` file. However, if you run your application now, you will notice that your new component does not appear on your screen. This happens because your app does not show enough vertical space yet.
## Making Your React Game Responsive
To change your game dimensions and to make it responsive, you will need to do two things. First, you will need to attach an `onresize` event listener to the global `window` object. Doing this is quite simple, you can open the `./src/App.js` file and append the following code to the `componentDidMount()` method:
```js
window.onresize = () => {
const cnv = document.getElementById('aliens-go-home-canvas');
cnv.style.width = `${window.innerWidth}px`;
cnv.style.height = `${window.innerHeight}px`;
};
window.onresize();
```
This will make your app keep the dimension of your canvas equal to the dimension of the window that your users see. Even if they resize their browsers. It will also force the execution of the `window.onresize` function when the app is rendered for the first time.
Second, you will need to change the `viewBox` property of your canvas. Now, instead of defining that the uppermost point in the Y-axis is `100 - window.innerHeight` (if you don't remember why you have used this formula, [take a look at the first part of the series](https://auth0.com/blog/developing-games-with-react-redux-and-svg-part-1/)) and that the `viewBox` height is equal to the `innerHeight` of the `window` object, you will use the following values:
```js
const gameHeight = 1200;
const viewBox = [window.innerWidth / -2, 100 - gameHeight, window.innerWidth, gameHeight];
```
In this new version, you are using the `1200` value so your app can properly show the new title component. Besides that, this new vertical space will give enough time for your users to see and kill these flying objects. This will give them enough time to shoot and kill these objects.
## Enabling Users to Start the Game
With all these new components in place and with these new dimensions, you can start thinking about enabling your users to start the game. That is, you can refactor your game to make its state switch to started whenever a user clicks on the *Start Game* button. This must trigger a lot of changes in your game's state. However, to make things easier to grasp, you can start by simply removing the `Title` and the `StartGame` components from the screen when users click on this button.
To do that, you will need to create a new Redux action that will be processed by a Redux reducer to change a flag in your game. To create this new action, open the `./src/actions/index.js` file and add the following code to it (leave the previous code on it unaltered):
```js
// ... MOVE_OBJECTS
export const START_GAME = 'START_GAME';
// ... moveObjects
export const startGame = () => ({
type: START_GAME,
});
```
Then, you can refactor the `./src/reducers/index.js` to handle this new action. The new version of this file will look like this:
```js
import { MOVE_OBJECTS, START_GAME } from '../actions';
import moveObjects from './moveObjects';
import startGame from './startGame';
const initialGameState = {
started: false,
kills: 0,
lives: 3,
};
const initialState = {
angle: 45,
gameState: initialGameState,
};
function reducer(state = initialState, action) {
switch (action.type) {
case MOVE_OBJECTS:
return moveObjects(state, action);
case START_GAME:
return startGame(state, initialGameState);
default:
return state;
}
}
export default reducer;
```
As you can see, now you have a child object inside `initialState` that contains three properties about your game:
1. `started`: a flag to indicate if the game is running or not;
2. `kills`: a property that holds how many flying objects the user has killed;
3. `lives`: a property that holds how many lives the user has;
Besides that, you have added a new `case` to your `switch` statement. This new `case` (which is triggered when an action of `type` `START_GAME` arrives at the reducer) calls the `startGame` function. The goal of this function is to turn on the `started` flag inside the `gameState` property. Also, whenever a user starts a new game, this function has to zero the `kills` counter and give users three lives again.
To implement the `startGame` function, create a new file called `startGame.js` inside the `./src/reducers` directory with the following code:
```js
export default (state, initialGameState) => {
return {
...state,
gameState: {
...initialGameState,
started: true,
}
}
};
```
As you can see, the code in this new file is quite simple. It just returns a new state object to the Redux store where the `started` flag is set to `true` and resets everything else inside the `gameState` property. This gives users three lives again and zeros their `kills` counter.
After implementing this function, you have to pass it to your game. You also have to pass the new `gameState` property to it. So, to achieve that, you will have to change the `./src/containers/Game.js` file as follows:
```js
import { connect } from 'react-redux';
import App from '../App';
import { moveObjects, startGame } from '../actions/index';
const mapStateToProps = state => ({
angle: state.angle,
gameState: state.gameState,
});
const mapDispatchToProps = dispatch => ({
moveObjects: (mousePosition) => {
dispatch(moveObjects(mousePosition));
},
startGame: () => {
dispatch(startGame());
},
});
const Game = connect(
mapStateToProps,
mapDispatchToProps,
)(App);
export default Game;
```
To summarize, the changes that you have made in this file are:
- `mapStateToProps`: Now, you have told Redux that the `App` component cares about the `gameState` property.
- `mapDispatchToProps`: You have also told Redux to pass the `startGame` function to the `App` component, so it can trigger this new action.
Both these new `App` properties (`gameState` and `startGame`) won't be directly used by the `App` component itself. Actually, the component that will use them is the `Canvas` component, so you have to pass them to it. To do that, open the `./src/App.js` file and refactor it as follows:
```js
// ... import statements ...
class App extends Component {
// ... constructor(props) ...
// ... componentDidMount() ...
// ... trackMouse(event) ...
render() {
return (