---
title: "Continuous Deployment Pipelines and Open-Source Node.js Web Apps"
description: "How to configure a Continuous Deployment pipeline utilizing Now.sh, GitHub, and Travis CI to automate your open-source Node.js web apps."
authors:
- name: "Idorenyin Obong"
url: "https://auth0.com/blog/authors/idorenyin-obong/"
date: "Aug 9, 2018"
category: "Developers,Tutorial,Continuous Deployment"
tags: ["continuous-deployment", "open-source", "web-app", "node-js"]
url: "https://auth0.com/blog/continuous-deployment-pipelines-and-open-source-node-js-web-apps/"
---
# Continuous Deployment Pipelines and Open-Source Node.js Web Apps
**TL;DR:** In this article, you will learn how to configure a Continuous Deployment pipeline for your open-source web apps. For demonstration purposes, you will use Now.sh, GitHub, and Travis CI to automate the pipeline. However, the strategy can actually be used with other programming languages (e.g. Python, Java, and .NET Core) and tools (like BitBucket, AWS, and CircleCI).
## Continuous Deployment Overview
[Continuous Deployment](https://www.scaledagileframework.com/continuous-deployment/) (popularly known as CD) is a modern software engineering approach that has to do with automating the release of software. Instead of the usual manual method of pushing out software to production, Continuous Deployment aims to ease and automate this process with the use of pipelines. In Continuous Deployment, an update to the source code means an update to the production server too if all tests are passed. Continuous Deployment is often mistaken with Continuous Integration and Continuous Delivery. For you to properly get a hang of this concept, let us distinguish the other two concepts.
In [Continuous Integration (CI)](https://www.atlassian.com/continuous-delivery/continuous-integration-intro), when a new code is checked in, a build is generated and tested. The aim is to test every new code to be sure that it doesn’t break the software as a whole. This will require writing test for every update that is pushed. The importance of CI is to ensure a stable codebase at all times, especially when there are multiple developers in a team. With this, bugs are discovered more rapidly when the automated tests fail.
[Continuous Delivery](https://aws.amazon.com/devops/continuous-delivery/) moves a step ahead of Continuous Integration. After testing, the release process is also automated. The aim is to generate a releasable build (i.e. a build that is stable enough to go into production). This helps to reduce the hassle of preparing for release. In Continuous Delivery, since there are regular releases, there is also faster feedback.
The major difference between Continuous Delivery and Continuous Deployment is the way releases are done. One is manual, while the other is automated. With Continuous Delivery, your software is always at a state where it can be pushed out to production manually. Whereas, with Continuous Deployment, any stable working version of the software is pushed to production immediately. Continuous Deployment needs Continuous Delivery, but the reverse is not applicable.
In all of these, you need a repository where your code will reside and a Continuous Integration server to monitor the repository where the code is checked into. When the server notices an update in the code, it triggers the pipeline. A pipeline in this context is a script/file that contains commands and tasks to be executed on the project. When typically configuring your Continuous Integration server, you set up your pipeline alongside it. Some common Continuous Integration servers include [Travis CI](https://travis-ci.org/), [Jenkins](https://jenkins.io/), [TeamCity](https://www.jetbrains.com/teamcity/), etc.
In this post, you will learn how to set up a Continuous Integration server together with a GitHub repository to show Continuous Deployments in practice. Continuous Deployments are important for the following reasons: better integration for large teams, faster and easier releases, faster feedback, increased development productivity as a whole, etc.
## Preparing an Open-Source Web App for Continuous Deployment
In this section, you will build a simple hello-world app with Node.js. As such, first, you will need to ensure that you have Node.js installed on your machine before moving ahead.
```bash
node --version
```
Running the command above should make your terminal print something similar to `v9.11.1`. If you get a message saying that `node` was not found, please, follow this [link](https://nodejs.org/en/download/) to install Node.js and NPM.
### Scaffolding a Node.js Web App
Now that you have Node.js properly installed in your machine, you will set up the structure of your Node.js application. For easy setup, you will run `npm init -y` in a new directory (this will be your project root). This command will generate for you a `package.json` file for that will have the details of your Node.js app. The `package.json` file contains basic information about your app coupled with the name of the dependencies used.
To create your project and the `package.json` file, go to your terminal and execute the following commands:
```bash
# create the project root
mkdir node-cd
# move into the project root
cd node-cd
# start it as an NPM project
npm init -y
```
After running the last command, NPM will generate the `package.json` file for you. Now, if you open the directory for your app, you will see that the `package.json` file contains the following contents:
```json
{
"name": "node-cd",
"version": "1.0.0",
"description": "",
"main": "index.js",
"scripts": {
"test": "echo \"Error: no test specified\" && exit 1"
},
"keywords": [],
"author": "",
"license": "ISC"
}
```
### Installing the Node.js Web App Dependencies
After creating the `package.json` file, you will need to install the dependencies needed to build your project. For this article, you will need only two dependencies: [`express`](https://github.com/expressjs/express) and [`body-parser`](https://github.com/expressjs/body-parser). You can install all these dependencies at once by running this command:
```bash
npm install express body-parser --save
```
Once the installation is complete, you should see a `node_modules` folder. Additionally, your `package.json` file will contain the dependencies installed and their versions.
### Creating a Web Page on Node.js
During the setup of the app, NPM declared the `index.js` file as the entry point of the app. Now, you need to create this file. So, still in the project root, run the following command to create it:
```bash
touch index.js
```
Next, you will have to create an HTML file. Usually, it is a good practice to create a directory for your views. As such, you will create the directory and the HTML file by running the following commands from the project root:
```bash
# create a directory for your views
mkdir pages
# create your first view
touch pages/index.html
```
Now, to make your Node.js web app serve the HTML file, you will open the `index.js` file and set it up like so:
```javascript
// import dependencies
const express = require('express');
const bodyParser = require('body-parser');
const path = require('path');
// initialise express
const app = express();
// root endpoint
app.get('/', (req, res) => {
res.sendFile(path.join(__dirname + '/pages/index.html'));
});
// select the port in which your Node.js web app will run
const port = 5000;
// then listen to the selected port
app.listen(port, () => console.log(`Server is running on port ${port}`));
```
This snippet contains all the server logic required for this app. As you can see, just one endpoint is declared (i.e. the one that loads the `index.html` page). Also, as defined in the code above, the app will run on port `5000`.
Now, to add some content to your `index.html` file, open this file and insert the following code:
``` html
Title Page
Hello World
```
This is a basic HTML code with [Bootstrap (a library that helps to build beautiful web apps)](https://getbootstrap.com/) and [jQuery (a JavaScript library needed by Bootstrap)](https://jquery.com/) referenced via CDN (Content Delivery Network). The web page contains a **hello world** text in an `h1` tag to make the text a heading. You can run your server now with this command:
```bash
node index.js
```
Now, if you visit [`http://localhost:5000`](http://localhost:5000), you should see something like this:
That's it! For the purposes of this article, the current project will be enough. Now, you will need to submit your project to a version control system.
## GitHub and Open-Source Web Apps
Earlier in this article, I mentioned the need for a repository to demonstrate Continuous Deployment in action. A repository, in this case, is simply a place where source code is stored. As such, you will need to store your project's source code on a remote (online) repository.
[Git](https://git-scm.com/) is the most popular and one of the most advanced [version control systems](https://en.wikipedia.org/wiki/Version_control) out there. Therefore, a service that can host a Git repository is what you should choose. There are many available out there, but we will use the most popular of them, GitHub. [GitHub](https://www.github.com) is a web service where Git repositories are hosted. Actually, they offer more than this and you can read more about [GitHub's features here](https://github.com/features).
### Creating a GitHub Account
If you don’t have an account with GitHub, visit the [website](https://www.github.com) and create a new one. If you do have an account, make sure you are logged in to your profile. Creating an account requires a unique username, email with any password of your choice.
After registration, you will be required to verify your account through your email address to gain full access.
### GitHub 101: Create an Account and a New Repository
GitHub is free for public repositories (i.e. for open-source projects), which is just what you need for this article. To create a new repository, open your profile, click the plus button, and select _New repository_. Your profile should look like this:
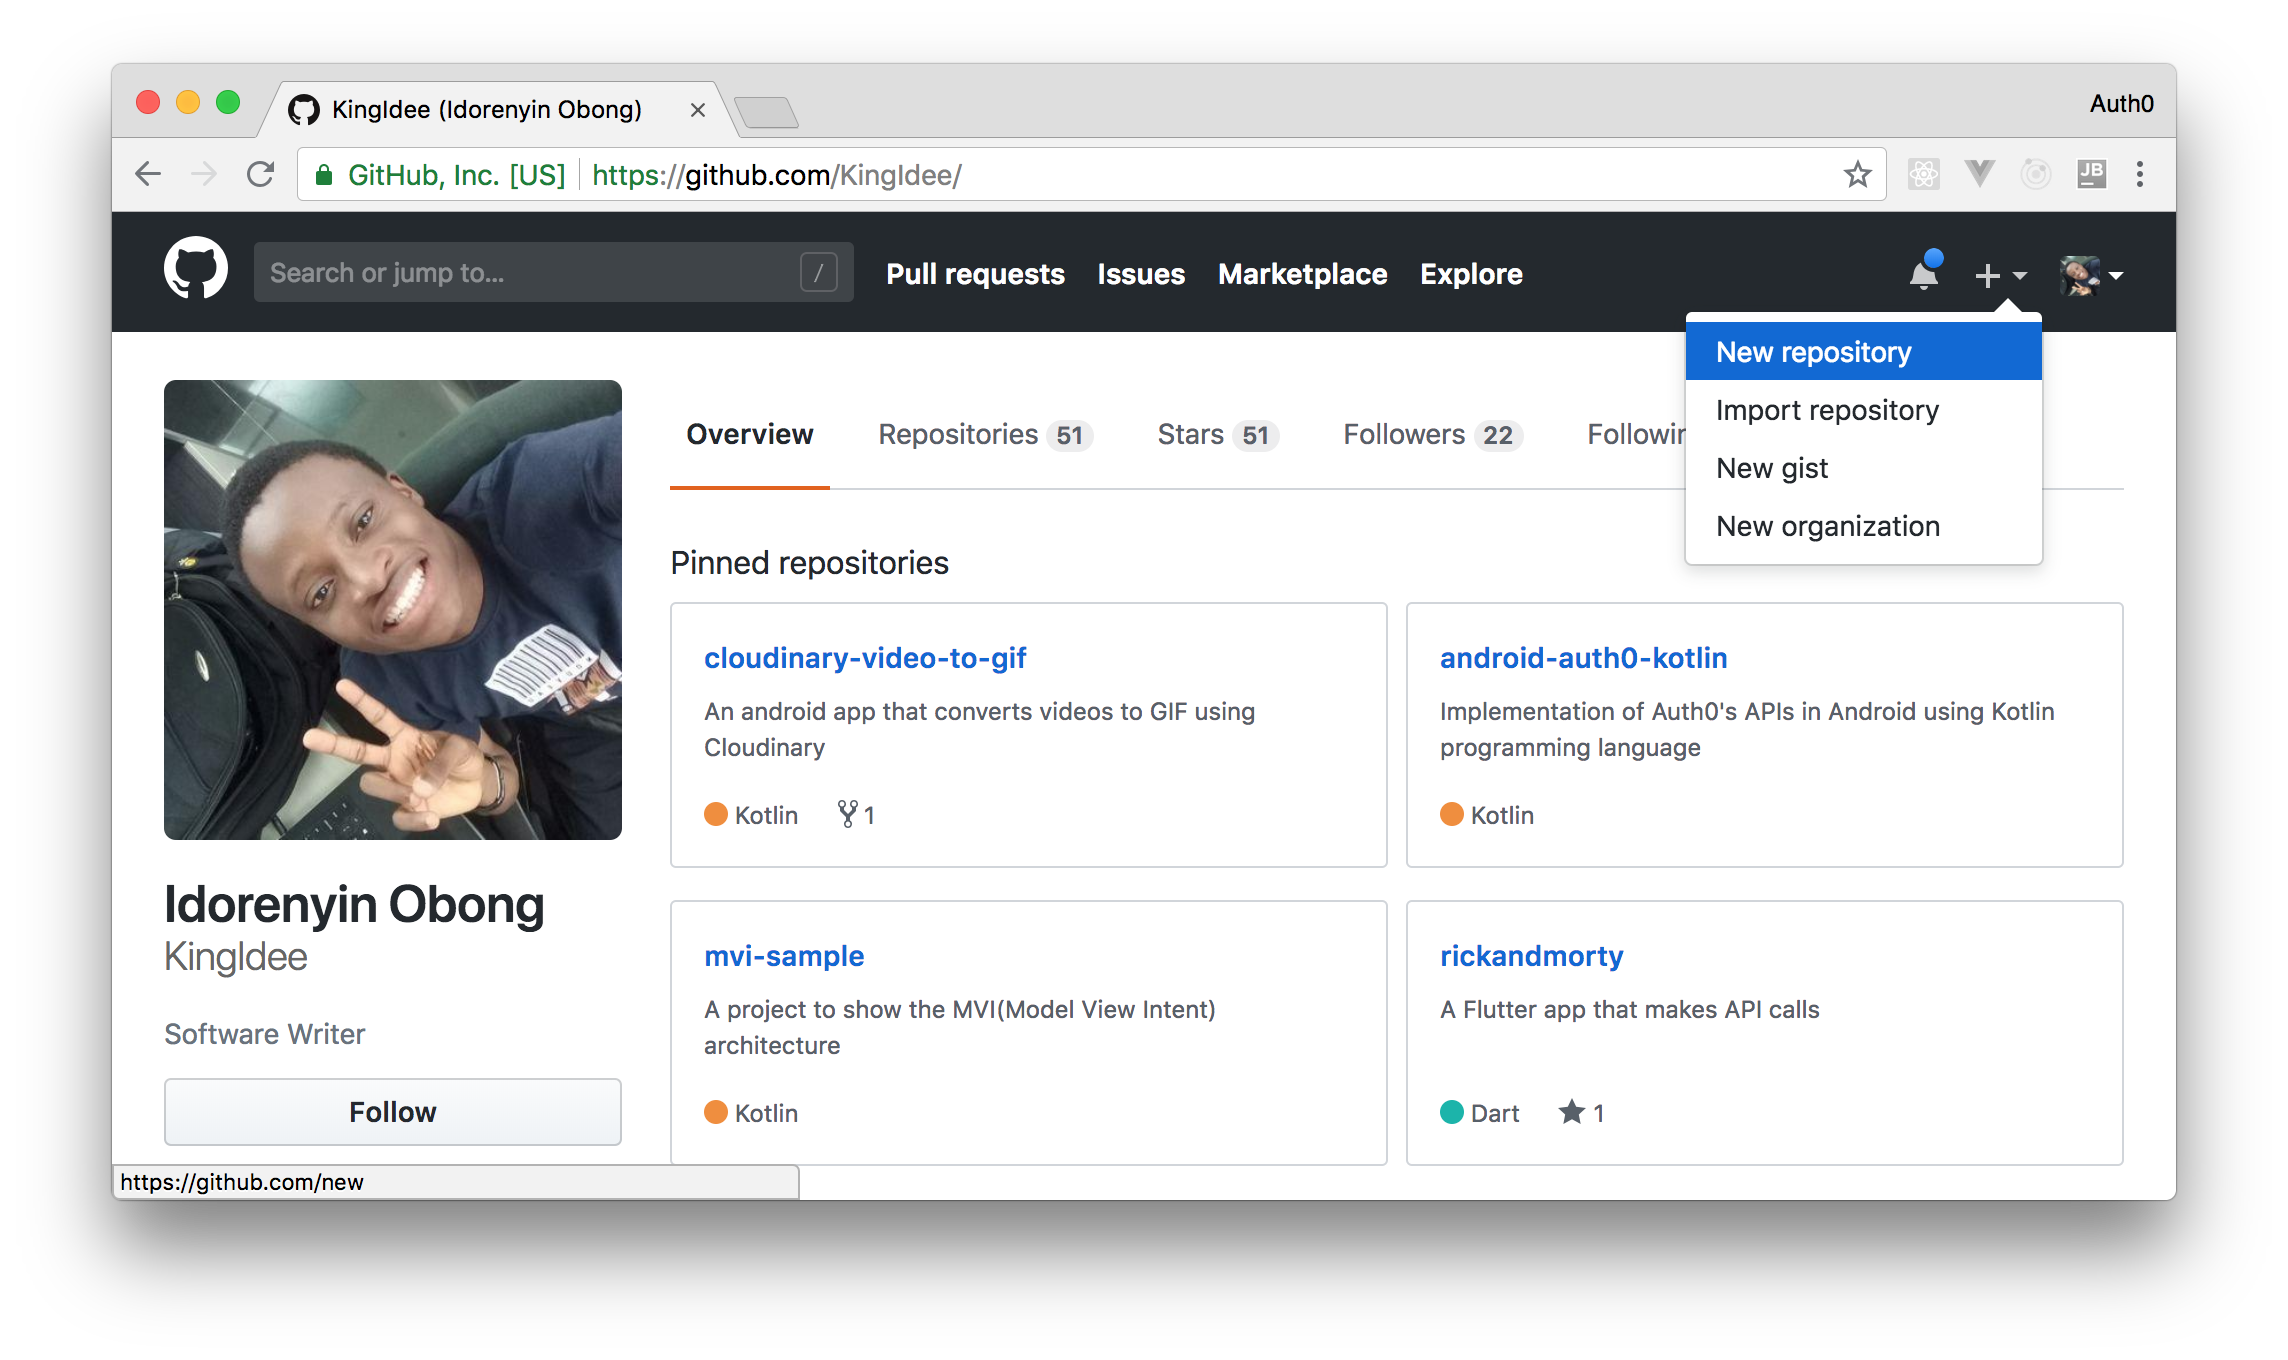
After click on the _New repository_ option, you will be presented with a form like this:
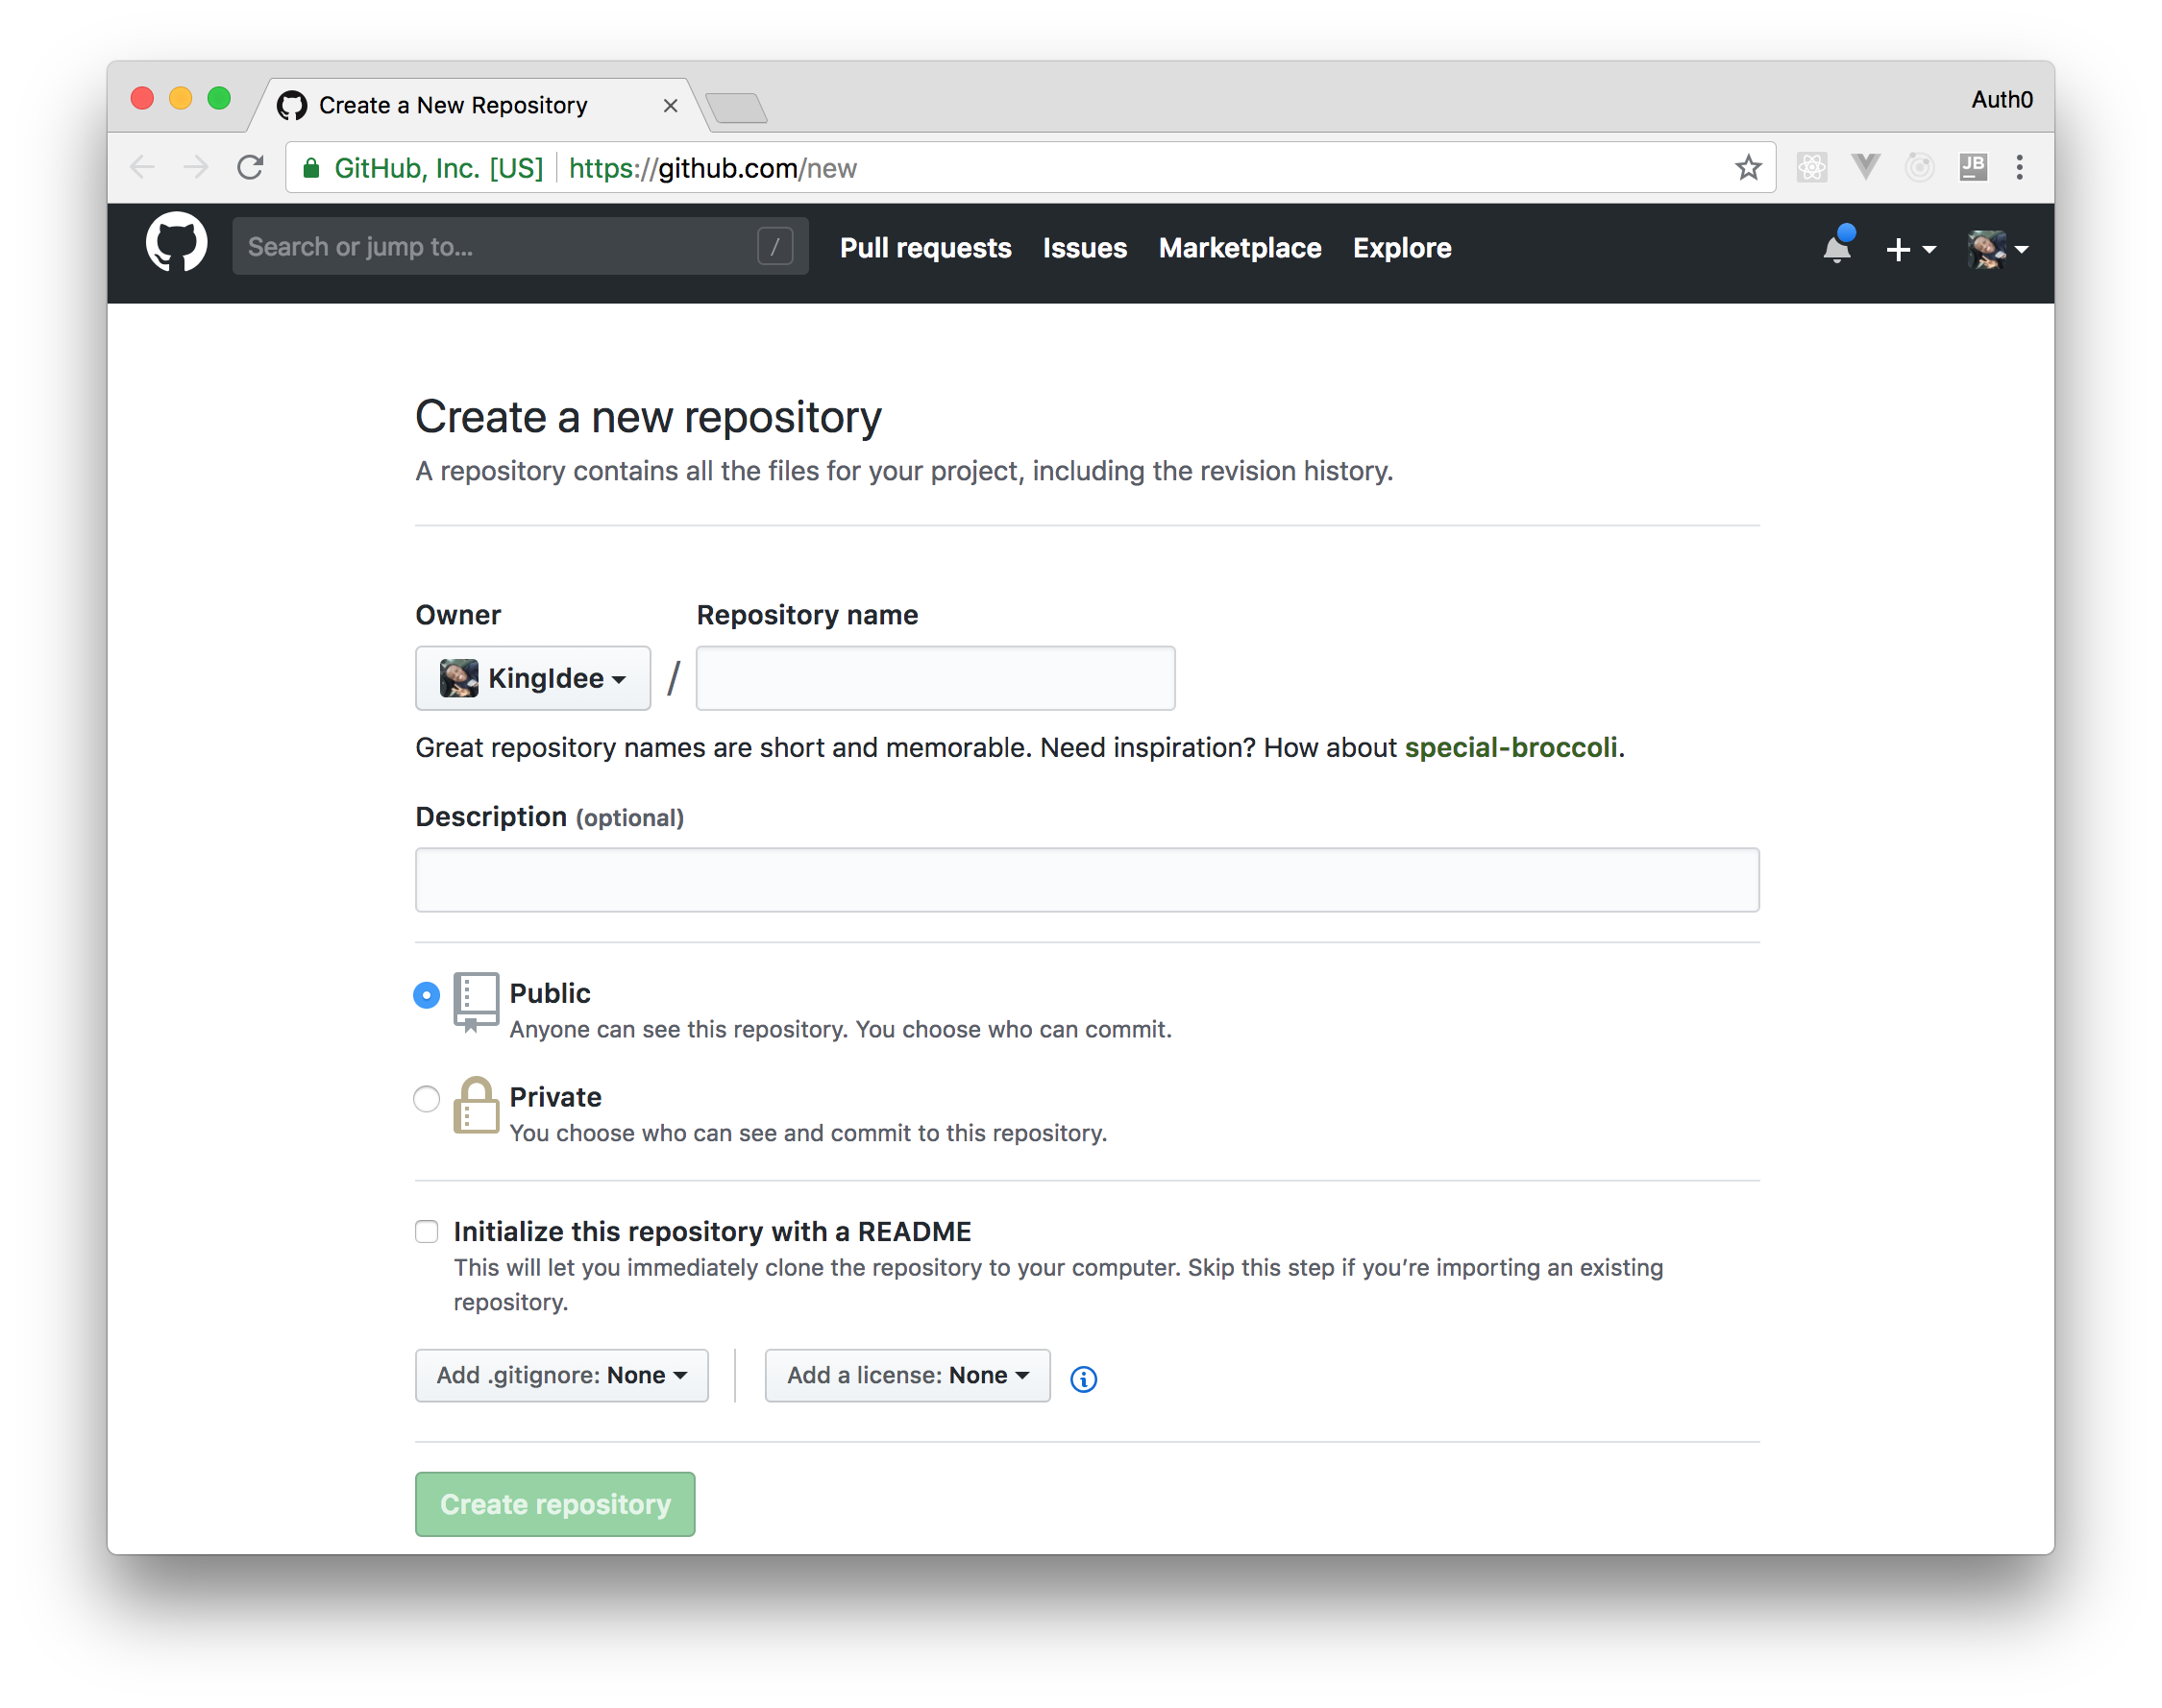
Fill the form with a name of your repository (e.g. `node-js-cd-pipeline`) and a description (e.g. "Continuous Deployment") then hit the _Create repository_ button. When GitHub finishes creating your repository, you will be redirected to it. There, you will be able to copy the repository's `URL` (it must be similar to `https://github.com/KingIdee/node-js-cd-pipeline.git`). Copy it to your clipboard as you will need it soon.
> **Note:** If you have previously [configured you GitHub account with an SSH key](https://help.github.com/articles/connecting-to-github-with-ssh/), you may be able to copy and use the other URL format. This format is similar to: `git@github.com:KingIdee/node-js-cd-pipeline.git`.
### Pushing your Open-Source Web App to GitHub
Haven setup your Node.js web app and created a GitHub repository for it, it is time to push your source code online. So, from your project root, run the following command:
```bash
git init
```
> **Note:** [You will need to install the Git CLI (Command Line Interface) to execute `git` commands](https://git-scm.com/book/en/v2/Getting-Started-Installing-Git).
This command initializes Git in the project directory by creating a `.git` folder (on most operating systems, this directory is invisible by default). After initializing Git, you will have to set up your GitHub repository as a remote:
```bash
git remote add origin REPO_URL
```
> Make sure you replace `REPO_URL` with the repository URL you copied earlier.
Sometimes, there are particular files that you need to ignore when pushing a project to your remote repository. For this project (and most Node.js projects), you will need to ignore the `node_modules` directory. Therefore, create a `.gitignore` file in the directory like so:
```bash
touch .gitignore
```
Then, open the file and paste this line:
```bash
/node_modules
```
Next, you need to commit the changes made to the project and push to your remote repository. You can do so by running the following commands:
```bash
# add changed files
git add -A
# commit them to Git
git commit -m "first commit"
# push them to GitHub
git push -u origin master
```
The first command (`git add`) adds all files affected by changes to Git, except the ones explicitly listed in the `.gitignore` file. Then, the second command (`git commit`) adds a message to the added/changed files to note what changes occurred and save them in your local Git repository. Lastly, the `git push` command pushes the local changes made to the project to the remote repository (GitHub in this case) and sets up the local project to track remote changes.
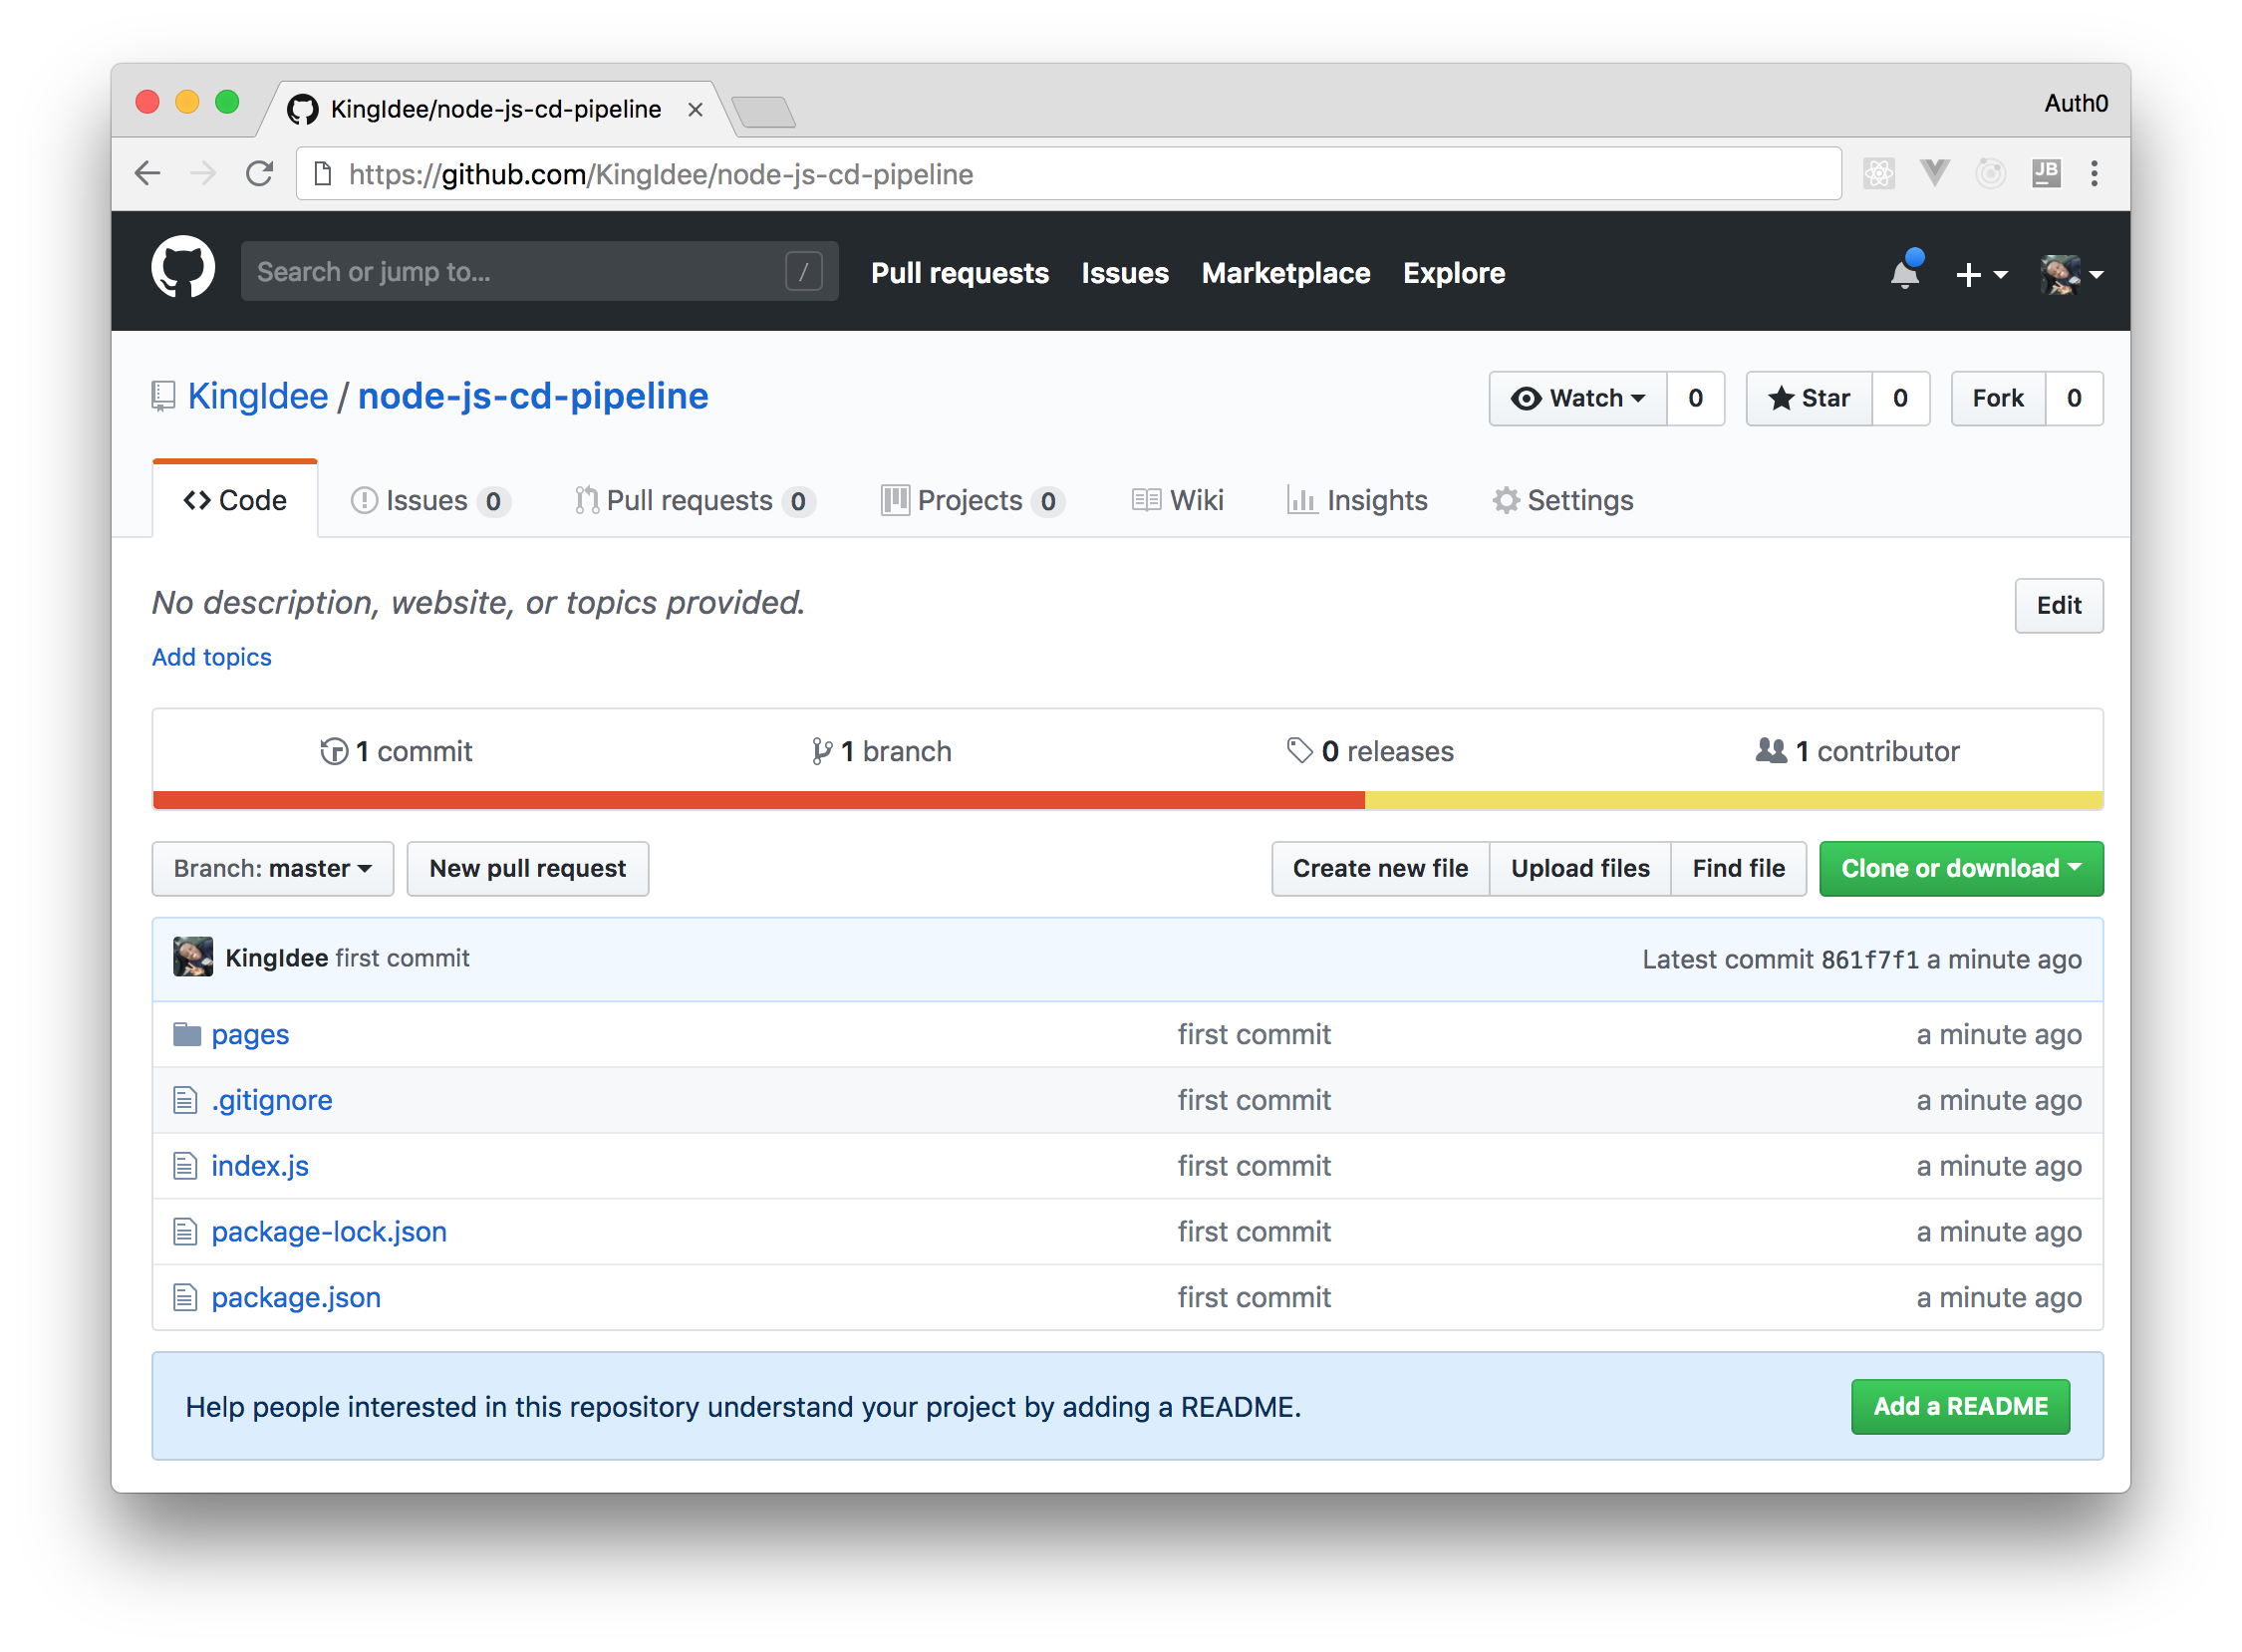
If everything works fine, you should see the source code of your project online when you visit the repository you created.
## Now.sh and Open-Source Apps
[Now](http://now.sh) is a Platform as a Service (PaaS) which allows you to deploy your projects to the cloud with ease. With Now, you can easily deploy Node.js applications but you can easily deploy apps developed with other languages (like Python, Java, etc). In this case, however, you will need a [Dockerfile](https://docs.docker.com/engine/reference/builder/).
Now aims to make Continuous Deployments easier for developers. Naturally, deploying websites built with Node.js require a sound knowledge of server configurations and management together with a good command of the terminal. With Now, you can focus more on your app logic and worry less about deployments.
Some of the amazing features of Now include:
- Free unique URL: for every deployment made, there is a unique `URL` generated usually in the form `-.now.sh` (e.g `helloworld-hddnhdvhsd.now.sh`).
- Process logging: every process from the point of running the command to the point of starting the server for the deployed app is logged on the screen and can be viewed by clicking on any of the deployment instance link found on your dashboard.
- SSL certificate management - Now uses [Let's Encrypt](https://letsencrypt.org/) to provide your deployments with SSL at no cost. Etc.
What is even more awesome is that Now allows you to deploy lightweight open-source applications on their infrastructure without paying a dime. [The code, in that case, is open for anyone who is curious about the project](https://zeit.co/blog/now-public). However, since you are developing an open-source app, this shouldn't be a problem. Also, environment variables (for example credentials to connect to a database) are not shared with the public as they are not part of the source code itself.
### Creating a Now.sh Account
To create a Now.sh account, go to [the sign-up page of Now](https://vercel.com/onboarding) and choose one of the methods available (i.e. through email or through your GitHub account). If you choose to sign up through email, you will get a message with a magic link that you can click to verify your account. After that, the browser tab that you used to sign up will be reloaded with your Now dashboard.
Besides that, if you chose the _Signup with GitHub_ option, a verification mail will be sent to your email address.
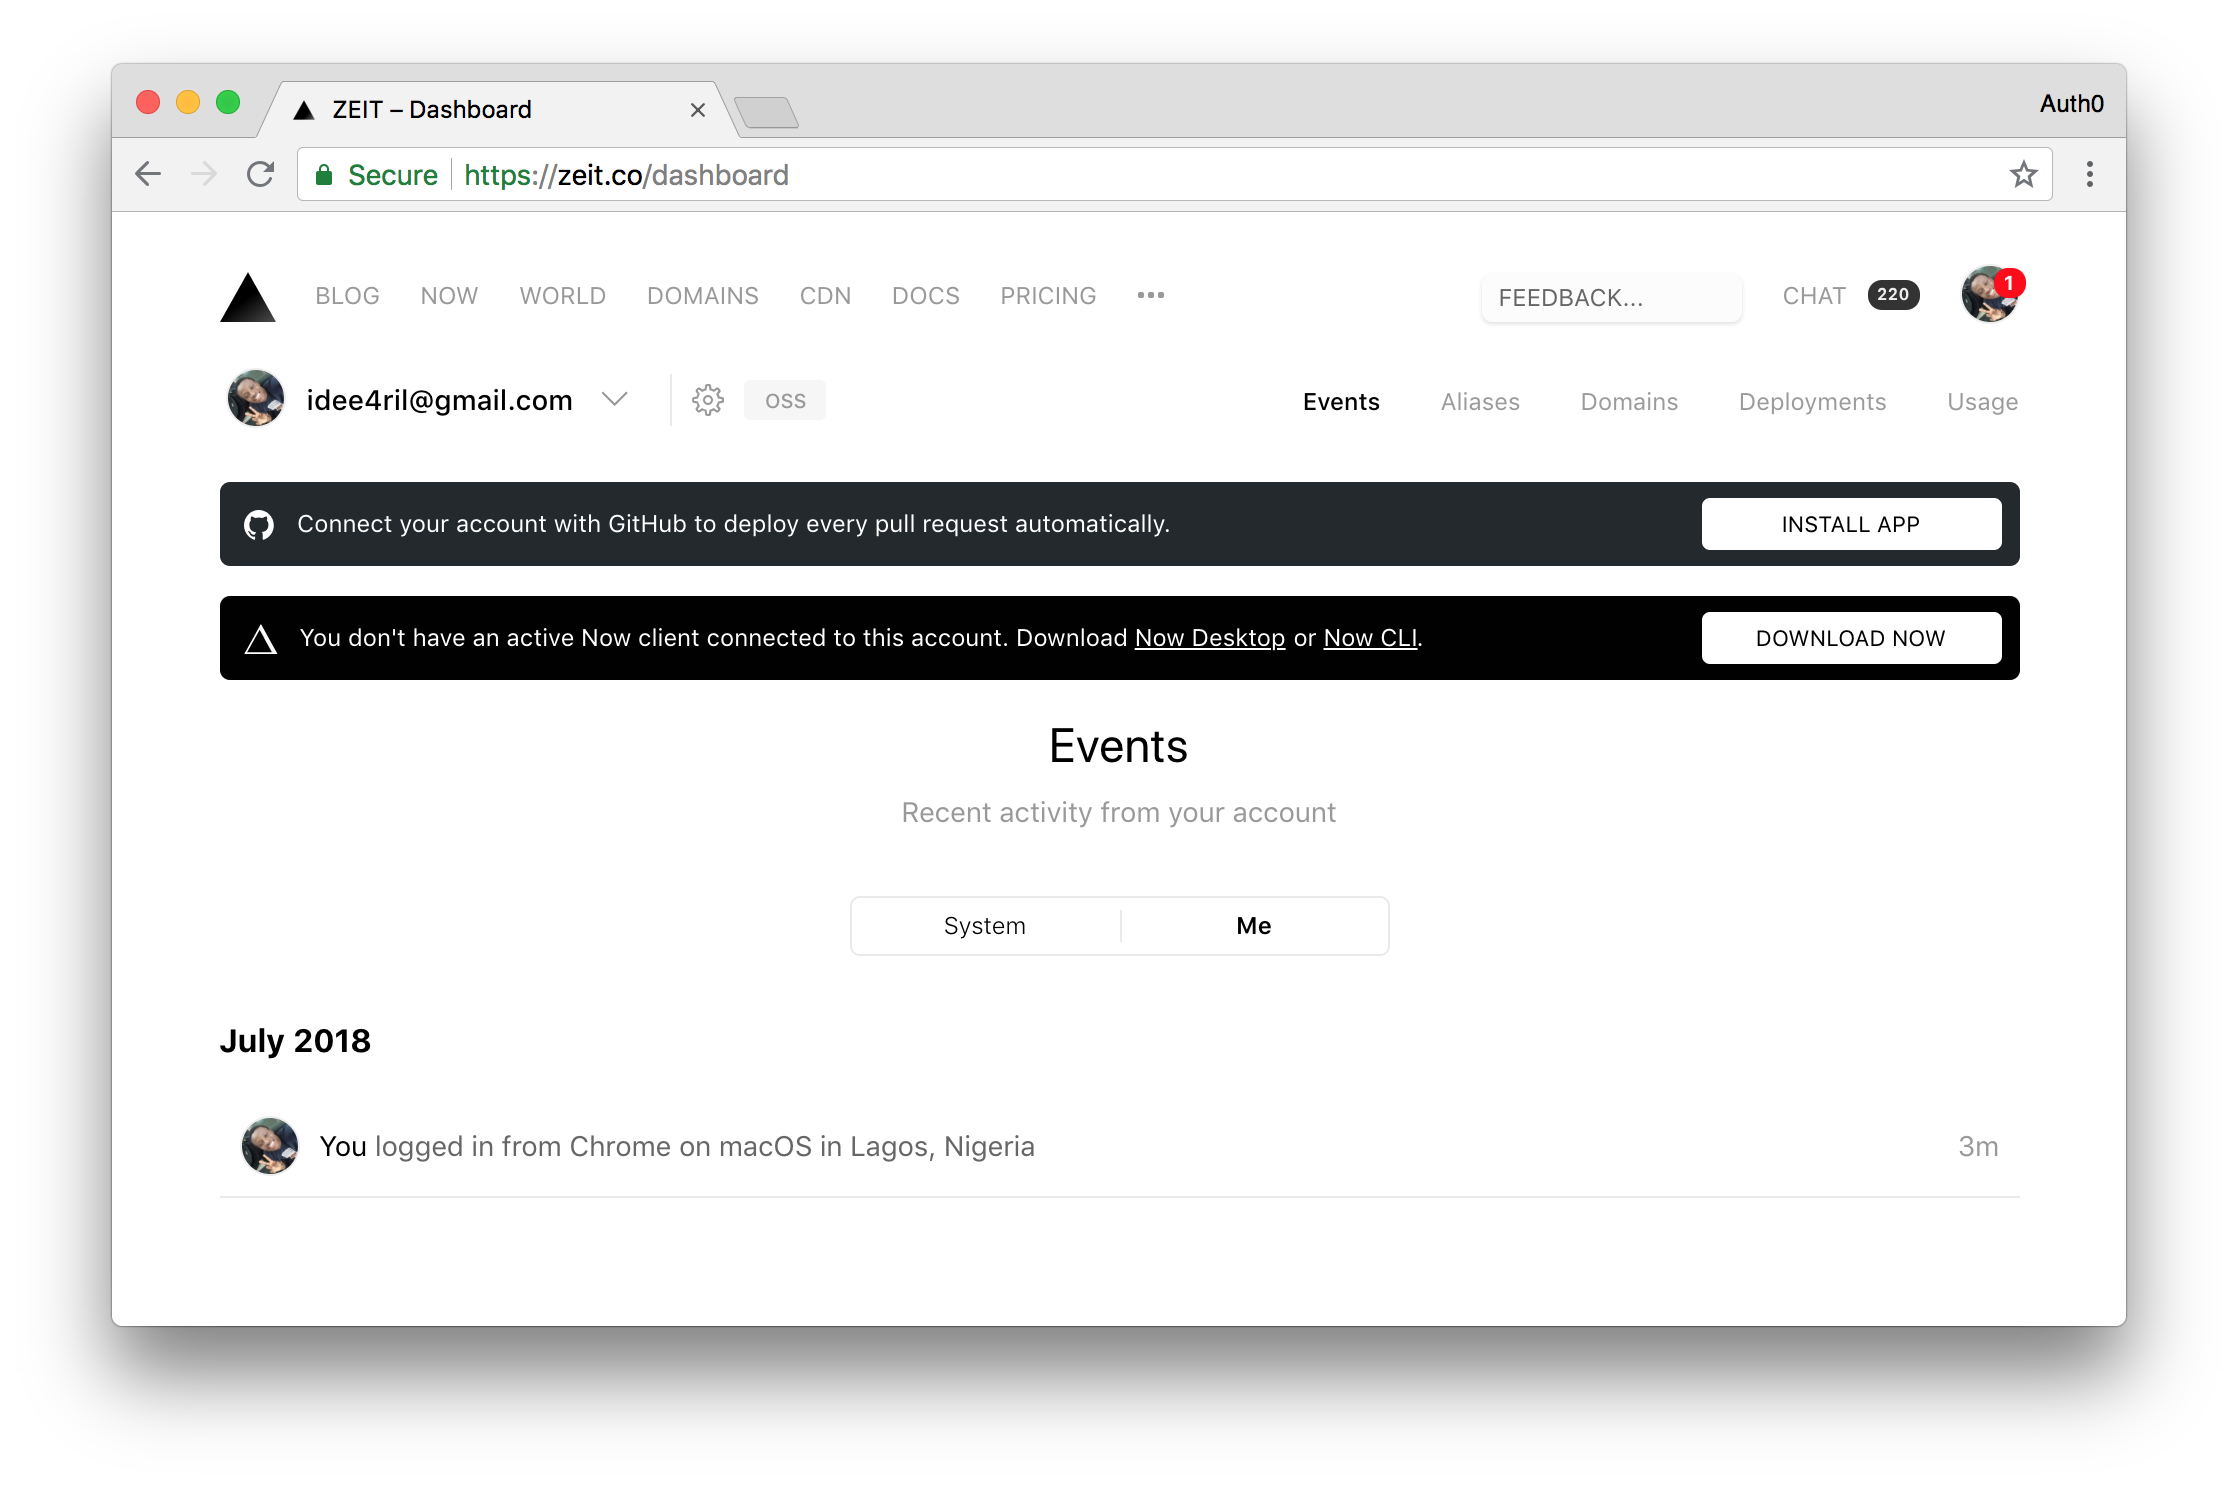
After verifying your email, you will be able [log in to Now](https://zeit.co/login). If you are a new user, after logging in, your dashboard should look like this:
### Obtaining a Now Token
Once the registration process is complete and you are logged in, [click on your profile picture on the top-right corner and then click on your email address](https://vercel.com/account) (it will appear under the _Settings_ option). After that, Now will show your account settings and, below your profile picture, [you will see a link to _Tokens_](https://vercel.com/account/tokens). Click on it.
In this next screen, you will see a section called _Authorized Apps_ and an input field where you will be able to create a new token. In this field, insert a descriptive name like _Continuous Deployment_ and hit the `Enter`. After that, Now will generate a new Token for you.
For the time being, leave this page open. Soon, you will need to copy this token.
## Configuring Travis CI for Continuous Deployment
[Travis CI](https://travis-ci.org/) is a Continuous Integration server that you can use for open-source projects. If needed, you can also use it for your private projects but, for this, you will have to use [their other website](https://travis-ci.com/). Continuous Integration servers, as explained before, are used to monitor repositories for changes and to trigger a pre-configured process whenever they find one.
Travis CI particularly supports only projects that are available on GitHub. These projects are usually configured by adding a pipeline file called `.travis.yml` to the root directory of the repository.
### Creating a Travis Account
To move ahead, you have to signup on [Travis CI](https://travis-ci.org/). Travis CI requires only GitHub signup. Since you already have a GitHub account, open the website and signup.
### Configuring Travis CI for your GitHub Open-Source Project
After a successful signup, you will be able to see [a list of your public repositories on your profile](https://travis-ci.org/profile). In there, you will be able to see your repository and you will be able to click on the checkbox button next to it to enable Travis CI to get updates.

### Configuring Travis in your Open-Source Web App
After activating Travis CI, go back to the project, create a file called `.travis.yml`, and paste the following code on it:
```bash
language: node_js
node_js:
- node
cache:
directories:
- node_modules
before_deploy:
- npm install now --no-save
- now rm node-cd --token $NOW_TOKEN --yes || true
deploy:
- provider: script
# deploys the application to now.sh
script: now --public --token $NOW_TOKEN
skip_cleanup: true
on:
master: true
```
If you analyze the contents of this file carefully, you will see that:
- The `language` property defines what is the main technology used in your project (i.e. Node.js).
- The `before_deploy` property specifies the commands to be executed before the deployment phase. In this case, you are telling Travis CI that you will need the Now CLI installed and that it must remove any previous deployment (`now rm node-cd`). You need this last command because you are using Now's free tier.
- The `deploy` section defines recipes (commands) used to deploy your project. In this case, you are telling Travis that you want to use `now` to deploy changes submitted to the `master` branch (`master: true`).
> **Note:** If you are wondering why you need `|| true` on the `now rm node-cd` command, this is the explanation. For the first time you push your code, you won't have any app on Now, so this command will fail. If you don't add `|| true`, Travis CI will stop the build process because the `now rm` command will fail.
With this in place, open your `package.json` file and redefine the `scripts` section as follows:
```json
{
"scripts": {
"start": "node index.js"
}
}
```
### Giving Travis CI a Now Token
Security is important when deploying your application as secret keys may be involved. For instance, in your case, the Now token is a secret key. Setting the keys as environment variables in Travis CI may seem as the run to approach. Unfortunately, this is not entirely secure. To secure your keys properly, you will need to use the Travis CLI (Command Line Interface). To use this, you need to install Ruby and RubyGems on your machine.
If you don't have them yet, you can [follow this documentation](https://github.com/rubygems/rubygems#installation) to achieve that.
After that, you can use `gem` to install Travis CLI:
```bash
gem install travis
```
With Travis CLI installed in your local environment, you can use it encrypt your Now Token by running the following command in project root directory:
```bash
travis encrypt NOW_TOKEN=YOUR_TOKEN --add
```
Just make sure you replace `YOUR_TOKEN` in the command above with [the token available in your Now dashboard (remember you left the page open?)](https://vercel.com/account/tokens).
This command encrypts your Now Token and adds its encoded version to `.travis.yml` under the `env` section. If the above command is successful you should see some configurations appear on `.travis.yml` file as shown below:
```bash
env:
global:
secure: DZC4XpjVPoPl4oXKPD2QATP4++vpPUXllQW0XZjUnSp4S/U9zQamciEMPjvwot324CC/nWm8eL5EyY5WIEyhvhbWwtl85GIYJJeSVhJbkOcwX9Z8Z95aE+9ajI0IMNgE9xS0f8jHYqUOSGTDz0aagGrl8ZgA/qI7qL7QZKLgX07e3nh5Zgyjtrgvyukhchtyiuhoetryuiozb4EoUUc8LJAZJPXBcok/qAmuxPQe6vZt5OTmhNPeL0efdRt861dql45A2qHKOGREYm3Ma0aV1IuqeCLrmoJkT5u7oGd+pG+OWh7LlgA1bjFbTufT/2YiGqCKDNLwbsX8OzBqOlu0Snm8Rb32Yr6VJIw/ulVweg+ZRsEIdNaY=
```
Travis CI (the only party that will be able to read and decode this property) will use this key to set up the `NOW_TOKEN` environment variable when running the deployment script. Then, in the end, it will use this variable to deploy your project to Now (through the `now --public --token $NOW_TOKEN` command).
### Defining a Name on Now
The last thing you will have to do to set up Now and Travis together is to create a file called `now.json` on the project root and add the following contents to it:
```json
{
"name": "node-cd"
}
```
This file will tell Now what is the `name` of your project and it will help Now defining the unique URL when deploying it.
## The Continuous Deployment Pipeline in Action
To test your deployment pipeline, all you need to do is add (or change/remove) files, commit, and push to your remote GitHub repository. As you have enabled Travis CI on this repository, GitHub will warn Travis CI about the new changes and the deployment process will start.
### Pushing Your First Change
Since you haven't committed and you haven't submitted the changes to `.travis.yml`, `package.json`, and `now.json` yet, you can issue the following commands from your project root directory to push your changes to GitHub:
```bash
git add -A
git commit -m "configured the Continuous Deployment pipeline with Travis CI and GitHub"
git push
```
Once you push the changes to your GitHub repository, Travis CI will trigger a deployment process and take over the build process. As the process goes on, you should see the log on your Travis dashboard.
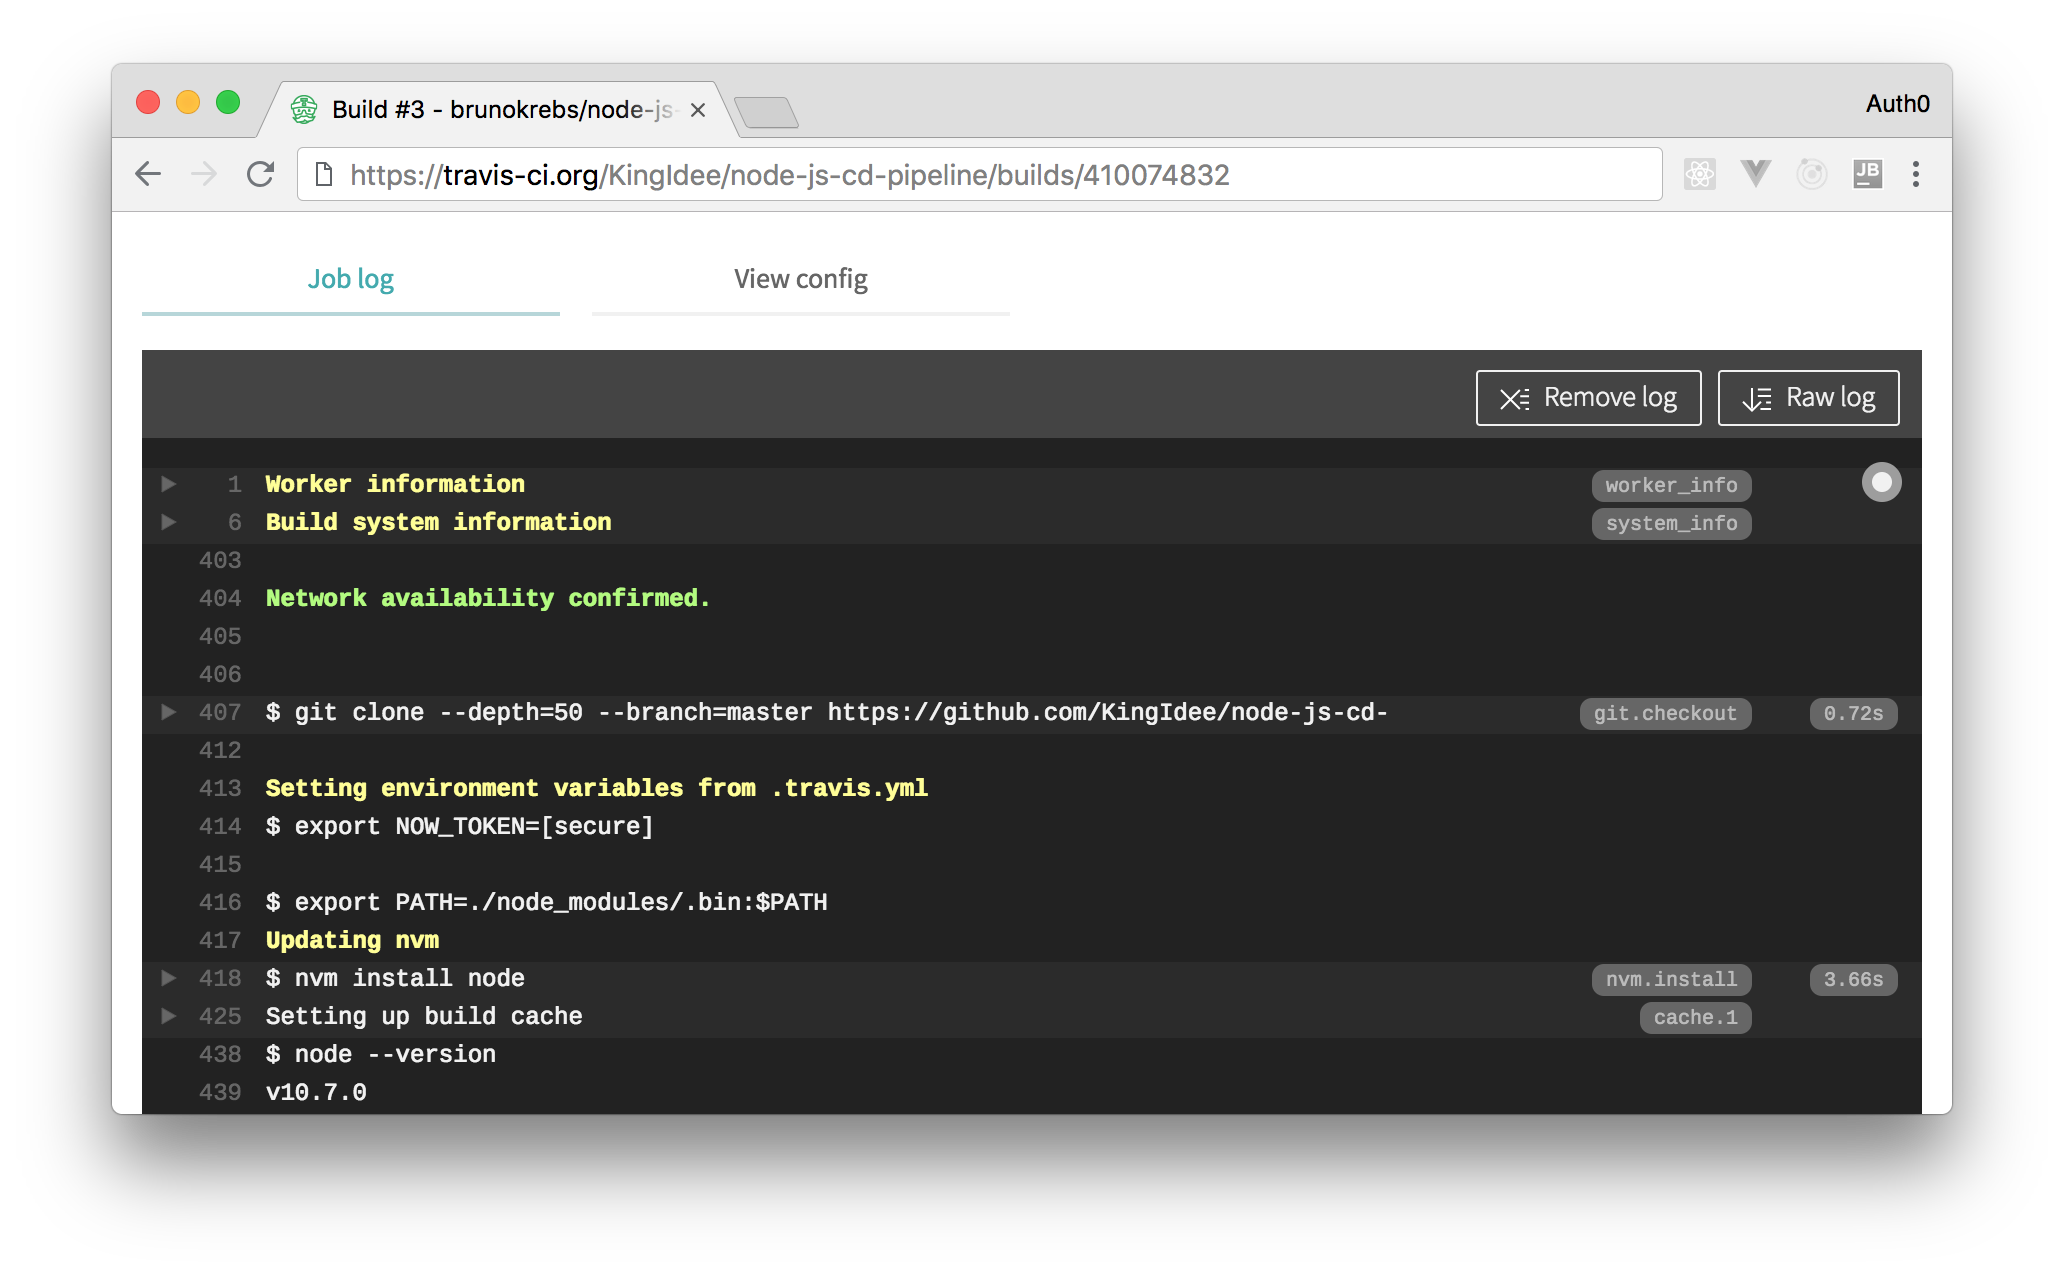
> **Note:** To find the current job, [go to the main Travis CI page while logged in](https://travis-ci.org/). From there, you will be able to find all running jobs.
Once Travis CI completes the build process, you can visit [your Now dashboard](https://vercel.com/dashboard) to see the current deployment instance. There, you will see, under the _Events_ section, a link to your new deployment.
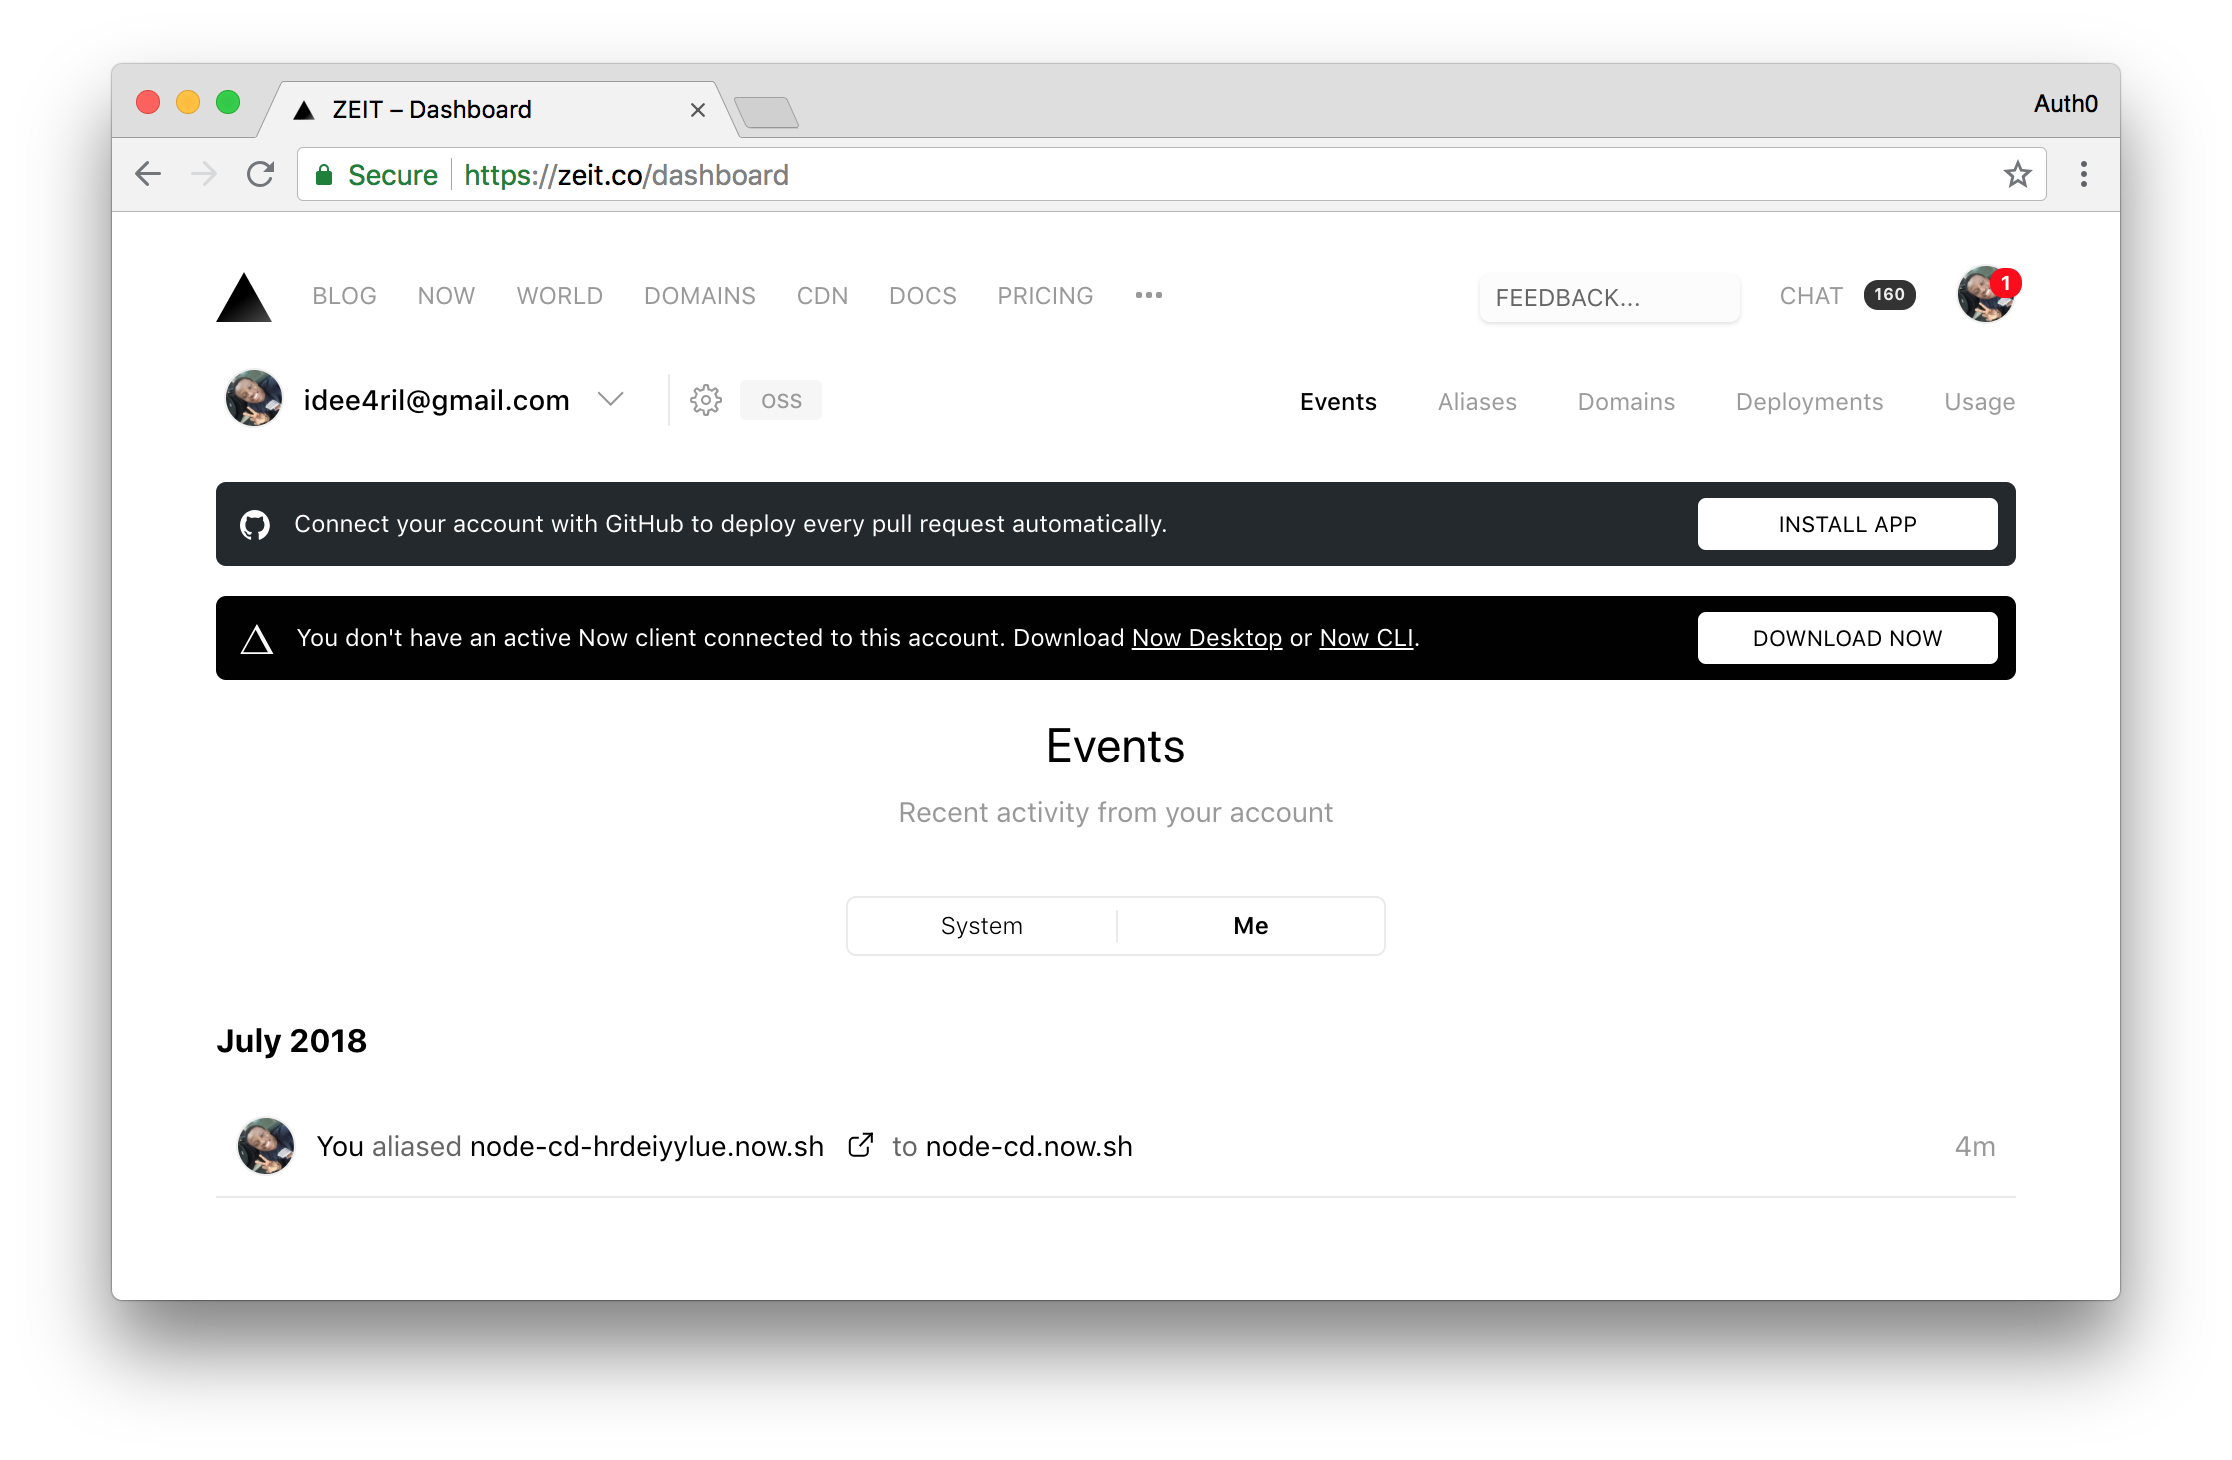
Clicking on it will open your open-source, Node.js app in a new browser tab.
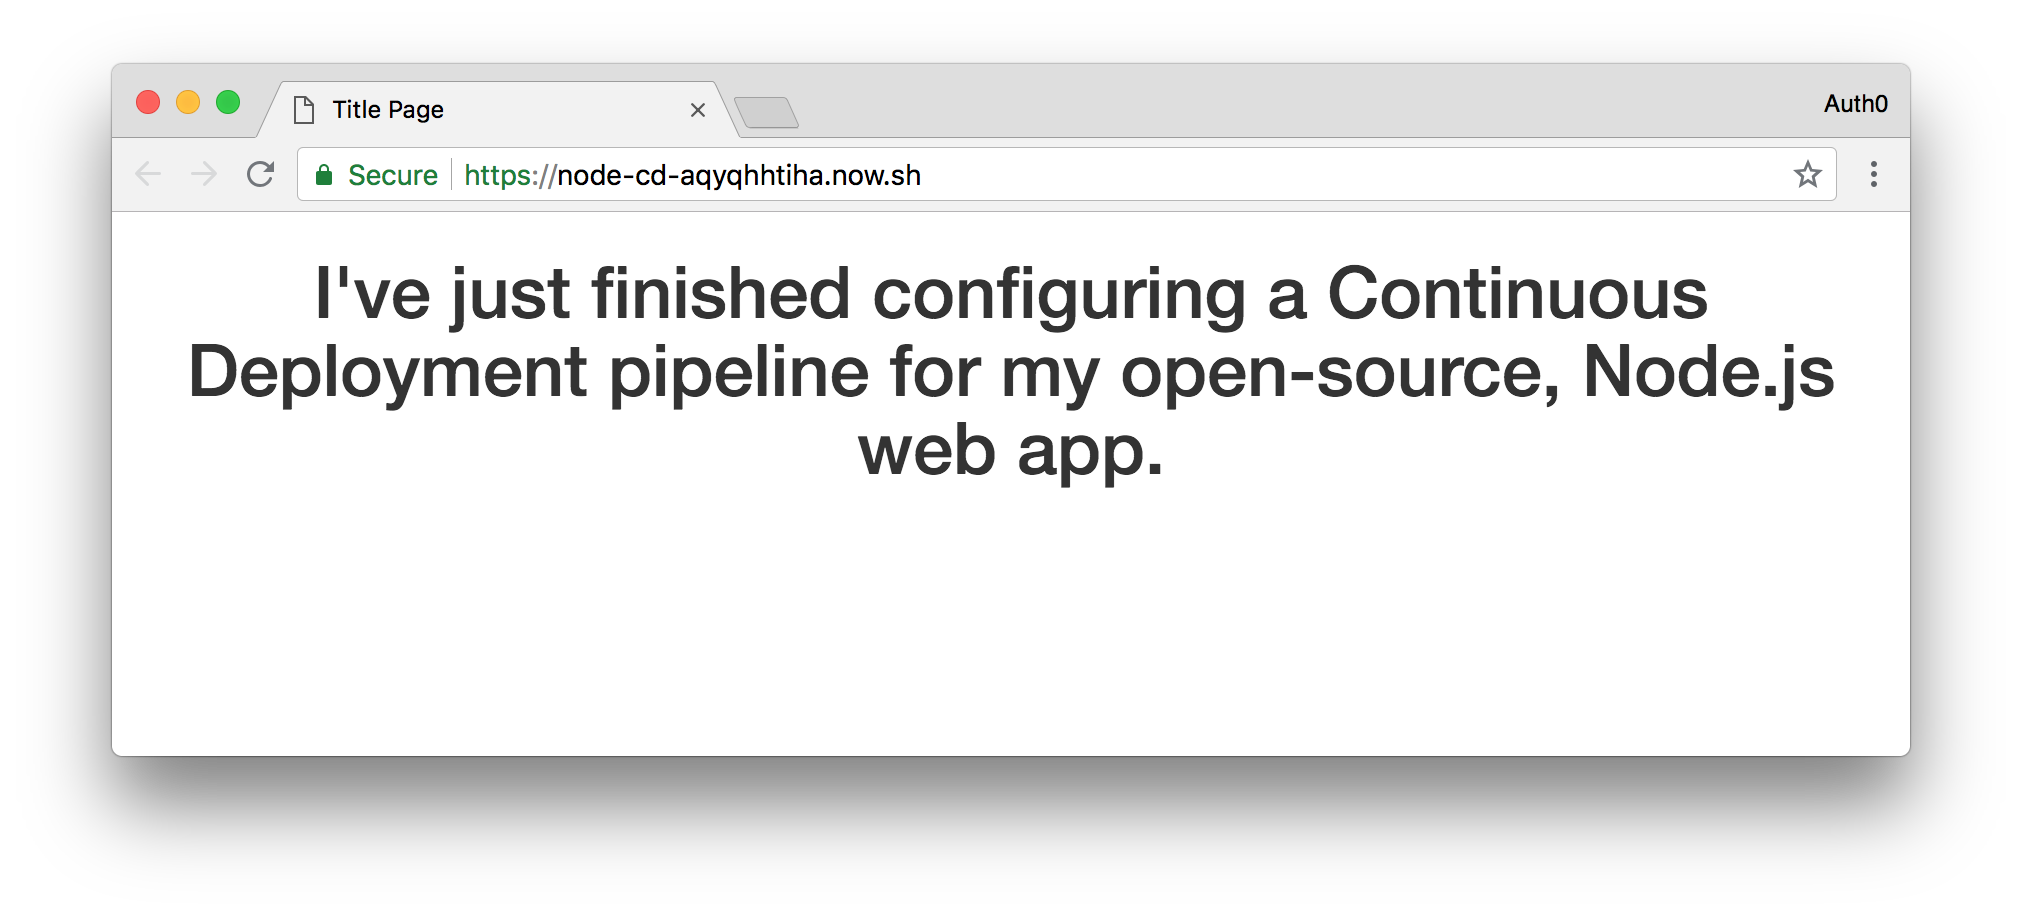
### Pushing Your Second Change
Now, to confirm that your Continuous Deployment pipeline truly words, you can make more changes to your `pages/index.html` file and push to GitHub. So, for example, open this file and replace the `h1` element with this:
``` html
I've just finished configuring a Continuous Deployment pipeline for my open-source, Node.js web app.
```
Then, go to your terminal and issue the following commands:
```bash
git add -A
git commit -m "new message on the index.html file"
git push
```
Once again, after the last command, GitHub will notify Travis CI about the new changes and a new deployment process will start. After a couple of minutes, Travis CI will finish the build and will use Now to deploy the new version of your open-source Node.js web app.
To see it, just go back to [your Now dashboard](https://vercel.com/dashboard) and click on the icon to open the latest URL defined by Now.
## Aside: Syncing Authentication in CI using the Auth0 Deploy CLI Tool
One of the trickiest parts of managing applications in different environments is syncing authentication configuration. For example, you may have a testing and production environment that share the same configuration, even if they don't share the same user database.
Luckily, Auth0 can help you manage this part of your Travis pipeline using our [Deploy CLI tool](https://auth0.com/docs/extensions/deploy-cli).
The Deploy CLI tool allows you to:
- Import and export a variety of Auth0 tenant configuration objects such as tenant settings, rules, and connections
- Export the data to a predefined directory structure or a YAML configuration file
- Call the tool programmatically
- Replace environment variables
To try this with your Travis pipeline, first sign up for a free Auth0 account. Then, check out our documentation on how to [install the CLI tool](https://auth0.com/docs/extensions/deploy-cli/guides/install-deploy-cli) and how to [incorporate it into your build environment](https://auth0.com/docs/extensions/deploy-cli/guides/incorporate-deploy-cli-into-build-environment).
> Note: This tool can be destructive to your Auth0 tenant. Please ensure you have read the documentation and tested the tool on a development tenant before using it in production.
## Conclusion
In this article, you had the chance to deal with one of the buzzing terms in modern software development - Continuous Deployments. You also took a brief look into Git, Continuous Integration servers, and their respective duties in Continuous Deployments. Particularly, you used tools like GitHub, Travis CI, and Now.sh to configure a Continuous Deployment pipeline for open-source web apps. Isn’t that awesome?
With this knowledge, you can go ahead and apply Continuous Integration to your much more complex projects. You can even decide to try tools similar to what is used here, like trying different CI servers, or a new Git hosting web service.
I look forward to seeing what you will build. Cheers!